Why You’ll Love This Recipe
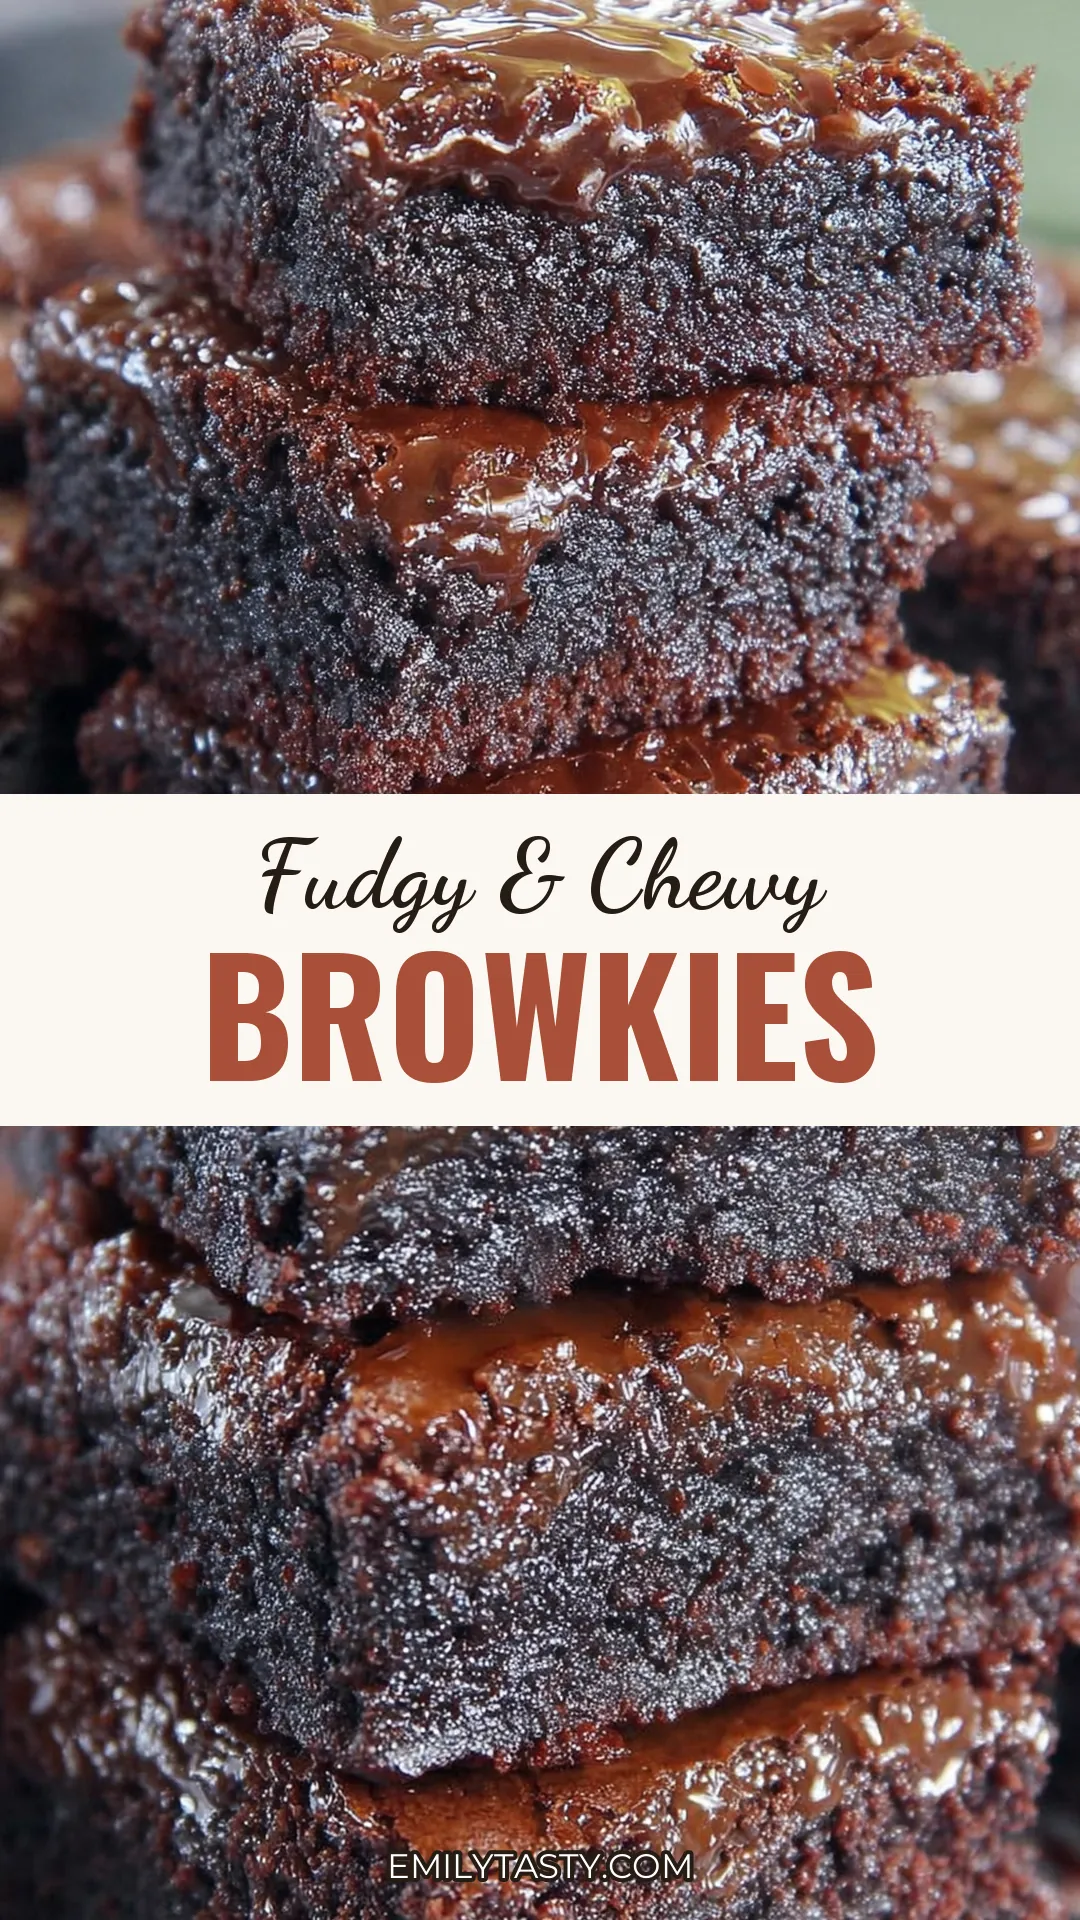
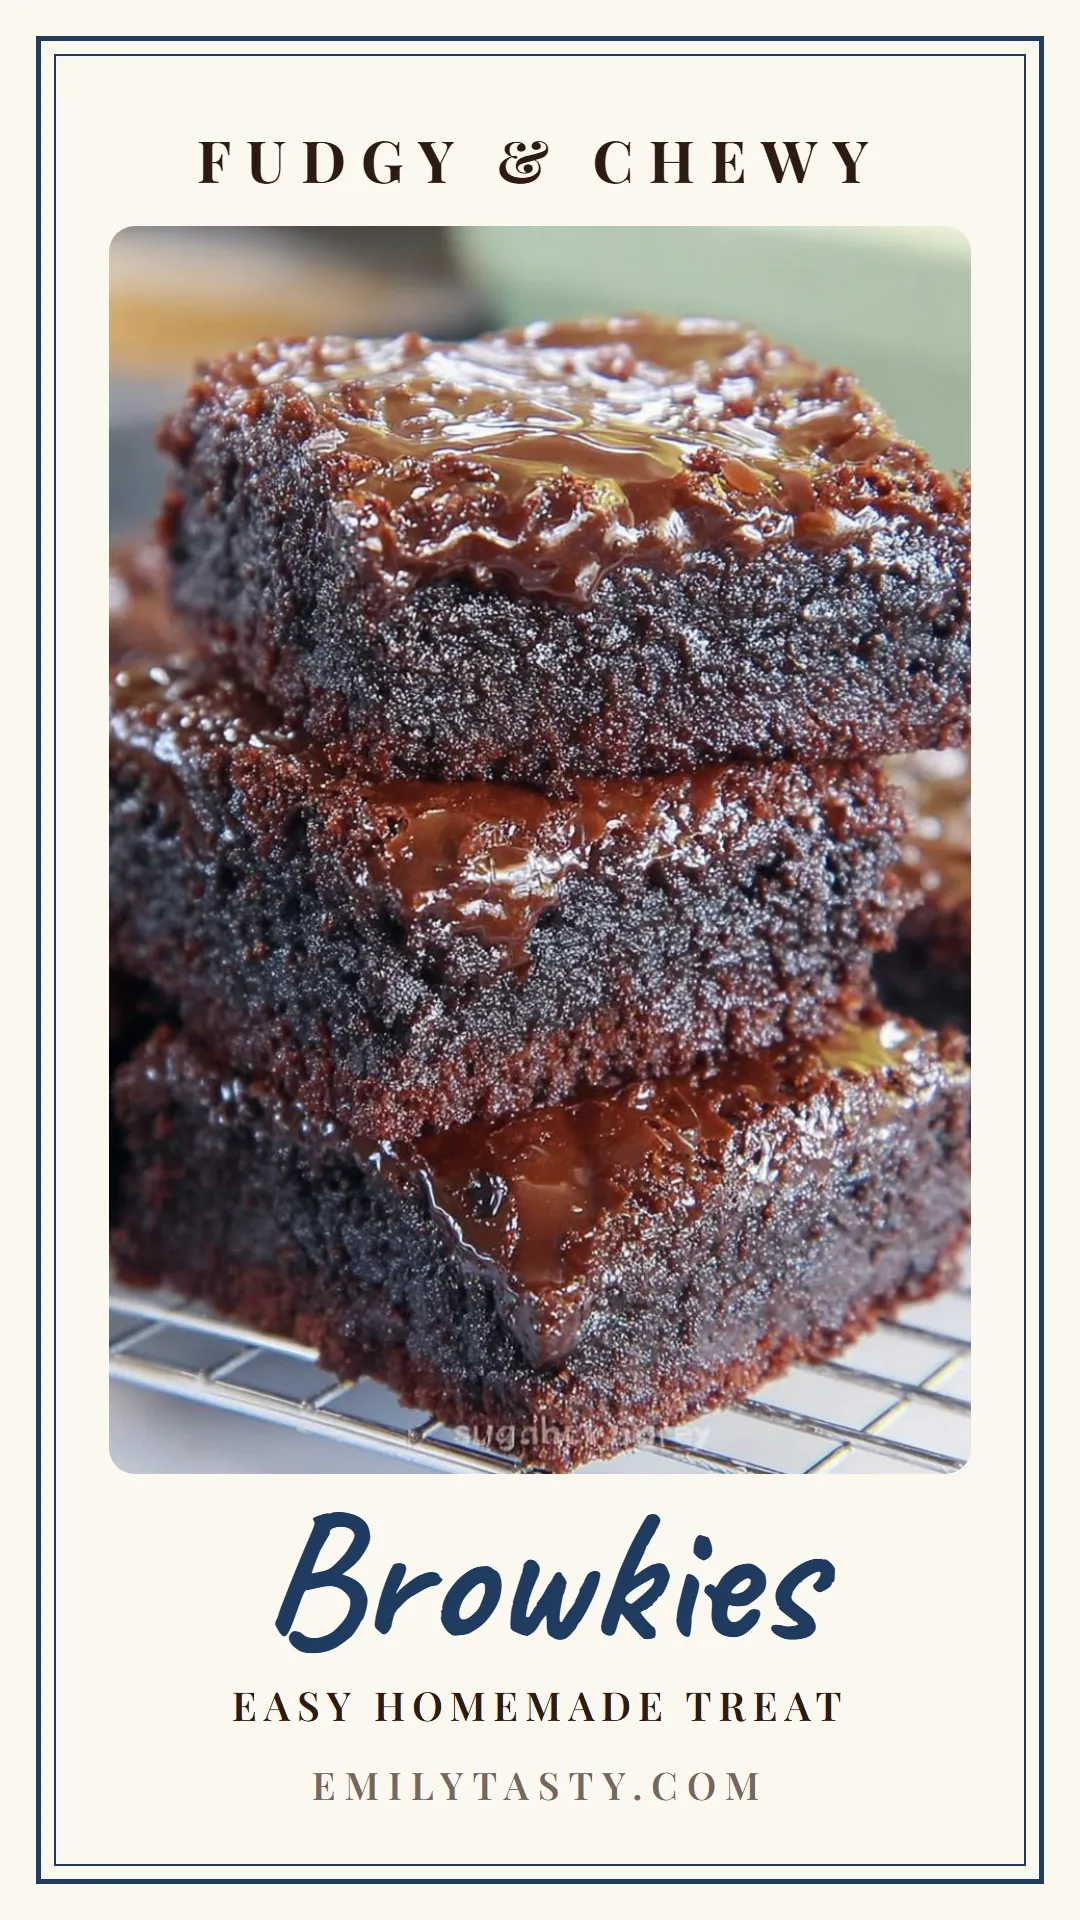
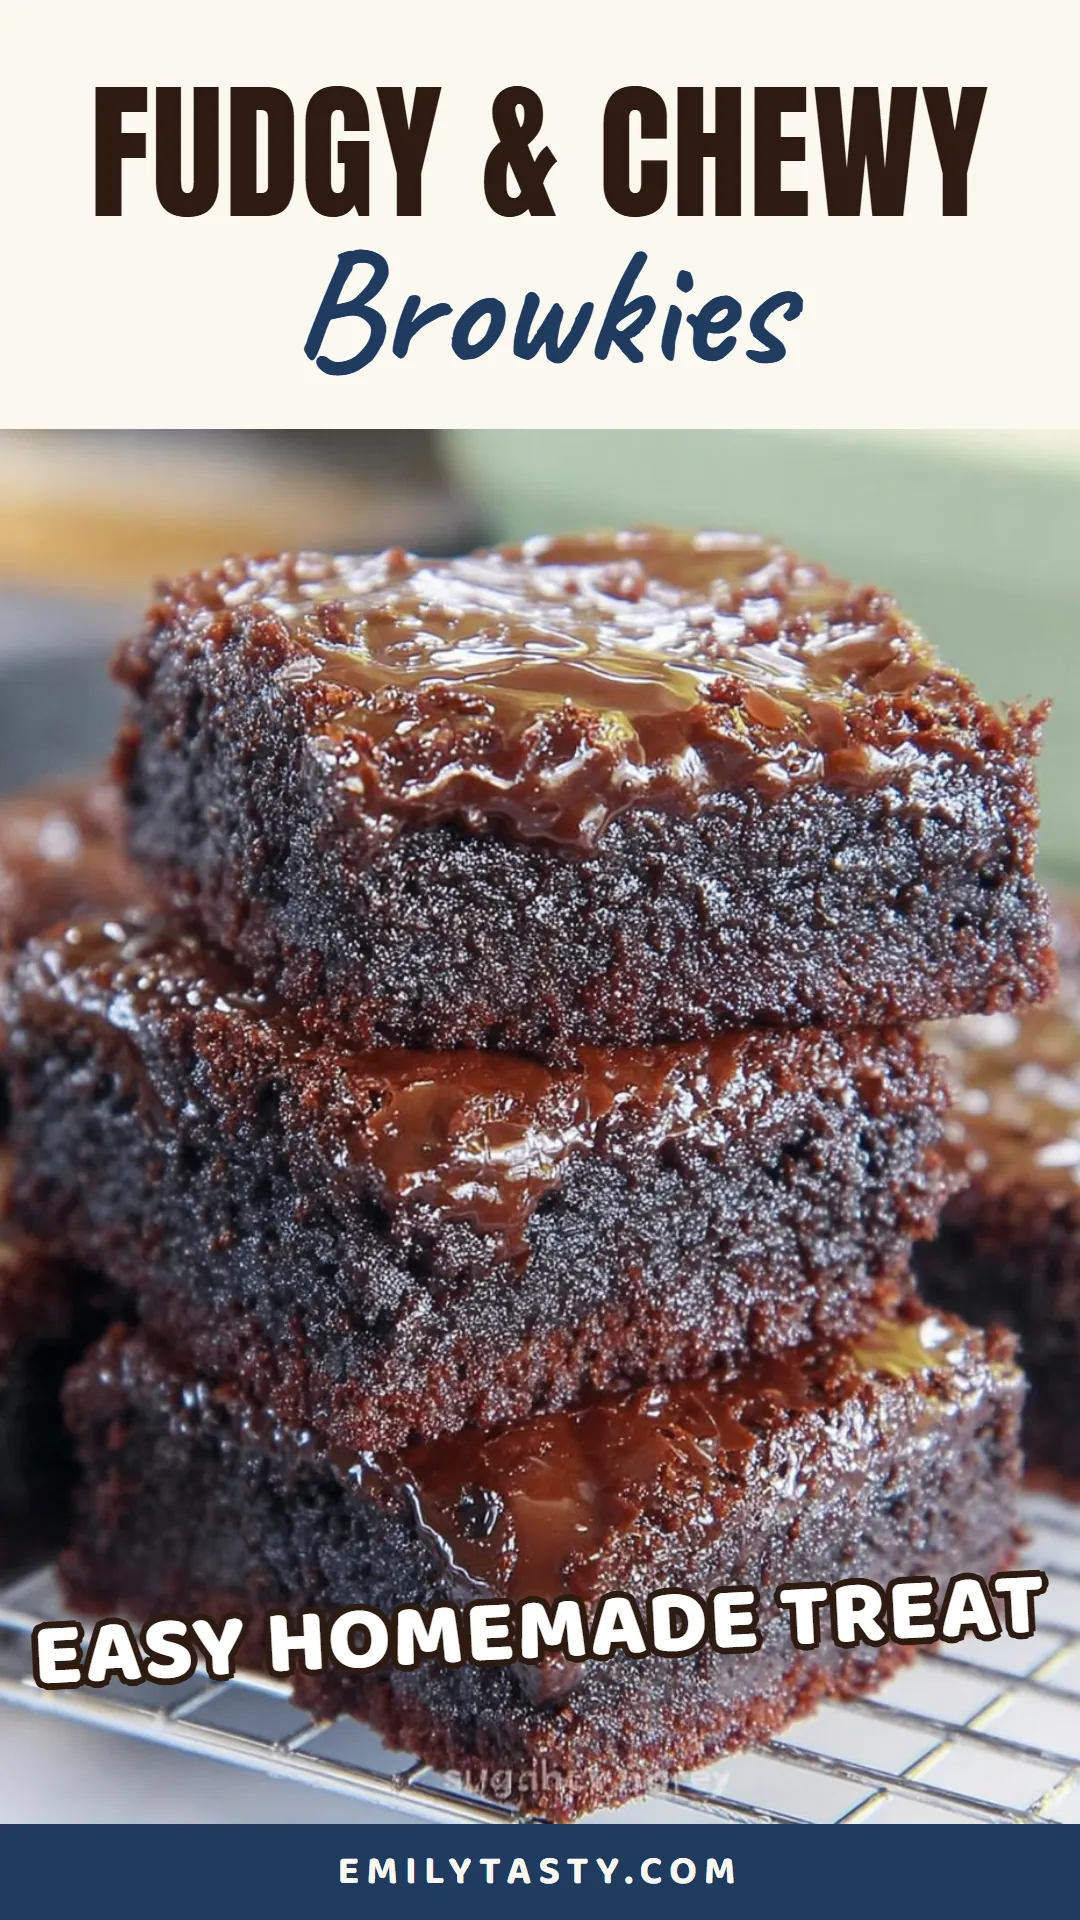
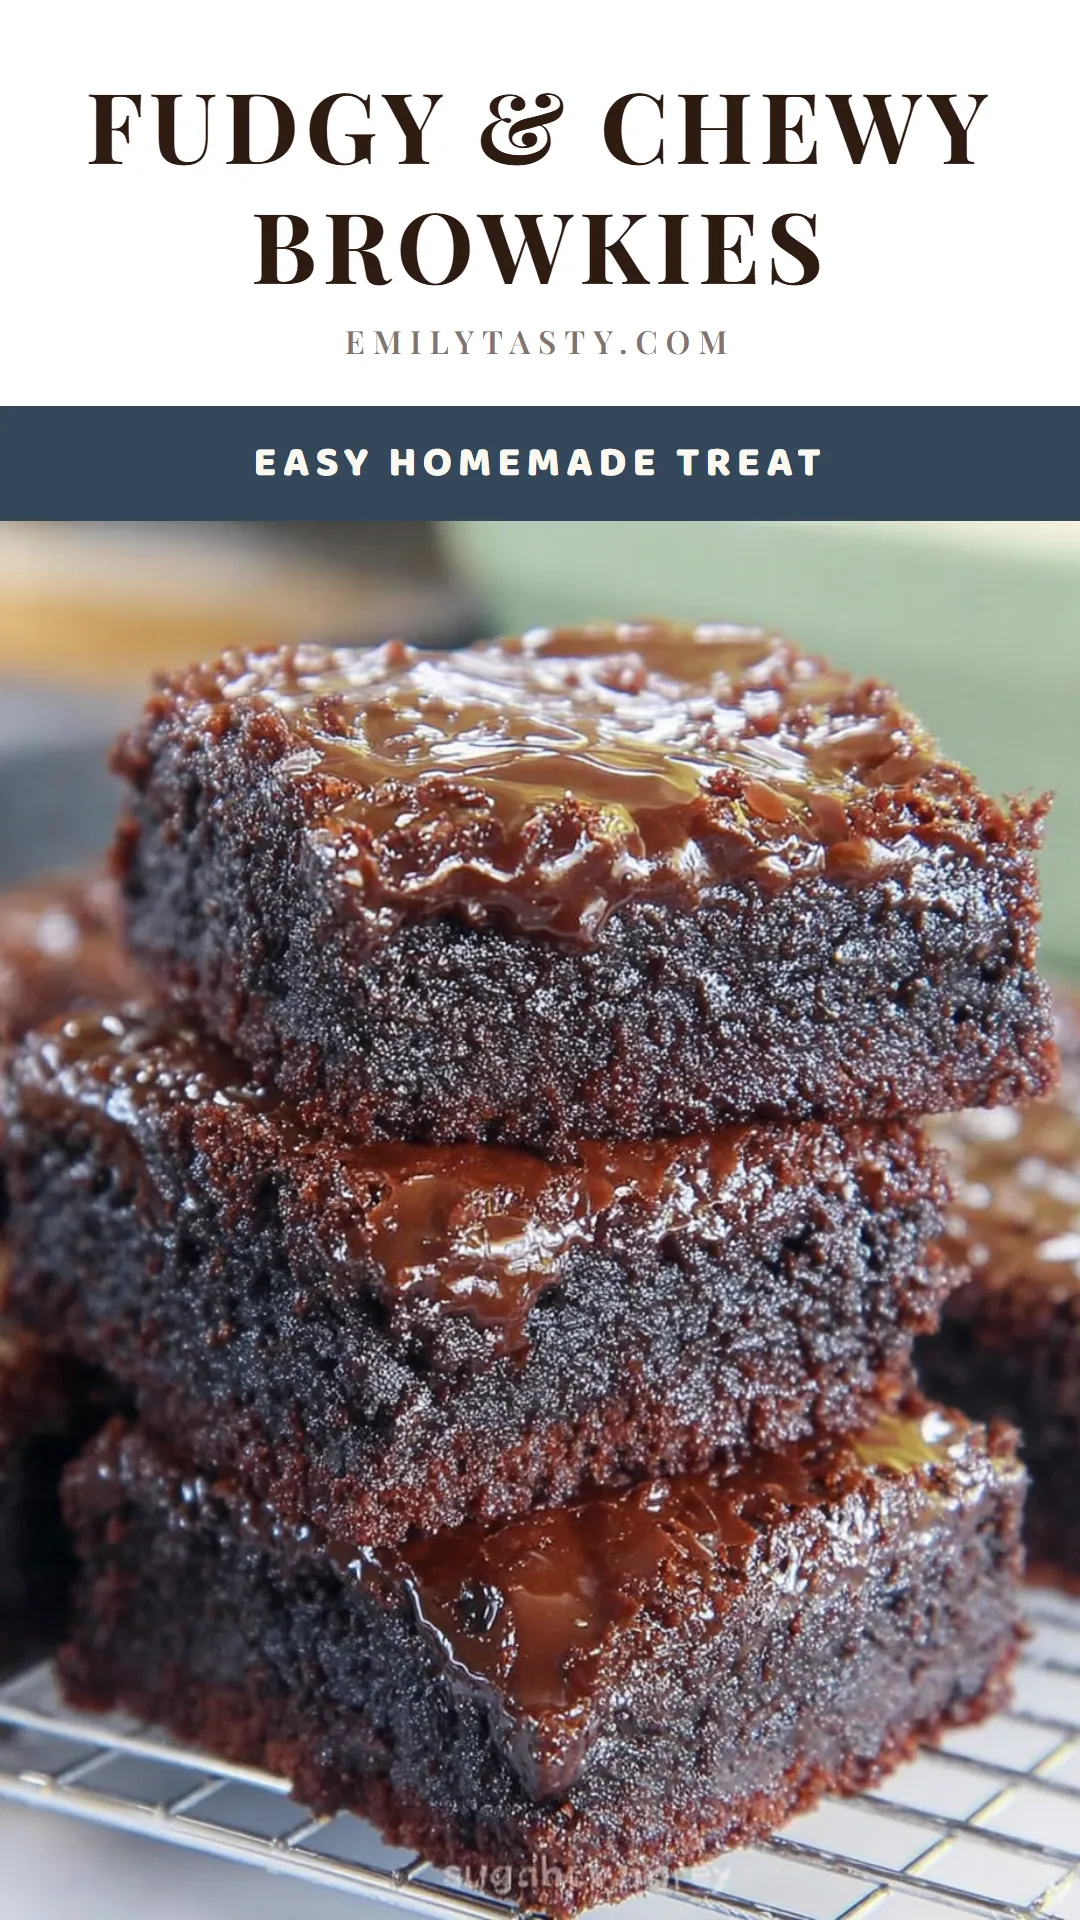
- Fudgy and Chewy Texture: These browkies strike the perfect balance between the fudginess of brownies and the chewiness of cookies.
- Chocolate Lover’s Dream: Packed with rich cocoa and chocolate chips, this dessert satisfies your chocolate cravings.
- Easy to Make: With straightforward ingredients and simple steps, even novice bakers can achieve great results.
- Versatile Treat: Perfect for any occasion, from casual snacks to special gatherings.
- Customizable: Easily adaptable to different dietary needs or flavor preferences.
- Crowd Pleaser: Everyone from kids to adults will love these delicious treats.
Recommended Tools for This Recipe
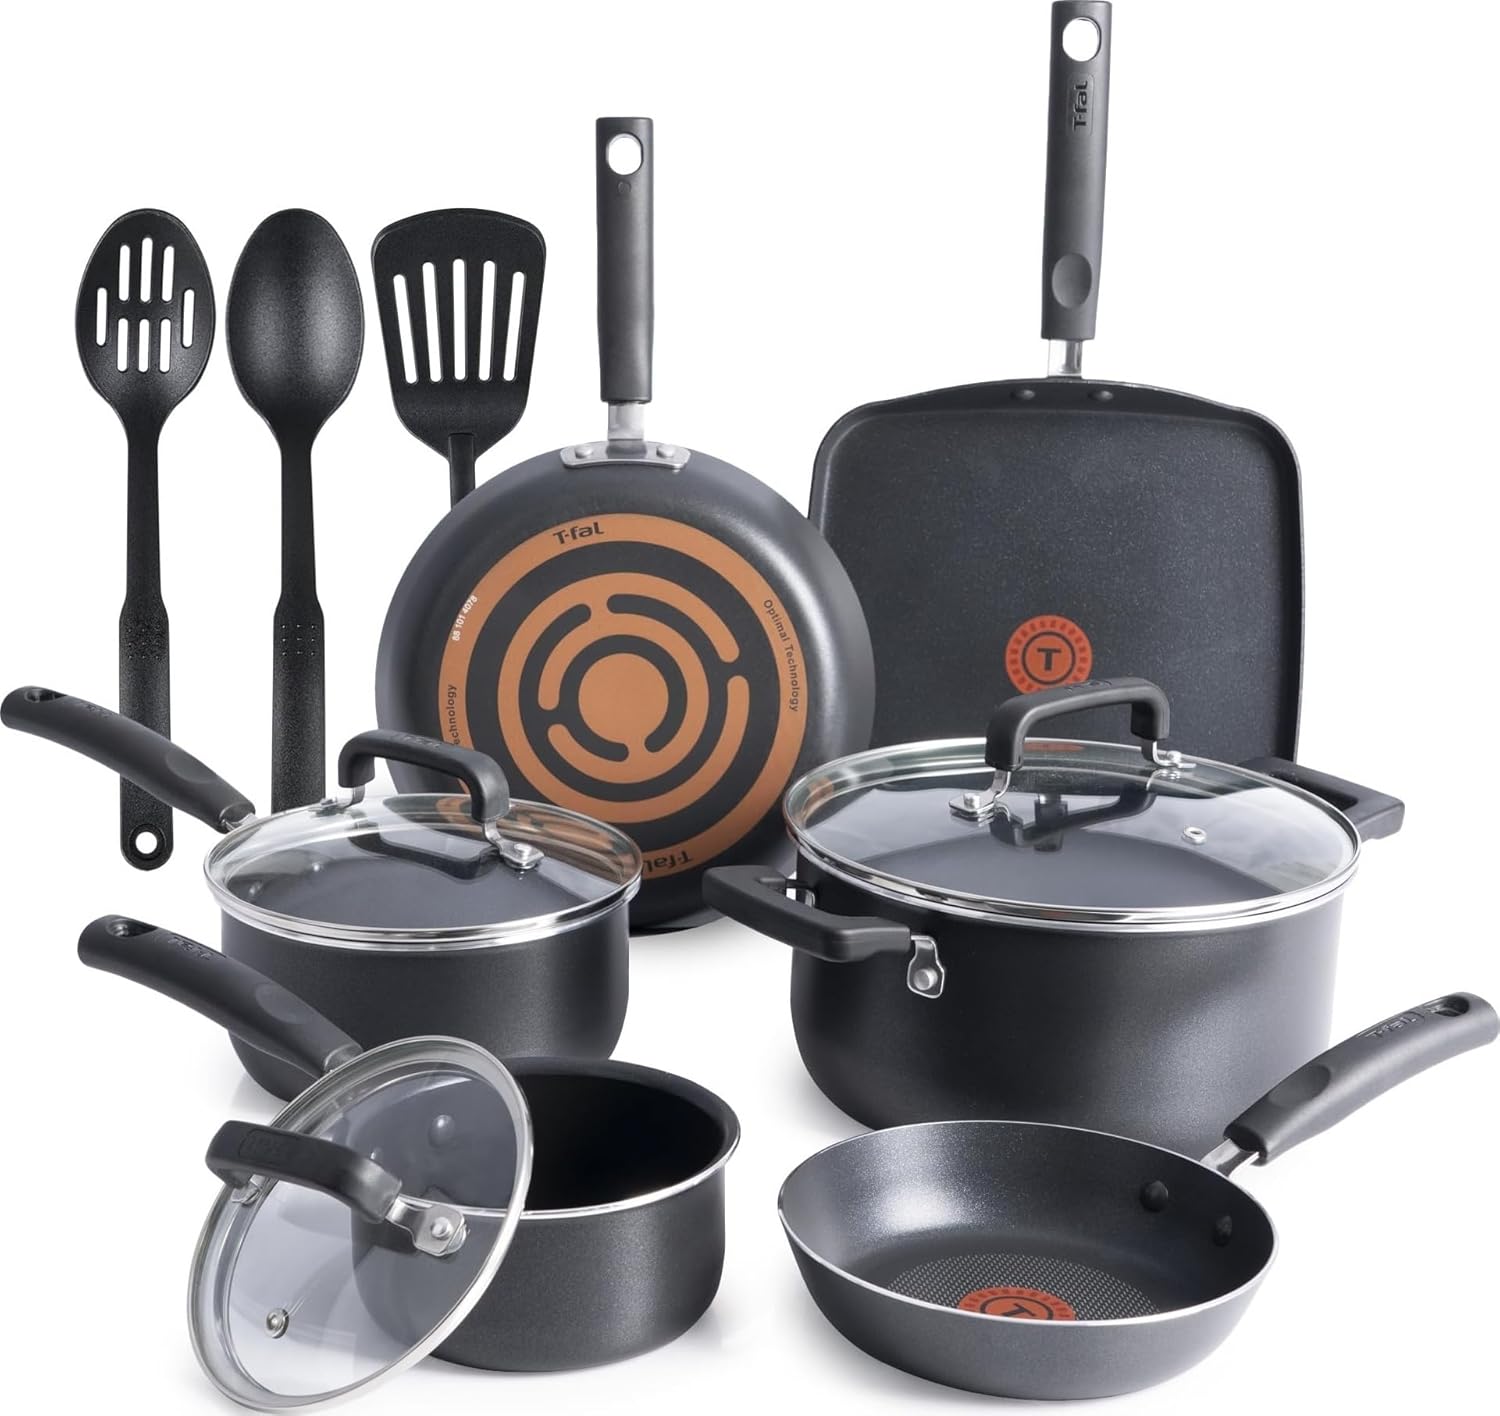


As an Amazon Associate, we may earn a small commission from qualifying purchases — at no extra cost to you.
Ingredients & Preparation Notes
- Unsalted Butter: Melt and cool the butter to prevent it from cooking the eggs when mixed.
- Granulated Sugar and Brown Sugar: The combination of sugars adds both sweetness and moisture to the browkies.
- Eggs: Use large, fresh eggs for the best results.
- Vanilla Extract: Adds a subtle flavor enhancement to the chocolate.
- All-Purpose Flour: Provides structure to the browkies.
- Unsweetened Cocoa Powder: Use high-quality cocoa for a rich chocolate flavor.
- Baking Powder: Helps the browkies rise slightly for a lighter texture.
- Salt: Enhances the overall flavor profile.
- Semi-Sweet Chocolate Chips: Adds pockets of melty chocolate throughout the browkies.
Substitution Tips:
- For a dairy-free version, use a vegan butter substitute.
- To make these gluten-free, use a 1: 1 gluten-free flour blend.
Quality Selection:
- Choose high-quality cocoa powder for the best flavor.
- Use fresh baking powder to ensure proper rising.
Professional Tips & Techniques
- Temperature Control: Preheat your oven accurately to 350°F (175°C) for consistent baking results.
- Mixing Method: Gently fold in the dry ingredients to avoid overmixing, which can lead to tough browkies.
- Baking Time: Check the browkies at 25 minutes. They should be set around the edges but still slightly underdone in the center for a fudgy texture.
- Cooling: Allow the browkies to cool completely before cutting to ensure clean, neat slices.
- Doneness Cues: The browkies are done when a toothpick inserted into the center comes out with a few moist crumbs.
Common Mistakes to Avoid:
- Overbaking the browkies, which can result in a dry, cake-like texture.
- Overmixing the batter, leading to tough browkies.
Recipe Variations
- Peanut Butter Swirl Browkies: Swirl in some peanut butter before baking for a delicious twist.
- Nutty Browkies: Add chopped nuts like walnuts or pecans for added crunch.
- Mint Chocolate Browkies: Mix in some mint extract and use mint chocolate chips for a refreshing flavor.
- Gluten-Free Browkies: Use a 1:1 gluten-free flour blend to make these suitable for those with gluten sensitivities.
- Vegan Browkies: Substitute the eggs with a flaxseed mixture and use vegan butter and chocolate chips.
- Caramel Swirl Browkies: Drizzle caramel sauce over the batter before baking for a sweet surprise.
- Espresso Browkies: Add a teaspoon of instant espresso powder to enhance the chocolate flavor.
- White Chocolate Browkies: Use white chocolate chips instead of semi-sweet for a different taste experience.
Serving Suggestions
- With Ice Cream: Serve warm browkies with a scoop of vanilla ice cream for a decadent dessert.
- As a Snack: Enjoy these browkies with a glass of milk or a cup of coffee for a satisfying snack.
- At Parties: Cut into smaller squares and serve at parties or gatherings for a crowd-pleasing treat.
- With Fruit: Pair with fresh berries for a balance of sweetness and tartness.
- Presentation Tips: Dust with powdered sugar or drizzle with chocolate syrup for an elegant touch.
Storage & Make-Ahead Tips
- Room Temperature Storage: Store browkies in an airtight container at room temperature for up to 5 days.
- Freezing: Freeze browkies in an airtight container for up to 3 months. Thaw at room temperature before serving.
- Make-Ahead: You can prepare the batter ahead of time and refrigerate it overnight. Bake as directed when ready.
- Reheating: Warm individual browkies in the microwave for 10-15 seconds for a fresh-from-the-oven taste.
Frequently Asked Questions
Q: Can I make this recipe ahead of time?
Yes, you can prepare the batter and refrigerate it overnight. Bake as directed when ready to serve.
Q: How do I know when the browkies are done?
The browkies are done when a toothpick inserted into the center comes out with a few moist crumbs. They should be set around the edges but slightly underdone in the center.
Q: Can I use a different type of chocolate?
Yes, you can use milk chocolate or dark chocolate chips instead of semi-sweet for a different flavor profile.
Q: How can I make these browkies gluten-free?
Use a 1:1 gluten-free flour blend in place of the all-purpose flour to make these browkies gluten-free.
Q: What can I do if my browkies are too dry?
If your browkies are too dry, you may have overbaked them. Try reducing the baking time by a few minutes next time, and check for doneness earlier.
Q: Can I add other mix-ins to the browkies?
Yes, you can add nuts, dried fruit, or even candy pieces to customize the browkies to your taste.
Q: How long will these browkies stay fresh?
Browkies will stay fresh for up to 5 days when stored in an airtight container at room temperature.
Q: Can I freeze these browkies?
Yes, you can freeze browkies in an airtight container for up to 3 months. Thaw at room temperature before serving.
Conclusion
These fudgy chewy browkies are the perfect dessert for any chocolate lover. With their irresistible texture and rich flavor, they’re sure to become a favorite in your household. Give this recipe a try and enjoy the ultimate chocolate experience.
Don’t forget to share your results on social media and let us know how you liked them. Happy baking!

The Best Fudgy Chewy Browkies (Brookies)
- Author: Amelia
- Prep Time: 20 minutes
- Cook Time: 25 minutes
- Total Time: 45 minutes
- Yield: 16 servings
- Category: Dessert
- Cuisine: American
Description
These fudgy chewy browkies combine the best of brownies and cookies into one irresistible dessert. Perfect for chocolate lovers, this recipe is easy to follow and yields delicious results every time.
Ingredients
Instructions
-
Preheat your oven to 350°F (175°C). Line a 9x13 inch baking pan with parchment paper, leaving some overhang for easy removal.
-
In a large bowl, mix together the melted butter, granulated sugar, and brown sugar until well combined. Add the eggs and vanilla extract, and mix until smooth.
-
In a separate bowl, whisk together the flour, cocoa powder, baking powder, and salt. Gradually add the dry ingredients to the wet ingredients, mixing until just combined. Fold in the chocolate chips.
-
Spread the batter evenly into the prepared baking pan. Bake for 25-30 minutes, or until a toothpick inserted into the center comes out with a few moist crumbs. Be careful not to overbake, as you want the browkies to remain fudgy and chewy.
-
Allow the browkies to cool completely in the pan before lifting them out using the parchment paper. Cut into 16 squares and serve.
Notes
- Chef's Tips:
- For a more fudgy texture, slightly underbake the browkies.
- Avoid overmixing the batter to prevent tough browkies.
- Serve with a scoop of vanilla ice cream for an extra indulgent treat.
- Food Safety:
- Ensure eggs are fresh and stored properly to avoid foodborne illness.
- Store browkies in an airtight container at room temperature for up to 5 days.