

There’s a certain magic to a dessert that feels both decadent and disarmingly simple. Imagine the comforting scent of cinnamon and baked apples wafting from your oven, promising a treat that’s more about cozy satisfaction than fussy technique. That’s the essence of Swedish Apple Pie, or Äppelkaka.
Unlike its American cousin, this dessert forgos the traditional rolled crust entirely. Instead, sweet, spiced apples are blanketed with a rich, buttery batter that bakes into a golden, cobbler-meets-cookie topping. It’s the pie for people who think they can’t make pie, and after 15 years of testing recipes, I can confidently say it’s one of the most reliable and beloved desserts in my repertoire.
You get all the nostalgic flavor with a fraction of the effort.
This recipe earns its spot in your regular rotation for so many practical reasons. Here’s why it’s a perpetual winner:
- No Pastry Skills Required: The biggest hurdle in pie-making—the crust—is completely eliminated. There’s no chilling, rolling, or blind-baking.
- One-Bowl Simplicity: The topping comes together in a single bowl with a simple melt-and-mix method. Minimal dishes are always a win.
- Forgiving and Flexible: The ingredient ratios are forgiving, and it accommodates various apple types and several easy substitutions (which we’ll cover).
- Spectacular Texture Contrast: You get tender, juicy apples underneath a crisp-edged, soft-centered, almost sugar-cookie-like topping. It’s a perfect duo.
- Fast from Start to Finish: With just 15 minutes of hands-on prep, you can have this dessert in the oven and filling your kitchen with incredible aromas.
- Crowd-Pleasing Comfort: It’s universally loved, equally at home at a casual weeknight dinner or a holiday potluck.
Recommended Tools for This Recipe
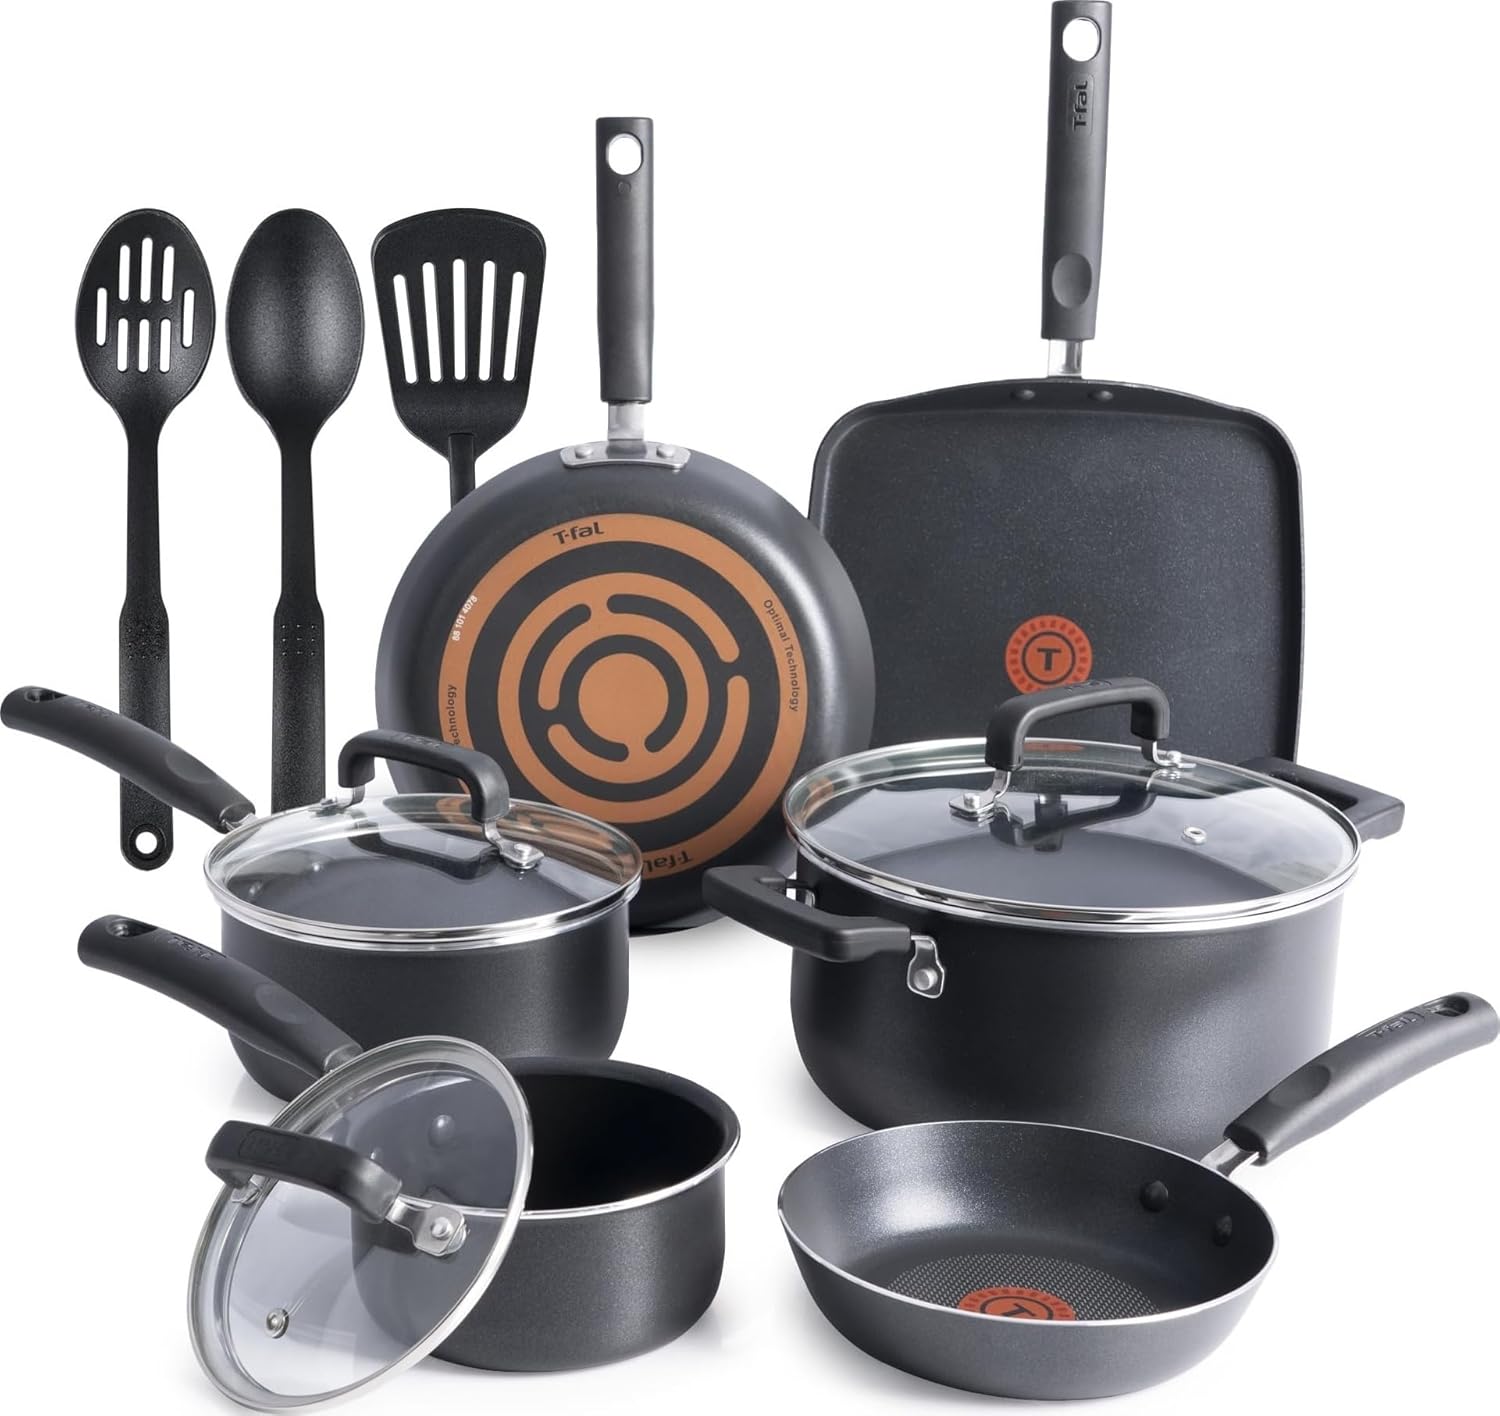


As an Amazon Associate, we may earn a small commission from qualifying purchases — at no extra cost to you.
Ingredients You’ll Need
- Let’s gather our ingredients—this is where simple pantry staples transform into something special. The beauty of this recipe lies in its accessibility. You likely have most of these items on hand already.
For the apple base, you’ll need about 4-5 medium apples. I recommend a mix for depth of flavor: Granny Smith for tartness and structure, and Honeycrisp or Fuji for sweetness and softness. You’ll also need a tablespoon of granulated sugar and a teaspoon of ground cinnamon to coat them.
The topping is where the magic happens. You need all-purpose flour, another cup of granulated sugar, baking powder, and a pinch of salt. The wet ingredients are simply one beaten large egg and a full three-quarters cup of unsalted butter, melted.
Yes, that’s a generous amount of butter—it’s what creates the topping’s irresistibly rich and crisp texture. Using unsalted butter allows you to control the seasoning. If you only have salted butter, simply omit the added salt in the recipe.

Note: You’ll find the complete list of ingredients, along with their exact measurements, in the printable recipe card at the bottom of this post.
Kitchen Equipment Needed
You don’t need any specialty tools for this recipe. The essentials are a 9-inch deep-dish pie plate or a 9×9 inch square baking dish. I strongly recommend a deep-dish version to prevent any juicy bubbling over in the oven.
You’ll also need a large mixing bowl for the apples, a medium bowl for the topping batter, a whisk, a spatula, and your standard measuring cups and spoons. A peeler and sharp knife for the apples will get you started. That’s truly it!
How to Make Swedish Apple Pie Recipe
Step 1: Prep and Spice the Apples
Preheat your oven to 350°F (175°C). Grease your baking dish well. Now, peel, core, and thinly slice your apples.
I aim for slices about 1/4-inch thick—thin enough to soften beautifully but thick enough to retain some texture. Toss them in a large bowl with the tablespoon of sugar and teaspoon of cinnamon until every slice is lightly coated. This step draws out a bit of the apple’s juice and ensures every bite is perfectly spiced.
Spread the apples in an even layer in your prepared dish.
Step 2: Whisk the Dry Topping
In your medium bowl, whisk together the flour, the full cup of sugar, baking powder, and salt. Tip from me: Take an extra 30 seconds to whisk this thoroughly. You want the baking powder and salt completely distributed to guarantee your topping bakes up evenly, without any bitter pockets.
This dry mix is the foundation for our simple, crumbly-cakey topping.
Step 3: Create the Batter
Make a well in the center of your dry ingredients. Pour in the beaten egg and the melted butter that has had a minute or two to cool slightly (you don’t want it to cook the egg). Now, use a fork or spatula to stir until just combined.
Believe me, the mixture will look thick, shaggy, and perhaps a bit uneven—that’s perfect. Overmixing can lead to a tough topping. A few dry streaks are okay; they’ll hydrate in the oven.
Step 4: Top and Bake
This is the satisfying part. Drop large spoonfuls of the thick batter all over the spiced apples. Don’t stress about making it perfect; just aim for somewhat even coverage.
Gently spread or pat the batter with the back of your spoon, but leave some small gaps. These gaps are crucial—they let steam escape from the bubbling apples, preventing a soggy topping and helping it turn a beautiful, deep golden brown.
Step 5: Cool, Slice, and Serve
Bake for 40-45 minutes. You’re looking for a uniformly deep golden-brown topping and bubbling juices around the edges. A toothpick inserted into the topping should come out clean.
Here’s a pro tip: Let the pie cool in the pan on a wire rack for at least 20-30 minutes. It will be very juicy right out of the oven. This resting time allows the juices to thicken slightly and the topping to set, making it much easier to slice and serve.
Step back and admire your work, then serve it warm, ideally with a scoop of melting vanilla ice cream.
A few insights from the professional kitchen can elevate your results from good to exceptional:
- Apple Selection is Key: For the best texture and flavor balance, use a mix of apple varieties. Combine a firm, tart apple (like Granny Smith) with a sweeter, softer one (like Honeycrisp or Braeburn). This gives you complexity in both taste and texture.
- The Butter Temperature Matters: Let your melted butter cool for 2-3 minutes before adding it to the dry ingredients and egg. If it’s too hot, it can start to cook the egg, creating small curds and affecting the texture of your topping.
- Don’t Skip the Resting Time: I know it’s tempting to dive right in, but allowing the pie to cool for that 20-30 minute window is non-negotiable for the ideal serving consistency. The filling will thicken, and the topping will firm up just enough.
- Test for Doneness Visually: The topping should be a rich, golden brown all over, not just at the edges. If the center still looks pale or wet, give it a few more minutes. The bubbling apple juices around the perimeter are your second visual cue that it’s ready.
- Storage Affects Texture: This pie is best served the day it’s made when the topping is at its peak contrast of crisp and soft. If storing, see my detailed instructions below to best preserve quality.
Recipe Variations
- The simple formula of this Swedish Apple Pie is a wonderful canvas for customization. Here are some tested variations I love:
- Nutty Crunch: Stir 1/2 cup of chopped pecans or walnuts into the batter before spooning it over the apples. The nuts toast in the oven, adding wonderful flavor and texture.
- Oatmeal Spice: Replace 1/4 cup of the all-purpose flour with old-fashioned rolled oats and add an extra 1/2 teaspoon of cinnamon or a pinch of nutmeg to the dry ingredients for a heartier, breakfast-inspired twist.
- Gluten-Free Version: Use a 1:1 gluten-free all-purpose flour blend in place of the regular flour. I’ve had great success with brands that contain xanthan gum already included.
- Maple Brown Sugar: Replace the 1 cup of white sugar in the topping with 3/4 cup packed light brown sugar. The molasses notes add a deeper, caramel-like flavor that pairs beautifully with the apples.
- Berry Apple Medley: Reduce the apples to 4 cups and scatter 1-2 cups of fresh or frozen blueberries, raspberries, or blackberries over them before adding the topping. The berries create a gorgeous, jewel-toned filling.
- Dairy-Free Adaptation: Use a high-quality plant-based butter stick (not spread) in equal measure. The results are remarkably similar.
What to Serve With This Recipe
Swedish Apple Pie is a complete dessert on its own, but the right accompaniments turn it into an event. A scoop of high-quality vanilla ice cream is the classic and perfect pairing—the cold creaminess against the warm, spiced apples is timeless. For a lighter touch, a dollop of freshly whipped cream or a drizzle of custard sauce is delightful.
Beverage-wise, it pairs wonderfully with a cup of strong coffee or black tea in the afternoon. For an evening dessert, a glass of late-harvest Riesling or a sweet sherry complements the sweetness beautifully. It’s an ideal dessert for autumn gatherings, Thanksgiving feasts (as a stunning alternative to traditional pie), or any time you need a reliably delicious, comforting end to a meal.
Storage & Make-Ahead Instructions
- To store any leftovers, let the pie cool completely, then cover the baking dish tightly with plastic wrap or transfer slices to an airtight container. It will keep in the refrigerator for 3-4 days. The topping will soften in the fridge, but the flavor remains excellent.
For longer storage, you can freeze the baked pie. Cool it completely, wrap the entire dish (or individual slices) tightly in plastic wrap and then foil. Freeze for up to 2 months.
Thaw overnight in the refrigerator.
Reheating is best done in the oven. Place slices or the whole pie (covered with foil if the topping is already dark) in a 300°F (150°C) oven for 10-15 minutes, or until warmed through. This helps re-crisp the topping better than a microwave, which can make it soggy. You can assemble the pie (apples topped with batter) in the dish, cover, and refrigerate for up to 8 hours before baking—just add 5-10 minutes to the bake time if going straight from the fridge to the oven.Frequently Asked Questions
Q: What are the best apples to use for Swedish Apple Pie?
A: A mix is best! Use a firm, tart apple like Granny Smith for structure and a sweeter, softer apple like Honeycrisp, Fuji, or Braeburn for flavor and juiciness. This combination prevents the filling from becoming too mushy or too firm.
Q: Can I make this recipe gluten-free?
A: Absolutely. Use a reliable 1:1 gluten-free all-purpose flour blend that contains xanthan gum. I’ve tested this successfully, and the results are nearly identical to the original.
Q: My topping sank into the apples. What happened?
A: This usually occurs if the batter was overmixed (developing too much gluten, making it heavy) or if the apples were piled too high, creating excess moisture. Ensure your batter is just mixed and your apple layer is even, not mounded.
Q: Can I reduce the amount of sugar?
A: You can cautiously reduce the sugar in the topping by 1/4 cup. The apples do need some sweetness, so I don’t recommend reducing the sugar tossed with them. The texture of the topping may become slightly less tender with less sugar.
Q: How do I know when the pie is done baking?
A: Look for three signs: 1) The topping is a deep, golden brown across the entire surface. 2) The apple juices are visibly bubbling at the edges of the dish. 3) A toothpick inserted into the center of the topping (not the apples) comes out clean or with dry crumbs.
Q: Can I use frozen apples?
A: I don’t recommend it. Frozen apples release a tremendous amount of water during baking, which can lead to a soggy, undercooked topping and a watery filling. Fresh apples are essential for the right texture.
Q: Is this the same as Swedish Apple Cake?
A: They are very similar cousins! The names are often used interchangeably. Generally, Äppelkaka (apple cake) might have a slightly more cake-like, risen batter, while this pie version has a denser, richer, more cookie-dough-like topping.
The method and spirit are the same.
Final Thoughts
This Swedish Apple Pie recipe embodies what I love most about cooking: creating maximum joy with minimal stress. It’s a testament to how humble ingredients, treated with a bit of know-how, can become a dessert that feels both special and comforting. It has never failed me in a professional or home setting, and I hope it becomes a trusted favorite in your kitchen as well.
The simplicity is its superpower—no special equipment, no finicky techniques, just a straightforward path to a delicious result. I encourage you to try it, play with the variations, and make it your own. When you pull that golden-brown pie from your oven and see the bubbling apples beneath, you’ll understand the magic.
Please let me know how it turns out for you! Share your creations online and tag me—I love seeing your baking successes. And if you’re looking for more simple, foolproof desserts, explore the other recipes on the blog.
Happy baking

Swedish Apple Pie
- Author: Amelia
- Prep Time: 15 minutes
- Cook Time: 45 minutes
- Total Time: 1 hour
- Yield: 8 servings
- Category: Dessert
- Cuisine: Swedish
Description
This incredibly simple Swedish Apple Pie features sweet, spiced apples baked under a rich, buttery, cake-like topping. No rolling pin or pie crust required—just mix, pour, and bake for a comforting dessert that feels like a hug.
Ingredients
Instructions
-
Preheat your oven to 350°F (175°C). Grease a 9-inch deep-dish pie plate or a 9x9 inch square baking dish. In a large bowl, toss the thinly sliced apples with 1 tablespoon of sugar and 1 teaspoon of cinnamon until evenly coated. Spread the apples in an even layer in your prepared baking dish. Trust me, slicing the apples thinly (about 1/4-inch thick) ensures they soften perfectly during baking.
-
In a medium bowl, whisk together the flour, the remaining 1 cup of sugar, baking powder, and salt. This creates the dry base for our magical topping. Tip from me: Whisking the dry ingredients well prevents any pockets of baking powder, ensuring an even rise and texture.
-
Make a well in the center of the dry ingredients. Pour in the beaten egg and the melted, slightly cooled butter. Use a fork or spatula to stir until just combined. The mixture will be thick, almost like a very wet cookie dough or a thick batter. Don't overmix—a few lumps are perfectly fine.
-
Now for the fun part! Drop spoonfuls of the batter evenly over the apples. Don't worry about spreading it perfectly; it will melt and spread as it bakes. Use the back of your spoon to gently nudge the batter into a somewhat even layer, but leave some gaps for the steam from the apples to escape.
-
Bake for 40-45 minutes, or until the topping is a deep, golden brown all over and a toothpick inserted into the topping comes out clean. The apples should be tender and bubbling around the edges. Let the pie cool in the pan on a wire rack for at least 20-30 minutes before serving. This allows the topping to set slightly for easier slicing. Serve warm, ideally with a scoop of vanilla ice cream.
Notes
- Chef's Tips:
- For the best texture, let the pie cool for 30 minutes; it will be very liquid when hot.
- A common mistake is using a shallow pie dish, which can cause bubbling over. Use a deep-dish version.
- Serve with vanilla ice cream or lightly sweetened whipped cream to balance the richness.
- Food Safety:
- Allow pie to cool to a safe handling temperature before serving.
- Refrigerate leftovers within 2 hours of baking.


