

There’s a particular kind of kitchen magic that happens when simple apples meet a hot pan. It’s the scent of butter browning, sugar caramelizing, and cinnamon warming that signals comfort, versatility, and effortless elegance. As a chef, I turn to this technique more often than you might think—not just for dessert, but to elevate a weekday breakfast, to crown a scoop of vanilla ice cream, or to create a stunning side for a holiday roast.
This isn’t just about cooking fruit; it’s about transforming a humble ingredient into a glossy, tender, deeply flavorful component that makes any dish feel special. Let me show you the professional tricks to perfect sautéed apples every single time.
This recipe is a cornerstone of my culinary toolkit for good reason. Here’s why it will become one of yours too.
- 5-minute prep, 10-minute cook: From peeling to plating, you’re about 15 minutes away from a restaurant-quality result. It’s the ultimate “fast fancy” trick.
- Endlessly versatile: Serve them over pancakes, alongside pork chops, mixed into oatmeal, or on top of cheesecake. One recipe, a dozen applications.
- Pantry-staple ingredients: You likely have everything you need already. It’s a delicious way to use up apples before they soften.
- Kid-approved & crowd-pleasing: The natural sweetness and familiar spice profile make this a hit with all ages. It’s a fantastic “gateway” to cooked fruits for picky eaters.
- Customizable foundation: The base recipe is perfect as-is, but it’s also a blank canvas. I’ll show you how to tweak it for everything from a boozy dessert to a savory side.
- Texture perfection: We aim for tender slices that hold their shape, not applesauce. The technique ensures a satisfying bite with a silky, caramelized glaze.
Recommended Tools for This Recipe

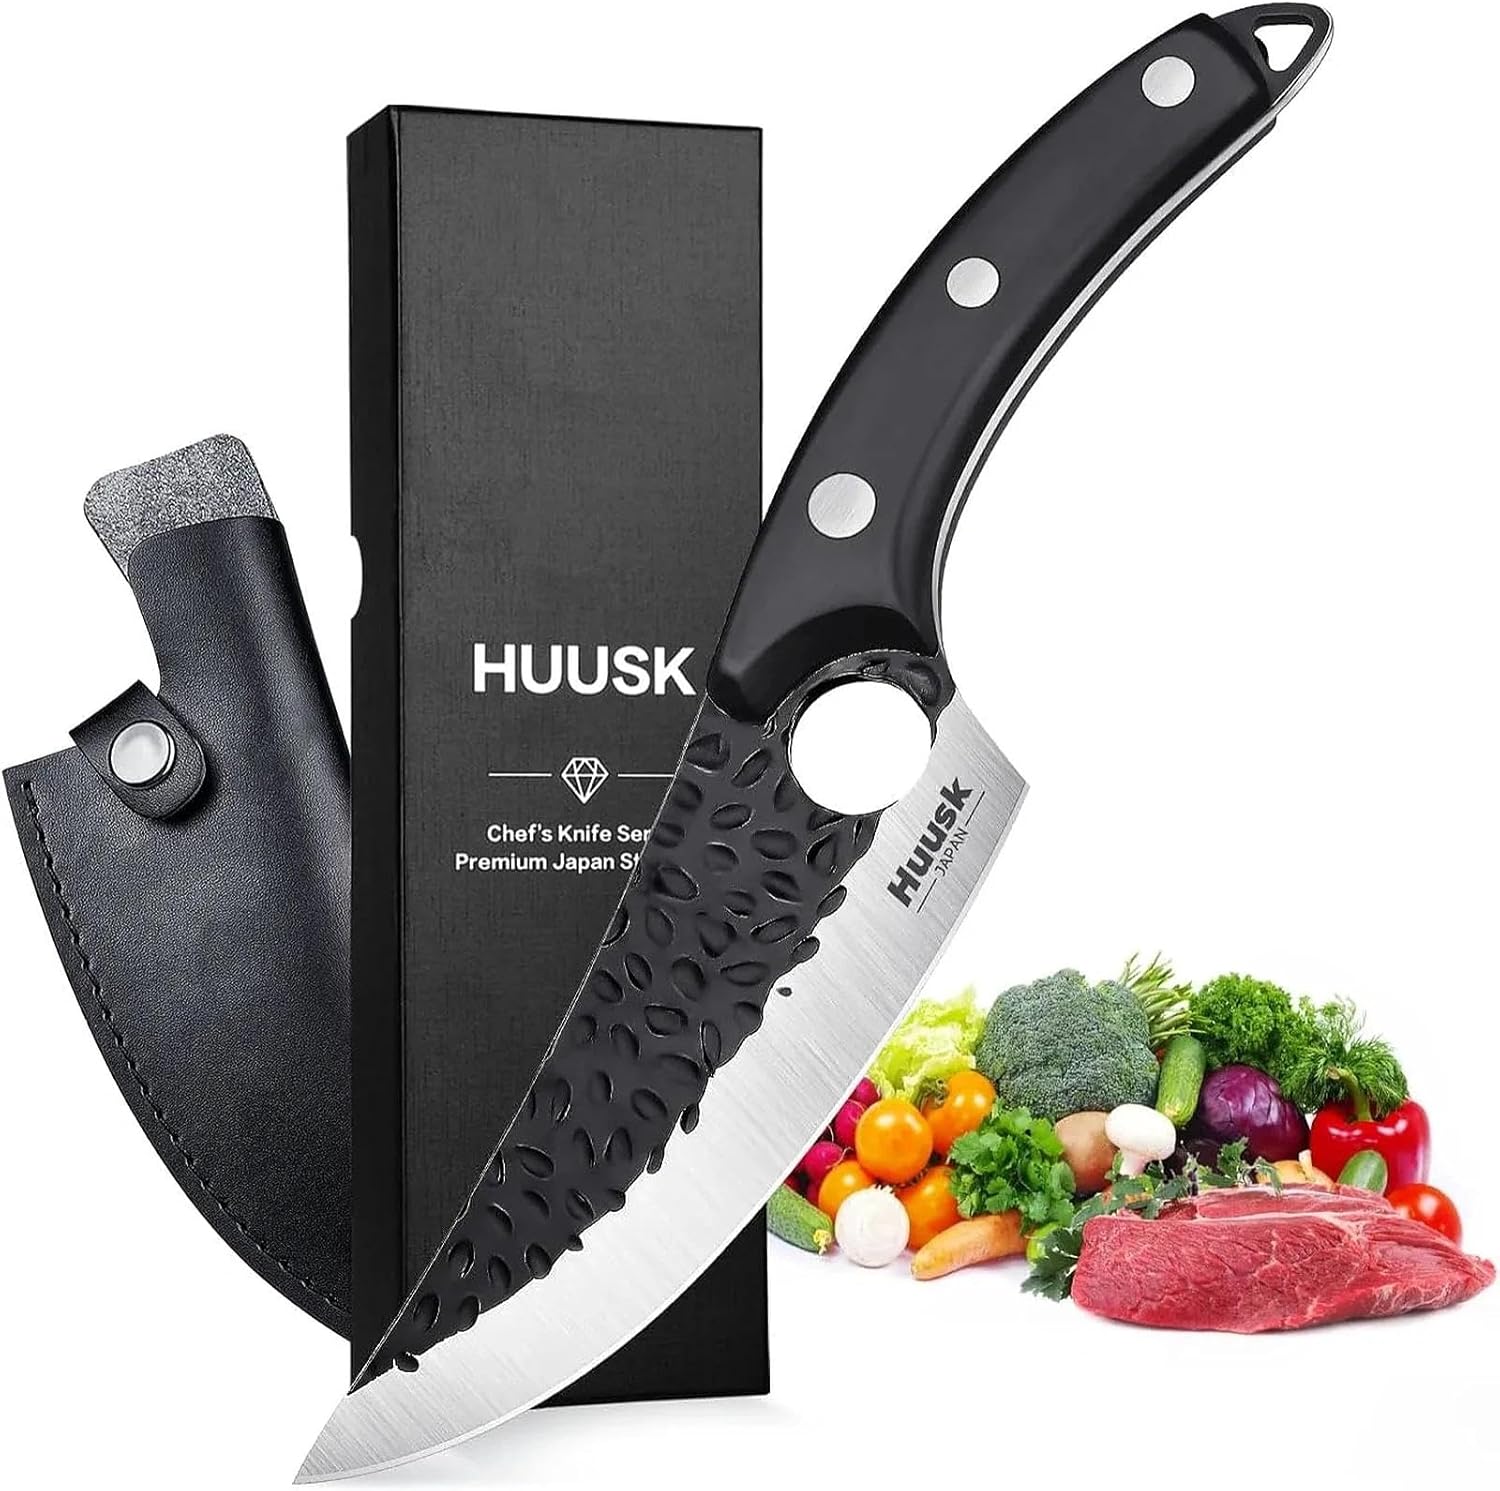

As an Amazon Associate, we may earn a small commission from qualifying purchases — at no extra cost to you.
Ingredients You’ll Need
- Let’s gather our ingredients—this short list is where the simple magic begins. Choosing the right components here makes all the difference in your final dish.
The star, of course, is the apples. For the best flavor and texture that won’t turn to mush, I recommend a mix. Use one firm, tart variety like Granny Smith or Braeburn for structure, and one sweeter, aromatic variety like Honeycrisp, Fuji, or Gala for depth. This combination gives you a complex flavor profile and ensures some slices soften while others retain a pleasant bite.
For fat, unsalted butter is my first choice for its rich flavor and excellent caramelizing properties. Brown sugar adds a molasses depth that pairs beautifully with apples, but the amount is easily adjusted. The cinnamon should be fresh and fragrant—if your spice jar is older than a year, trust me, it’s time for a new one.
A pinch of kosher salt is non-negotiable; it amplifies all the other flavors. Finally, the vanilla extract added off the heat provides a beautiful aromatic finish that ties everything together.

Note: You’ll find the complete list of ingredients, along with their exact measurements, in the printable recipe card at the bottom of this post.
Kitchen Equipment Needed
You don’t need any special gadgets for this recipe. A large skillet (10-12 inches) is essential. I prefer stainless steel or well-seasoned cast iron because they conduct heat evenly and promote the beautiful fond (those tasty browned bits) that builds flavor.
A non-stick pan will work, but you won’t get the same depth of caramelization. You’ll also need a sharp chef’s knife for easy, even slicing, a cutting board, a wooden spoon or flexible spatula for stirring, and basic measuring spoons. That’s it!
How to Make Sautéed Apples Recipe
Step 1: Prep and Slice the Apples
Start by peeling your apples. While leaving the skin on adds fiber, peeling gives you that classic, tender texture and allows the sauce to cling perfectly. Core them and slice into uniform 1/4-inch thick slices.
Believe me, taking the time for even slices is the secret to consistent cooking—no one wants some pieces raw while others are soft. A mix of apple types here is your best bet for a balanced result.
Step 2: Heat the Butter to Foaming
Place your large skillet over medium heat and add the butter. Let it melt completely and begin to foam. You’ll see little bubbles and hear a gentle sizzle.
This stage is crucial; the foaming butter is hot enough to immediately start cooking the apples upon contact, which sears the surfaces and locks in flavor. Don’t let it turn brown, or it will taste bitter.
Step 3: Sear the Apple Slices
Carefully add all the apple slices to the hot, foamy butter. Spread them out into as even a layer as possible. Now, here’s a pro tip: let them cook undisturbed for a full 3-4 minutes.
This allows one side to develop gorgeous golden-brown spots—that’s flavor! After that time, give them one good stir to flip most of the slices.
Step 4: Add the Sugar and Spices
Sprinkle the brown sugar, cinnamon, nutmeg, and that important pinch of salt evenly over the apples. Gently toss everything together. You’ll see the sugar start to dissolve into the butter, creating a fragrant, bubbling syrup in the bottom of the pan.
The aroma at this point is absolutely heavenly. Continue cooking, stirring occasionally, for another 4-5 minutes.
Step 5: Finish and Serve Warm
The apples are done when they are tender when pierced with a fork but still hold their shape—think al dente, not applesauce. They should be coated in a glossy, thickened syrup. Remove the skillet from the heat and immediately stir in the vanilla extract.
The residual heat will bloom its flavor without cooking it off. Step back and admire your work, then serve immediately while warm and glorious.
A few chef-level insights will guarantee your success every time you make this.
- Apple selection is key: Always choose firm, crisp apples. Soft varieties like Red Delicious will become mealy and fall apart. For the best structure, Granny Smith, Honeycrisp, and Braeburn are my top picks.
- Control the heat: Medium heat is your friend. Too high, and the sugar will burn before the apples cook through. Too low, and they’ll steam and become soggy. You want a steady, active sizzle.
- Don’t crowd the pan: If you pile in too many apples, they’ll steam instead of sauté. If your skillet is on the smaller side, cook in two batches. It takes an extra minute but makes a world of difference in texture.
- The finish makes the flavor: Always add delicate flavorings like vanilla, citrus zest, or a splash of liquor after removing the pan from the heat. This preserves their bright, aromatic qualities.
- Test for doneness: The apples are perfectly cooked when a paring knife or fork tip meets slight resistance in the center—they will continue to soften from residual heat. It’s better to slightly undercook than overcook.
Recipe Variations
- This foundational recipe is begging for your personal touch. Here are some of my favorite tested variations.
- Bourbon Caramel Apples: After cooking, off the heat, stir in 1-2 tablespoons of bourbon or dark rum. Let it sizzle and reduce for 30 seconds. Divine over ice cream.
- Savory Herb Apples: Omit the cinnamon and nutmeg. Use only 1 tbsp of sugar or maple syrup. When you add the sugar, also add 1 tsp of fresh chopped thyme or rosemary. Perfect with roasted chicken or pork.
- Apple Cranberry Sauté: In the last 2 minutes of cooking, add 1/3 cup of fresh or frozen cranberries and a tablespoon of orange zest. The tart pop of cranberry is fantastic for the holidays.
- Ginger-Spiced Apples: Add 1 tablespoon of finely minced fresh ginger or 1/2 teaspoon of ground ginger with the cinnamon. Adds a warm, spicy kick.
- Vegan/Dairy-Free: Substitute the butter with an equal amount of coconut oil or a high-quality vegan butter. The coconut oil adds a lovely, subtle tropical note.
- Sugar-Free Option: Replace the brown sugar with a monk fruit or erythritol blend that measures like sugar, or use 1-2 tablespoons of pure maple syrup (though this adds sugar, it’s less refined). The texture of the sauce will be slightly thinner.
What to Serve With This Recipe
The beauty of sautéed apples is their incredible range. For a breakfast or brunch masterpiece, spoon them over fluffy pancakes, French toast, waffles, or stirred into oatmeal or yogurt. At dessert time, they are sublime atop vanilla ice cream, pound cake, cheesecake, or warm bread pudding.
In a savory context, they are a classic and elegant accompaniment to roasted pork tenderloin, seared pork chops, baked ham, or even alongside sharp cheddar on a cheese board. For a simple, satisfying snack, pair them with a dollop of ricotta or Greek cheese.
Storage & Make-Ahead Instructions
- While best served fresh, leftovers store beautifully. Let the apples cool completely, then transfer them to an airtight container. They will keep in the refrigerator for 3-4 days. You can also freeze them for up to 2 months in a freezer-safe container; note that the texture will be softer upon thawing. To reheat, warm gently in a saucepan over low heat, adding a tiny splash of water or apple cider if the sauce seems too thick. I do not recommend reheating in the microwave, as it can make the apples rubbery. You can make the apples up to a day ahead and gently reheat before serving.
Frequently Asked Questions
Q: Can I use pre-sliced or canned apples?
A: I don’t recommend it. Pre-sliced fresh apples are often treated to prevent browning, which can affect texture and taste. Canned apples are already cooked and will turn to mush when sautéed.
Fresh, whole apples are essential for this recipe’s success.
Q: My apples are too soft/mushy. What went wrong?
A: This usually means the heat was too low (causing them to steam) or they were cooked too long. Next time, use firmer apple varieties and keep the heat at a steady medium, testing for doneness a minute earlier.
Q: Can I make this sugar-free?
A: Absolutely. You can omit the sugar entirely for a more tart result, or use a sugar substitute like a monk fruit blend. Be aware that the sauce will not thicken or caramelize in the same way without sugar.
Q: The sauce is too thin/watery. How can I thicken it?
A: If your apples released more juice, simply continue cooking for an extra 1-2 minutes over medium heat, stirring frequently, to reduce the liquid. You can also mix 1/2 teaspoon of cornstarch with 1 teaspoon of cold water and stir it in during the last minute of cooking.
Q: Can I double this recipe?
A: Yes, but cook in two separate batches in the same skillet for the best results. Crowding the pan is the enemy of caramelization. You can keep the first batch warm in a low oven while you cook the second.
Q: What are the best apples for sautéing that won’t get mushy?
A: The champions for holding shape are Granny Smith, Honeycrisp, Braeburn, and Pink Lady. Avoid McIntosh, Red Delicious, or Golden Delicious for this application.
Q: Can I add other fruits?
A: Yes! Pears sauté beautifully alongside apples. You can also add a handful of berries (like blackberries or blueberries) in the last minute of cooking for a burst of color and flavor.
Final Thoughts
This recipe for sautéed apples is more than a formula—it’s a fundamental technique that belongs in every home cook’s repertoire. It embodies what I love most about cooking: taking a few ordinary, accessible ingredients and, with a little know-how, creating something extraordinary. The process is quick, the results are consistently impressive, and the applications are limitless.
Whether you dress up a weeknight dinner, create a stunning holiday side, or whip up a last-minute dessert that feels decadent, these apples deliver.
I encourage you to master this basic version first, then have fun exploring the variations. Make it your own. That’s where the real joy of cooking lives.
I’d love to hear how you serve yours—tag me on social media or leave a comment and rating. Now, grab those apples and let’s get sautéing

Perfect Sautéed Apples
- Author: Amelia
- Prep Time: 5 minutes
- Cook Time: 10 minutes
- Total Time: 15 minutes
- Yield: 4 servings
- Category: Breakfast
- Cuisine: American
Description
Tender, lightly caramelized apples sautéed with butter, warm spices, and a touch of sweetness. Ready in 15 minutes and endlessly versatile for topping pancakes, yogurt, ice cream, or pork chops.
Ingredients
Instructions
-
Prep the apples. Peel, core, and slice your apples into even 1/4-inch thick slices. Trust me, uniform slices ensure they cook at the same rate. A mix of sweet and tart apples like Honeycrisp and Granny Smith gives the best flavor balance.
-
Melt and foam the butter. In a large skillet (10-12 inches is ideal), melt the butter over medium heat. You want it to foam and become fragrant, but not brown. This takes about 1-2 minutes. Tip from me: Using a stainless steel or cast iron skillet promotes better caramelization than non-stick.
-
Sauté the apples. Add the apple slices to the foamy butter, spreading them in an even layer. Let them cook undisturbed for 3-4 minutes to get some golden color on one side. Resist the urge to stir constantly—this is key for developing flavor.
-
Add sugar and spices. Sprinkle the brown sugar, cinnamon, nutmeg, and salt over the apples. Gently toss to coat everything evenly. The sugar will begin to melt and mingle with the butter, creating a simple syrup in the pan. Believe me, your kitchen will smell incredible.
-
Finish and serve. Continue cooking for another 4-5 minutes, stirring occasionally, until the apples are tender but not mushy and the sauce has thickened slightly. Remove from heat and stir in the vanilla extract. Step back and admire your glossy, fragrant apples before serving warm.
Notes
- Chef's Tips:
- The apples will continue to soften slightly off the heat, so err on the side of slightly firm when testing doneness.
- A common mistake is crowding the pan. Cook in two batches if your skillet is smaller than 10 inches.
- Serve immediately for the best texture, or let cool slightly as a topping for ice cream or oatmeal.
- Food Safety:
- Cook apples to a minimum internal temperature of 160°F for safety, which this recipe easily exceeds.
- Store leftovers in a sealed container in the refrigerator and consume within 4 days.


