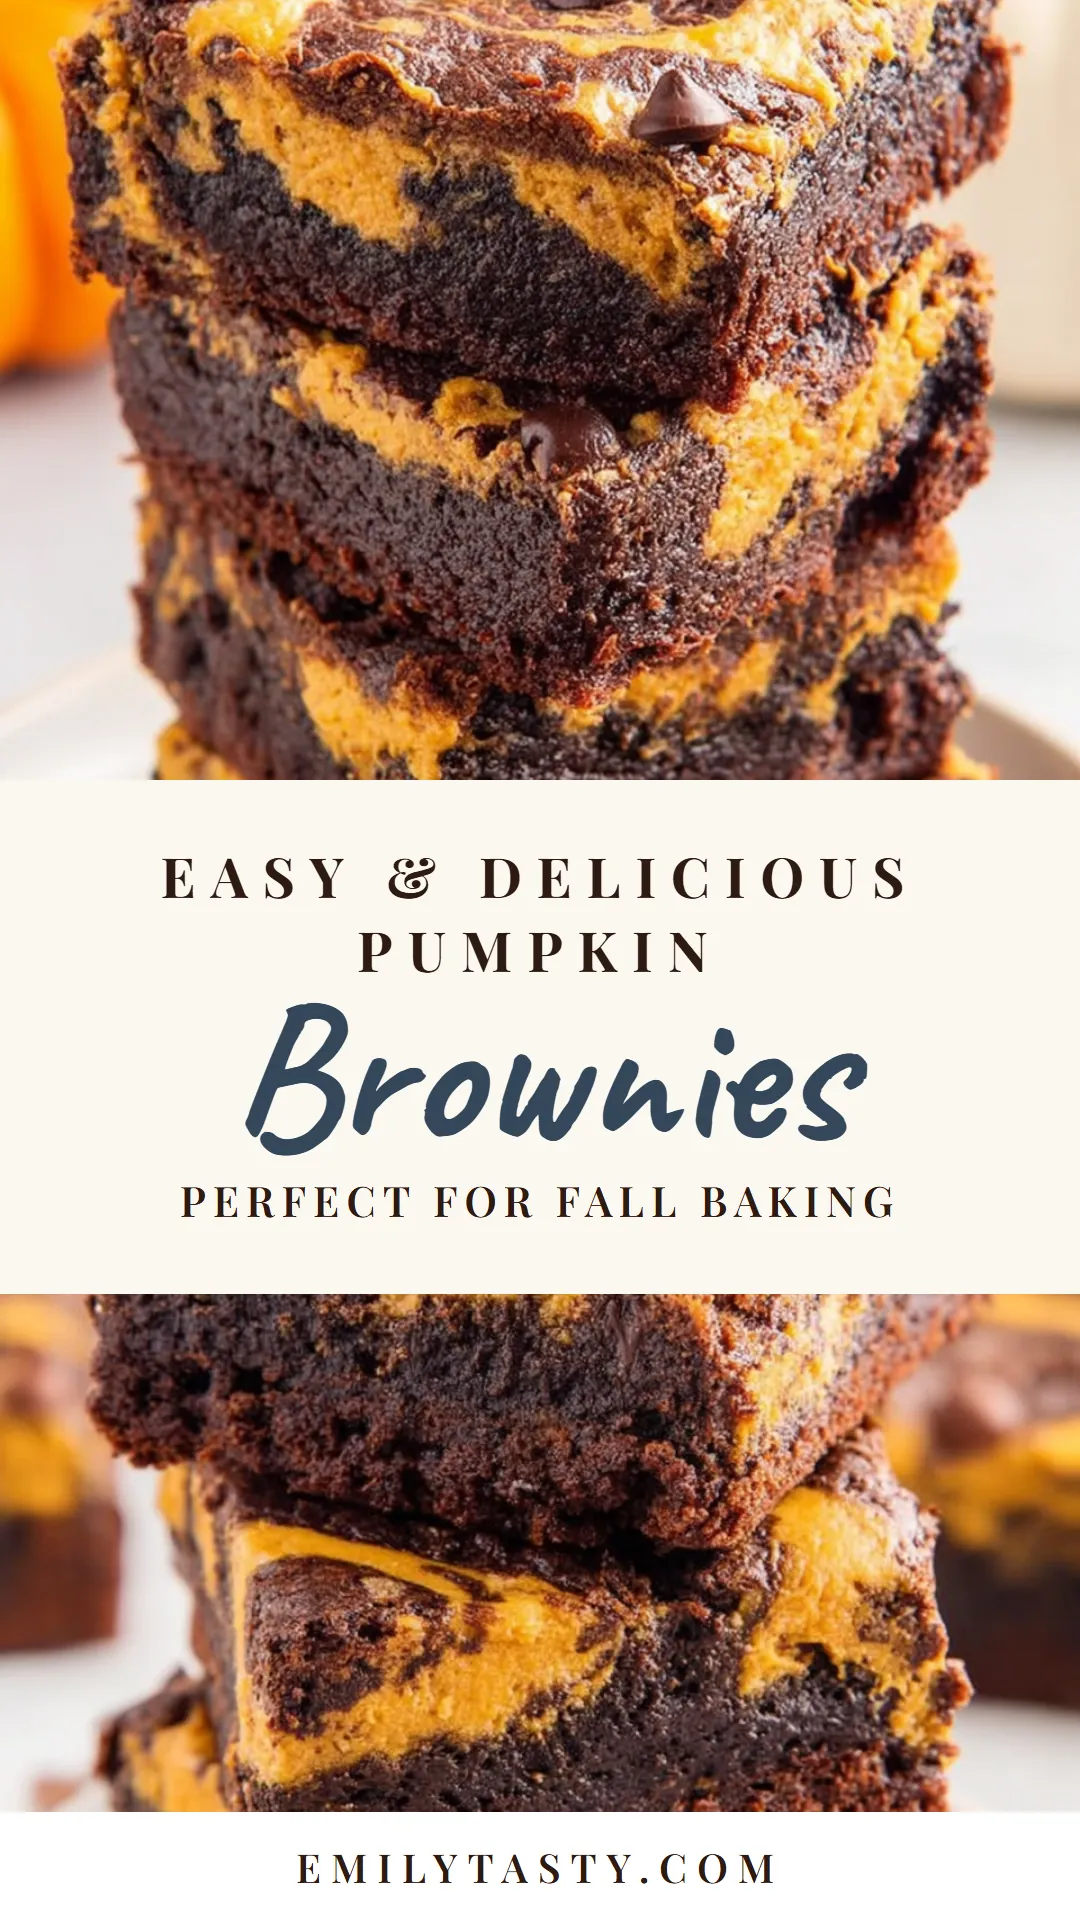
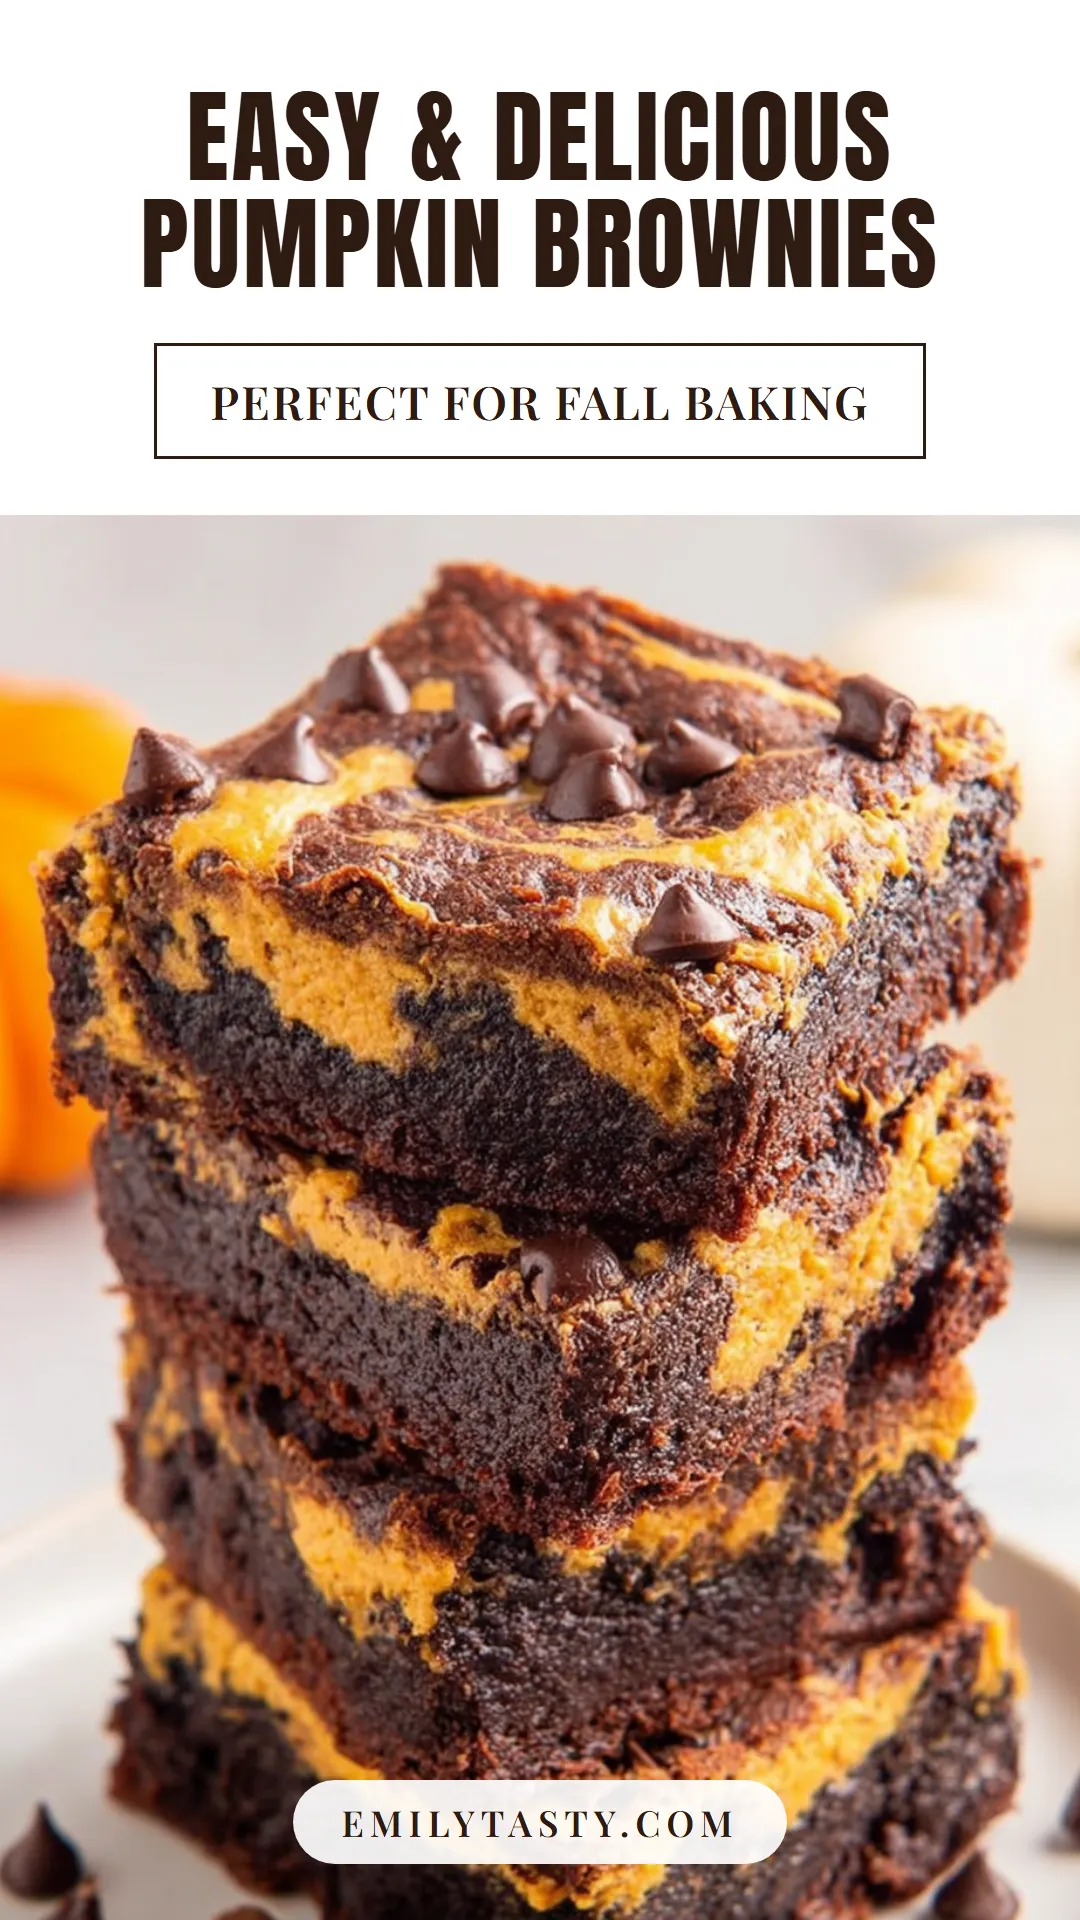
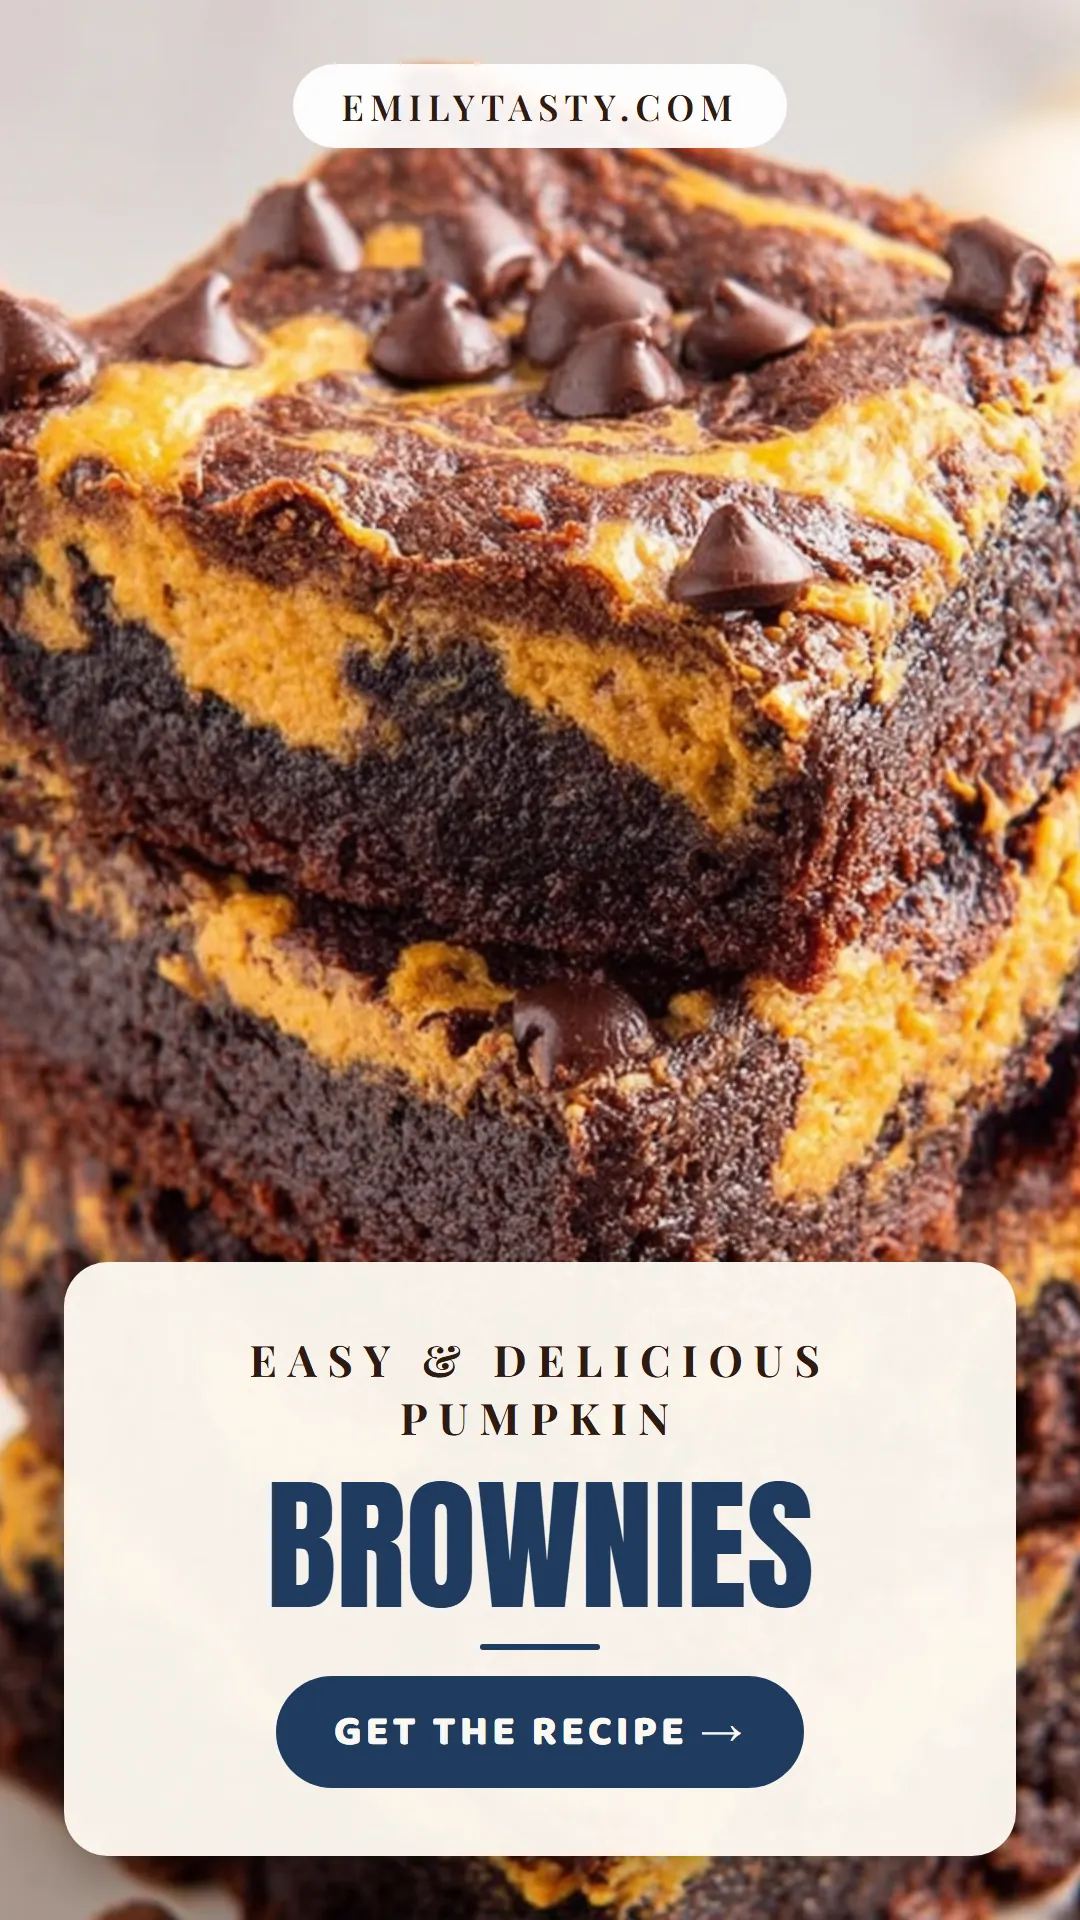
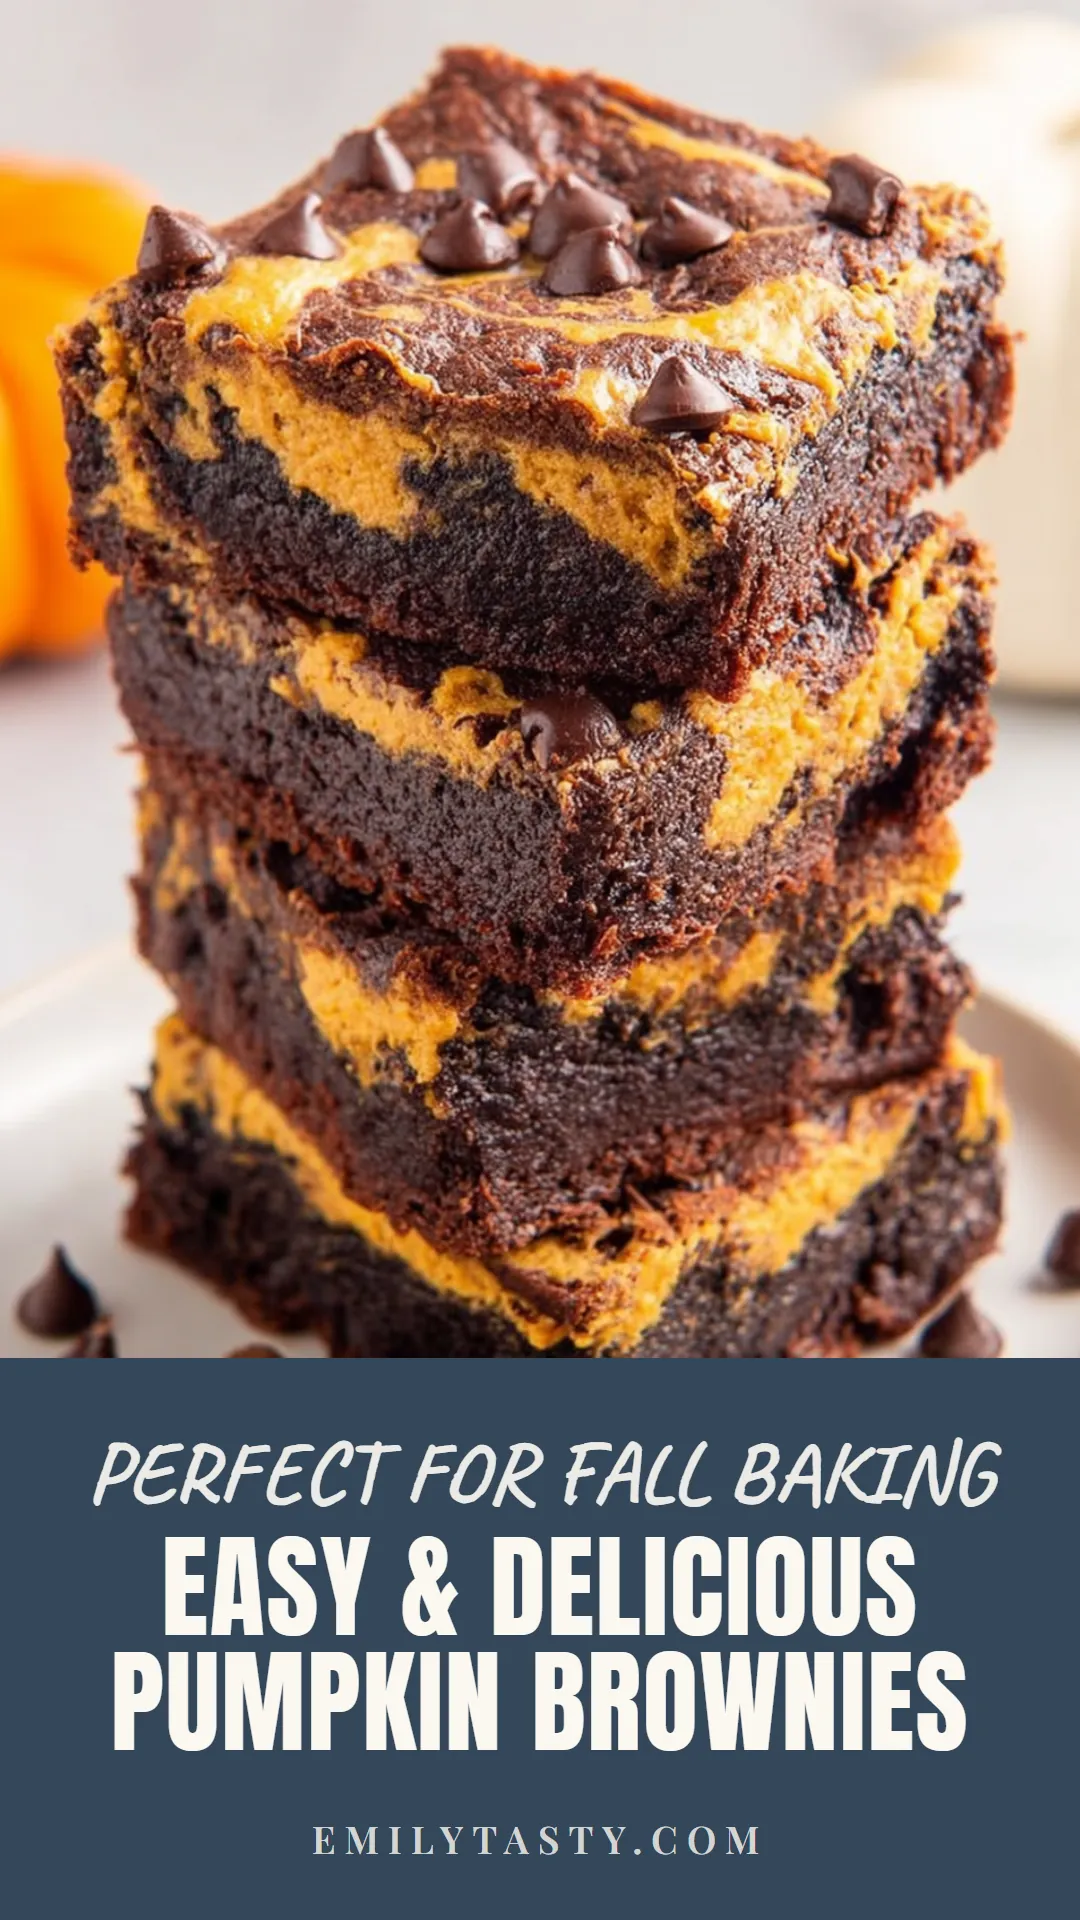
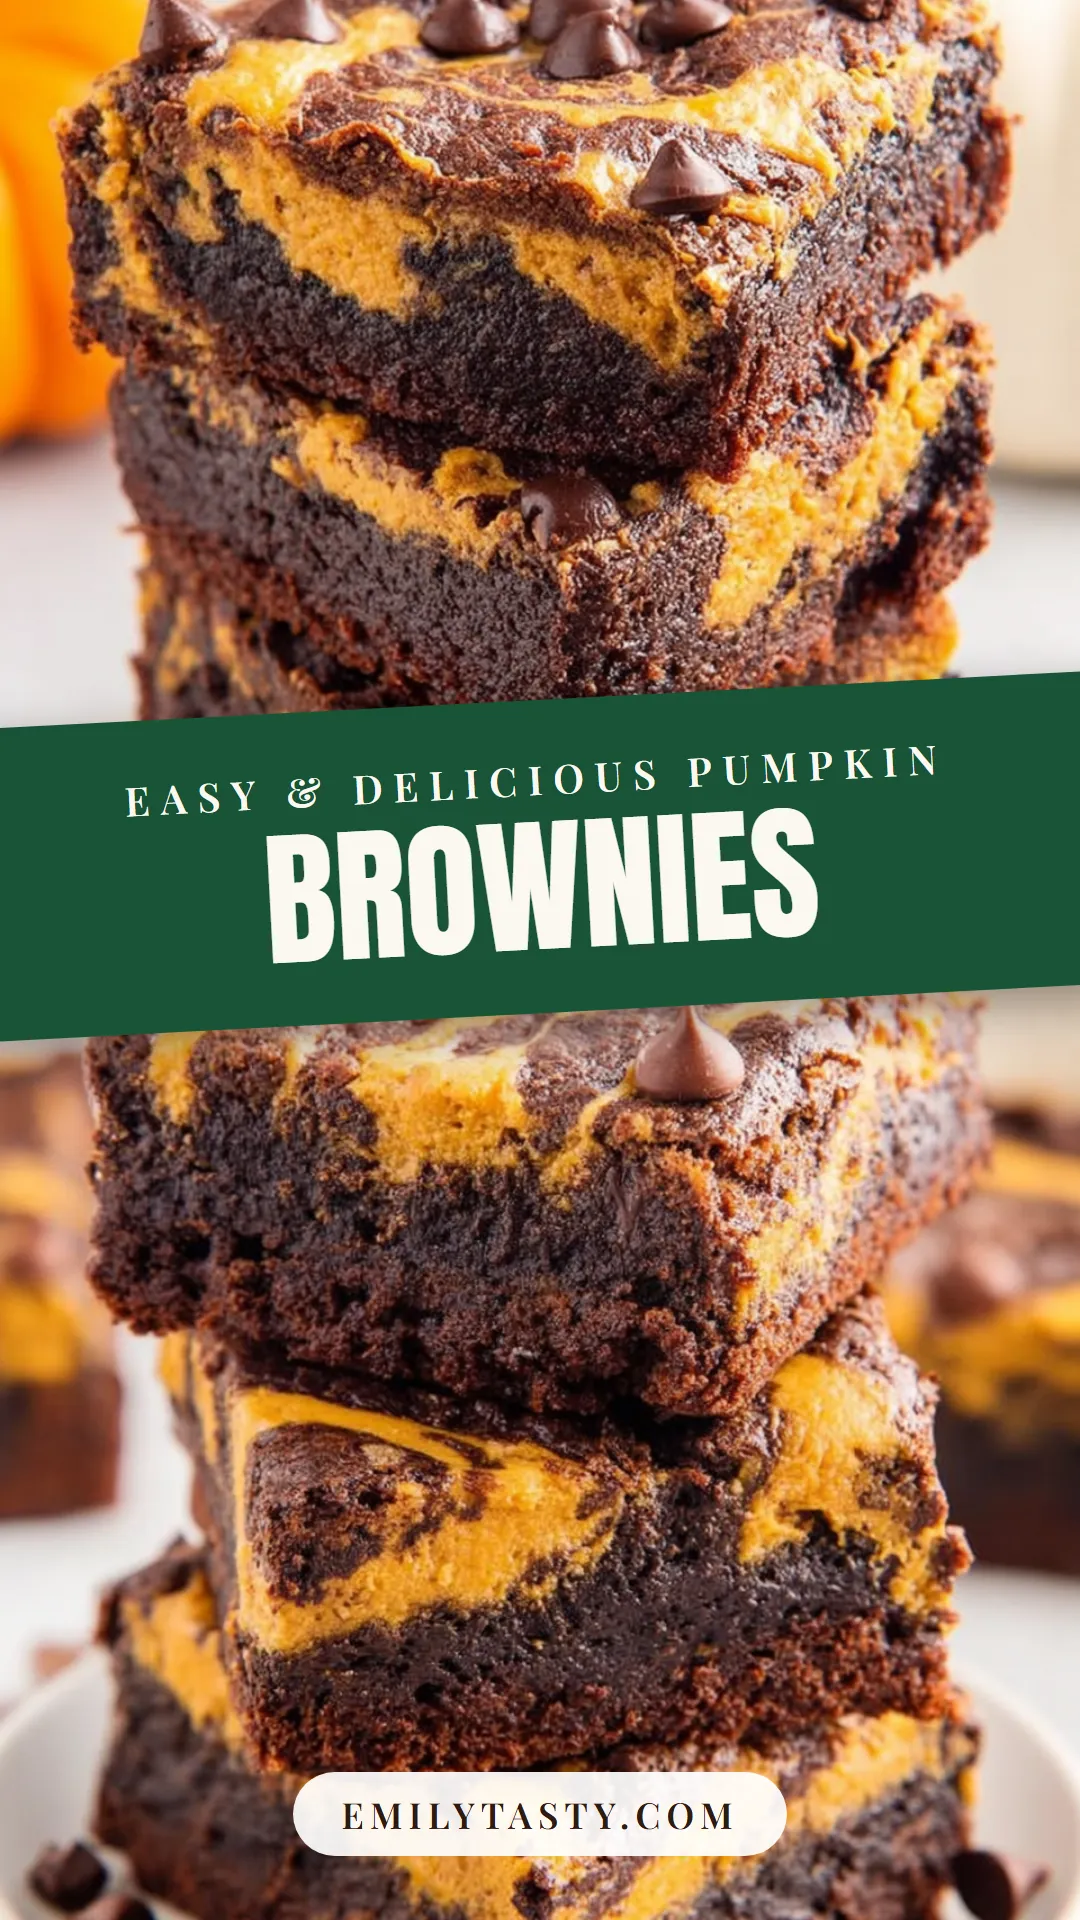
Hey there, friends! I’ve gotta tell ya, the first time I whipped up a batch of Pumpkin Brownies, I was a little skeptical about mixing pumpkin with chocolate. But oh my gosh, one bite, and I was hooked—these treats became an instant fall favorite in my house! My family, especially my youngest, begs for Pumpkin Brownies every time there’s a chill in the air, and I’m more than happy to oblige.
See, I discovered Pumpkin Brownies a few years back during a frantic search for a dessert that wasn’t just another pie for Thanksgiving. I wanted something unique, something that screamed autumn but still satisfied that chocolate craving. And let me tell ya, this recipe has been a game-changer ever since—rich, fudgy, and packed with cozy pumpkin spice vibes.
Now, I’m no stranger to kitchen experiments (some disastrous, some divine), but Pumpkin Brownies are one of those recipes I’ve nailed down over time. I’m excited to share all my tips and tricks with you so you can bake up a batch that’s just as drool-worthy as mine. Stick with me, and let’s get baking!
Why You’ll Love This Recipe
I’ve found that Pumpkin Brownies are the perfect mash-up of two worlds—chocolate lovers and pumpkin enthusiasts both get their fix! They’re moist, dense, and have this incredible depth of flavor from the pumpkin puree that just makes every bite feel like a warm hug. Honestly, in my kitchen, they’ve become the go-to dessert when I want something easy yet impressive.
And here’s the kicker: Pumpkin Brownies aren’t just tasty, they’re super forgiving to make. Even if you’re not a pro baker, you’ll find this recipe a breeze with my step-by-step guide. Trust me, if I can pull these off on a hectic weeknight, so can you!
Ingredients List
Let’s talk about what you’ll need to make these dreamy Pumpkin Brownies. I’m pretty picky about my ingredients—freshness matters, y’all!—so I’ve got some notes on what I prefer to use. These measurements are spot-on for a batch that’ll have everyone asking for seconds.
I usually buy organic pumpkin puree for my Pumpkin Brownies because I think it tastes a tad richer, but the regular canned stuff works just fine too. If you’re feeling ambitious, you can even make your own puree from a fresh pumpkin—props to you if you do! Here’s the full rundown for a standard 9×13 pan of Pumpkin Brownies.
For the Brownie Base
- 1 cup (2 sticks or 226g) unsalted butter, melted and slightly cooled
- 1 1/2 cups (300g) granulated sugar, for that perfect sweetness
- 3 large eggs, at room temperature for better mixing
- 1 teaspoon vanilla extract, pure for the best flavor
- 3/4 cup (90g) all-purpose flour, sifted to avoid lumps
- 3/4 cup (65g) unsweetened cocoa powder, Dutch-processed if you’ve got it
For the Pumpkin Swirl
- 1 cup (240g) canned pumpkin puree, not pumpkin pie filling
- 1/2 cup (100g) brown sugar, packed for a caramel-y note
- 1 large egg, to bind it all together
- 1 teaspoon ground cinnamon, for that fall magic
- 1/2 teaspoon ground nutmeg, just a pinch for warmth
- 1/4 teaspoon ground ginger, to round out the spice
These ingredients come together like a dream for Pumpkin Brownies, and I’m telling ya, don’t skimp on the spices—they’re the secret to that cozy vibe!
Variations
Over the years, I’ve played around with Pumpkin Brownies in so many ways because, well, I get bored easily in the kitchen! Whether you’re catering to picky eaters or just wanna switch things up, there’s a twist for everyone. Here are some of my fave variations for Pumpkin Brownies that I’ve tested and loved.
- Nutty Crunch: Toss in 1/2 cup of chopped walnuts or pecans to the brownie batter for a bit of texture. I tried this once for a potluck, and folks couldn’t stop raving!
- Chocolate Chip Bliss: Mix in 3/4 cup of semi-sweet chocolate chips for extra gooeyness. My kids always ask for this version of Pumpkin Brownies.
- Spiced Up: Add an extra 1/2 teaspoon of pumpkin pie spice to the pumpkin layer if you’re all about that autumn kick.
- Cream Cheese Swirl: Swap the pumpkin mix for a cream cheese blend (8 oz cream cheese, 1 egg, 1/4 cup sugar) for a tangy contrast.
- Gluten-Free Option: Use a 1:1 gluten-free flour blend instead of all-purpose. I’ve made this for a friend with dietary needs, and it turned out fab.
- Vegan Vibes: Replace eggs with flax eggs (1 tbsp flaxseed meal + 2.5 tbsp water per egg) and use vegan butter. It’s a bit denser but still delish.
- Espresso Edge: Add 1 teaspoon of espresso powder to the brownie batter for a mocha twist with your Pumpkin Brownies. It’s my secret weapon for adult gatherings!
I’m all about experimenting, so if you’ve got a wild idea for Pumpkin Brownies, give it a shot and let me know how it goes!
Servings and Timing
I’ve baked Pumpkin Brownies enough times to know exactly how long it takes in my oven, and I’m sharing the deets with you. In my experience, this recipe comes together pretty quick, even on a busy day. Here’s the breakdown for a batch of Pumpkin Brownies:
- Prep Time: 15 minutes
- Cook Time: 35 minutes
- Total Time: 50 minutes
- Servings: 12-16 brownies, depending on how big you cut ‘em
Step-by-Step Instructions
Alright, let’s roll up our sleeves and make some killer Pumpkin Brownies! I’ve broken this down into manageable steps with all my little tricks to make sure yours turn out just right. Follow along, and don’t hesitate to holler if you’ve got questions.

Step 1: Preheat and Prep
First things first, crank your oven to 350°F (175°C) and line a 9×13 baking pan with parchment paper. I’ve learned to leave a bit of overhang on the sides—it’s a lifesaver for lifting out the Pumpkin Brownies later!
Step 2: Make the Brownie Batter
In a big ol’ bowl, whisk together the melted butter and granulated sugar until it’s nice and smooth. Add the eggs and vanilla, beating well, then sift in the flour and cocoa powder. Stir just until combined—don’t overmix, or your Pumpkin Brownies might get tough.
Step 3: Whip Up the Pumpkin Layer
Grab another bowl and mix the pumpkin puree, brown sugar, egg, cinnamon, nutmeg, and ginger. Stir until it’s silky smooth. This is where the magic happens for Pumpkin Brownies, trust me!
Step 4: Layer and Swirl
Spread about two-thirds of the brownie batter into your prepared pan, then dollop the pumpkin mixture on top. Add the remaining brownie batter in spoonfuls and use a toothpick or knife to swirl everything together for that marbled look. I love this part—it’s like edible art for Pumpkin Brownies!
Step 5: Bake to Perfection
Pop the pan in the oven for 30-35 minutes, or until a toothpick inserted in the center comes out with just a few moist crumbs. Don’t overbake—fudgy is the goal for Pumpkin Brownies! Let ‘em cool in the pan for at least 20 minutes before slicing.
Step 6: Slice and Serve
Once cooled, lift out the slab using the parchment overhang and cut into squares. I’ve botched this step before by cutting too soon, and it was a crumbly mess, so patience is key with Pumpkin Brownies.
Nutritional Information
I’m no dietitian, but I’ve crunched the numbers on these Pumpkin Brownies because, well, I like to know what I’m indulging in! This is based on 16 servings, so adjust if you cut bigger or smaller pieces. Here’s the scoop per serving of Pumpkin Brownies:
- Calories: 280 per serving
- Fat: 14g
- Protein: 3g
- Carbohydrates: 36g
- Sodium: 120mg
Healthier Alternatives
If you’re watching your waistline or just wanna lighten up these Pumpkin Brownies, I’ve got some swaps that I’ve tried and loved. They won’t taste exactly the same, but they’re still darn good. Check out these tweaks for healthier Pumpkin Brownies!
- Sugar Substitute: Swap half the granulated sugar for a natural sweetener like coconut sugar. I’ve done this when I’m cutting back on refined stuff.
- Lower Fat: Replace half the butter with unsweetened applesauce. It keeps the Pumpkin Brownies moist without all the calories.
- Whole Wheat Flour: Use whole wheat pastry flour instead of all-purpose for a bit more fiber. I find it makes ‘em a tad denser but still tasty.
- Less Chocolate: Cut back on the cocoa powder by a tablespoon or two and boost the pumpkin flavor. It’s a subtle change I’ve made for lighter Pumpkin Brownies.
Serving Suggestions
I’ve served Pumpkin Brownies in all kinds of ways, and they’re always a hit no matter how you plate ‘em. Here are my go-to ideas for making these treats shine at any gathering. Try these with your batch of Pumpkin Brownies!
- For Dessert: Top with a scoop of vanilla ice cream and a drizzle of caramel sauce. I did this at my last fall party, and plates were licked clean!
- With Coffee: Pair with a hot latte or cappuccino for a cozy afternoon pick-me-up. It’s my fave way to enjoy Pumpkin Brownies.
- As a Gift: Wrap individual squares in cute parchment for holiday gifting. I’ve done this for neighbors, and they loved it!
- Kid-Friendly Snack: Serve with a glass of milk for an after-school treat. My kiddos go nuts for Pumpkin Brownies like this.
Common Mistakes to Avoid
I’ve flubbed my fair share of Pumpkin Brownies over the years, so let me save you some heartache with these pitfalls. Trust me on this one—I learned the hard way! Avoid these slip-ups when making Pumpkin Brownies.
- Overbaking: If you bake too long, they’ll dry out. Check early, ‘cause ovens vary, and I’ve ruined a batch by not paying attention.
- Wrong Pumpkin: Don’t use pumpkin pie filling—it’s too sweet and spiced. I made this mistake once, and my Pumpkin Brownies were a disaster.
- Skipping the Swirl: If you don’t swirl the layers, you’ll miss that gorgeous marbled effect. I’ve been lazy before, and it just ain’t the same.
- Cutting Too Soon: Wait until they’re fully cooled, or they’ll crumble. I’ve been impatient, and my Pumpkin Brownies looked like a hot mess!
Storing Tips
I’ve found that Pumpkin Brownies keep pretty well if you store ‘em right, which is great for making ahead. Here’s how I handle leftovers (if there are any!). Keep your Pumpkin Brownies fresh with these tips:
- Room Temperature: Store in an airtight container for up to 2 days on the counter.
- Refrigerator: Keeps for 5-7 days chilled in a sealed container.
- Freezer: Freeze cut squares for up to 2 months, wrapped tightly in plastic and foil.

Frequently Asked Questions
I get a ton of questions about Pumpkin Brownies, so I’ve rounded up the most common ones I hear. Let’s dive into these quick answers!
Can I use fresh pumpkin instead of canned?
Absolutely! Just roast and puree your own pumpkin, but make sure to drain excess water so your Pumpkin Brownies don’t get soggy.
Can I make these ahead of time?
Yep, you sure can. Bake your Pumpkin Brownies a day or two in advance and store ‘em in the fridge—they actually taste better the next day!
Are these brownies gluten-free?
Not as written, but swap the flour for a gluten-free blend, and you’re golden. I’ve done it, and it works great.
Can I add frosting?
Go for it! A cream cheese frosting is amazing on Pumpkin Brownies if you want extra decadence.
How do I know when they’re done?
Use the toothpick test—moist crumbs mean they’re ready. Don’t wait for a clean toothpick, or they’ll be overdone.
Can I use a different pan size?
Sure, an 8×8 will work for thicker brownies; just add 5-10 minutes to the baking time. Adjust as needed.
Do these freeze well?
They freeze like a dream. Wrap individual pieces tightly, and they’ll last a couple of months without losing flavor.
Why are my brownies too gooey?
You might’ve underbaked or used too much pumpkin. Double-check measurements next time, and bake a tad longer if needed.
Conclusion
Well, folks, I hope you’re as pumped as I am to whip up a batch of Pumpkin Brownies! They’re honestly one of my favorite fall treats, and I’ve loved sharing my kitchen adventures with you. Give these Pumpkin Brownies a try, and drop a comment to let me know how they turned out—I’m all ears for your stories too!
Conclusion
I hope you enjoyed this recipe for Pumpkin Brownies! It’s truly one of my favorites, and I’m confident you’ll love it too. Remember to follow the steps carefully for the best results.
Don’t hesitate to experiment with your own variations and make this recipe your own. Happy cooking!