

There’s a certain magic in recipes that have been passed down, the kind where the ingredient list feels like a warm hug and the result is pure, uncomplicated comfort. My Favorite Old-Fashioned Raw Apple Cake is exactly that. It’s not a fussy, layered confection; it’s a humble, hearty cake where the star is the apple itself—chopped, unpeeled, and folded right into the batter.
The “raw” in the name refers to those fresh apple pieces that bake right in, releasing their juices to create a moistness you simply can’t achieve with applesauce or cooked fruit. This cake is warmly spiced, incredibly forgiving, and fills your kitchen with an aroma that promises coziness in every bite. It’s the dessert I make when I want something genuinely satisfying, impressively easy, and guaranteed to please a crowd.
- Unbeatable Moisture: The secret is in the “raw” apple chunks. As they bake, they steam from the inside, basting the cake in their natural juices and ensuring every single slice is tender and never dry.
- Simple Pantry Staples: You likely have everything you need already. Flour, sugar, eggs, oil, and spices form the base, making this a spur-of-the-moment baking project you can always tackle.
- No Mixer Required: This is a stir-by-hand cake. A wooden spoon and some elbow grease are all you need, which means less cleanup and a wonderfully rustic, dense texture.
- Forgiving & Flexible: Over-mixing isn’t a big concern with this thick batter. You can use almost any apple variety, add nuts or raisins, or leave them out based on preference or what’s in your pantry.
- Better with Time: While delicious warm, this cake truly hits its peak flavor and texture the day after it’s baked, making it a perfect make-ahead dessert for gatherings.
- Comfort in Every Bite: The combination of cinnamon, nutmeg, and sweet apples is timeless. It’s the taste of autumn, family dinners, and simple homemade goodness.
Recommended Tools for This Recipe


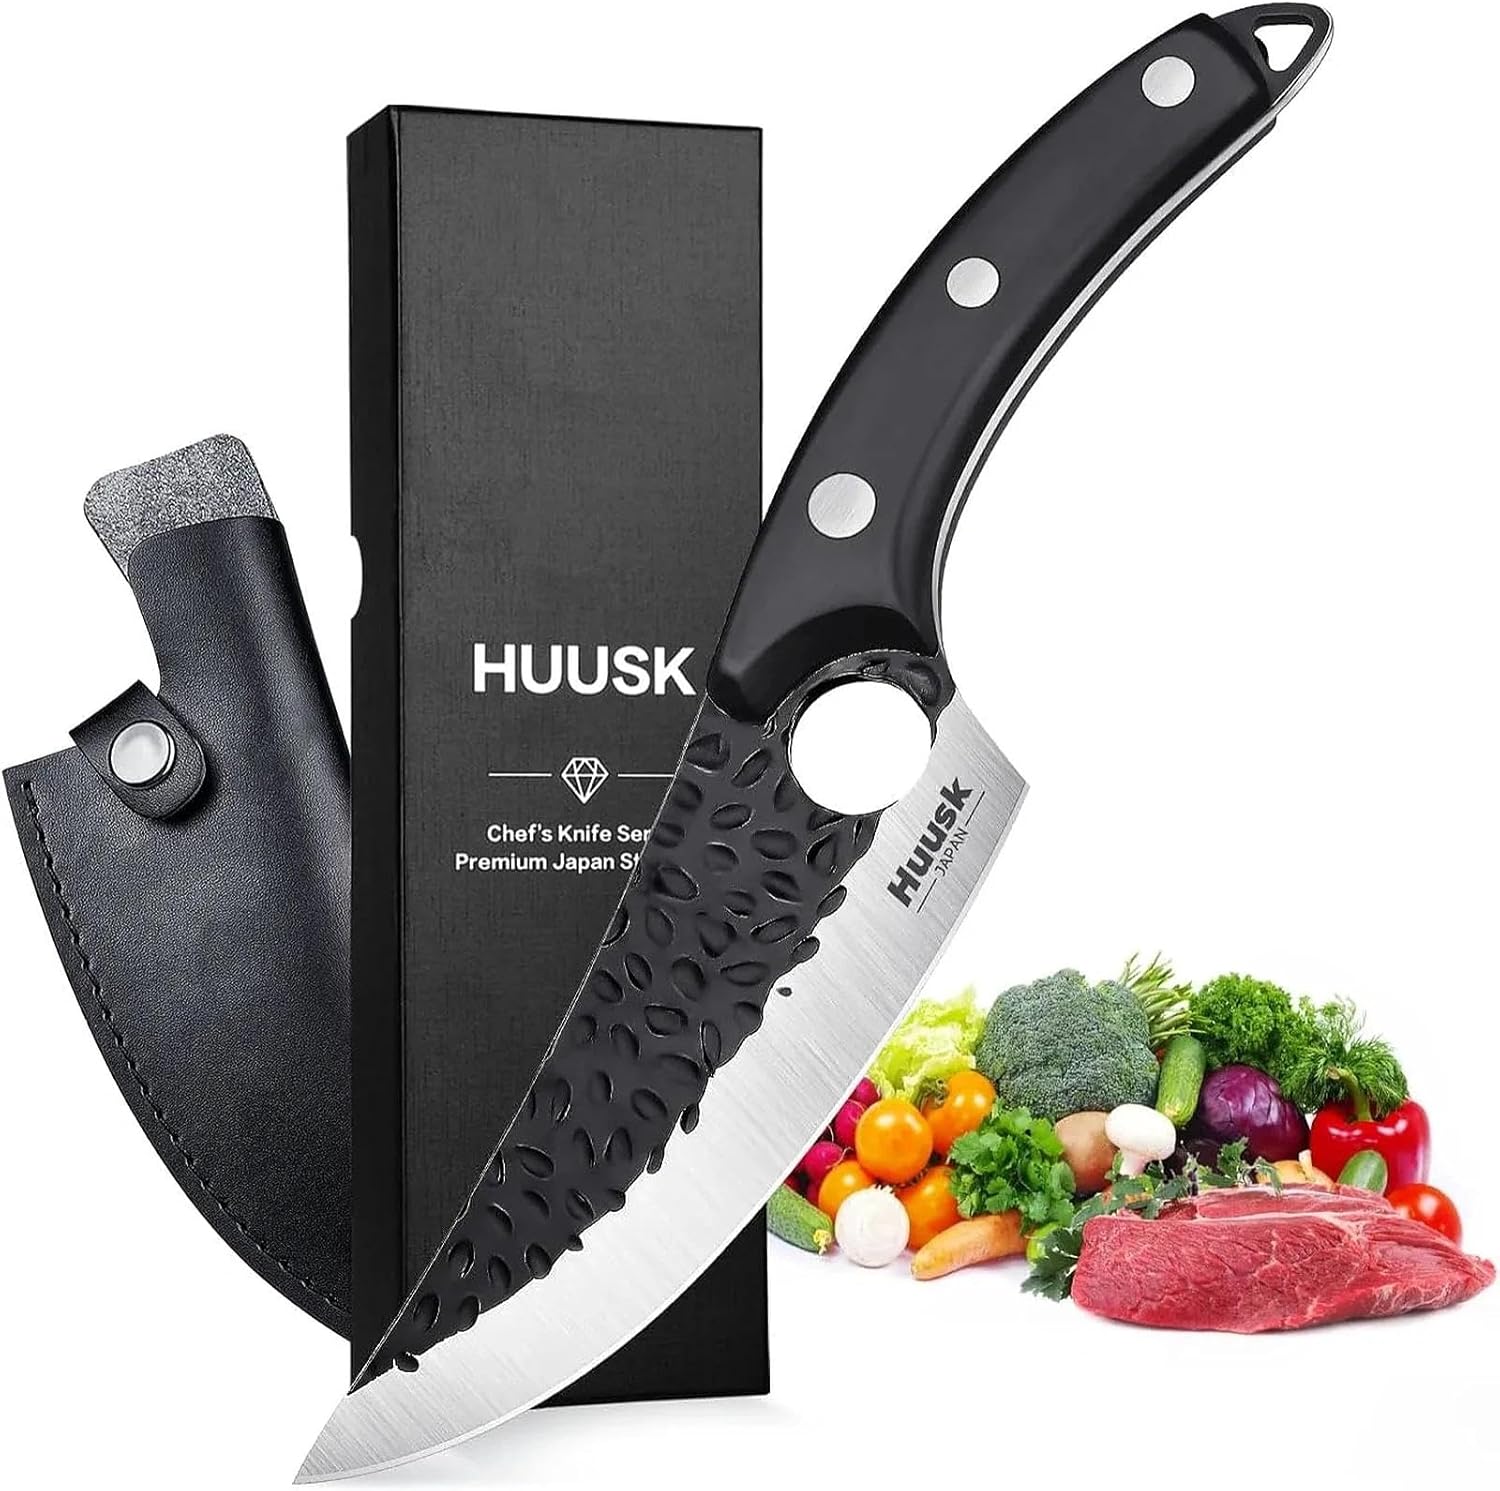
As an Amazon Associate, we may earn a small commission from qualifying purchases — at no extra cost to you.
Ingredients You’ll Need
Let’s gather our ingredients—this is where simple components come together to create something truly special. The beauty of this old-fashioned cake is its reliance on pantry basics and fresh produce. Using unpeeled apples is my non-negotiable professional tip; the peel adds subtle texture, beautiful flecks of color, and extra fiber.
For the apples, choose firm varieties that hold their shape when baked. I love a mix of tart Granny Smith for structure and a sweeter variety like Honeycrisp or Gala for balanced flavor. The oil is crucial for moisture—don’t be tempted to swap in melted butter, as it solidifies when cool and can make the cake denser.
A neutral oil like avocado or vegetable keeps the crumb tender.
- All-Purpose Flour: The foundation. Be sure to spoon it into your measuring cup and level it off for accuracy.
- Granulated Sugar: Sweetens the cake and helps create a tender crumb.
- Baking Soda & Salt: Our leavening and flavor enhancers. The baking soda reacts with the acidic apples to give the dense batter a gentle lift.
- Cinnamon & Nutmeg: The classic warming spices. Freshly grated nutmeg makes a noticeable difference if you have it.
- Eggs: Use room-temperature eggs for easier incorporation into the thick batter.
- Neutral Oil: Avocado, vegetable, or canola oil works perfectly. It ensures a moist, tender cake that stays soft for days.
- Pure Vanilla Extract: For depth of flavor in both the cake and the glaze.
- Apples: About 3-4 medium apples. Wash them well, core them, and chop into ½-inch chunks. No peeling required!
- Walnuts or Pecans: These are optional but highly recommended for added crunch and a toasted, nutty flavor that pairs beautifully with the apples and spice.

Note: You’ll find the complete list of ingredients, along with their exact measurements, in the printable recipe card at the bottom of this post.
Kitchen Equipment Needed
You won’t need any specialty gadgets for this recipe. A 9×13-inch metal baking pan is ideal for even baking and achieving the perfect thickness. A large mixing bowl is essential—the batter is voluminous before you even add the apples.
You’ll also need a medium bowl for whisking the wet ingredients, a whisk, and a sturdy wooden spoon or silicone spatula for mixing the very thick batter. A wire cooling rack is helpful for allowing air to circulate around the cake as it cools. That’s truly it!
No stand mixer, no food processor—just simple tools for a satisfying baking experience.
How to Make Old-Fashioned Raw Apple Cake Recipe
Step 1: Prep and Mix the Dry Ingredients
Start by preheating your oven to 350°F (175°C) and preparing your 9×13-inch pan by greasing and flouring it or lining it with parchment paper. In your largest mixing bowl, add the flour, sugar, baking soda, salt, cinnamon, and nutmeg. Take a moment to whisk these dry ingredients together thoroughly.
You want to see an even, uniform color with no streaks of spice. This initial blending ensures the leavening and flavorings are perfectly distributed, preventing any bitter pockets of baking soda in your finished cake. Trust me, this simple 60-second step is a game-changer for consistent results.
Step 2: Combine the Wet Ingredients
In your medium bowl, crack in the room-temperature eggs. Whisk them vigorously until they’re frothy and well-blended—about 30 seconds. This incorporates air and helps with the cake’s structure.
Now, whisk in the oil and vanilla extract. Keep whisking until the mixture looks smooth, creamy, and completely unified. You’ve just created an emulsion, which will help bind everything together and contribute to a fine, even crumb.
The smell of the vanilla with the oil is the first hint of the wonderful aroma to come.
Step 3: Bring the Batter Together
Pour the smooth, emulsified wet mixture into the bowl with the dry ingredients. Here’s where you need your wooden spoon or sturdy spatula. Begin to stir.
The mixture will be shockingly thick and stiff almost immediately; this is completely normal and correct. Don’t panic or think you need to add liquid. Just keep folding and stirring with determination until you no longer see any dry pockets of flour.
The batter will be very heavy, like a thick cookie dough. Believe me, this density is what allows the apples to be suspended throughout the cake.
Step 4: Fold in the Apples (The Fun Part!)
Now for the star of the show: your chopped, unpeeled apples. Dump them into the bowl (add the nuts now too, if using). Using that same sturdy spoon, fold and stir to incorporate them.
It will feel like you’re mixing apples into clay, but persist until every apple chunk is coated in batter and evenly distributed. This is the “raw” apple magic—these fresh pieces are what will steam and release moisture during baking, creating the cake’s legendary, irresistible moistness from the inside out.
Step 5: Bake to Perfection
Transfer the very full pan of batter to your preheated oven. Use your spatula to spread it into a perfectly even layer, nudging it into the corners. Bake on the center rack for 50 to 60 minutes.
You’ll know it’s done when the top is a deep golden brown, the edges have pulled away slightly from the pan, and a toothpick inserted smack in the center comes out clean or with just a few moist crumbs attached—no wet batter. The smell in your kitchen will be divine.
Step 6: Cool, Glaze, and Serve
Once baked, place the pan on a wire rack and let the cake cool completely right in the pan. This is important for the structure to set. For the optional glaze, simply whisk together powdered sugar, a splash of milk or cream, and vanilla until smooth, then drizzle it artfully over the cooled cake.
Slice into generous squares. Step back and admire your beautiful, rustic creation. Serve it as is, or for pure bliss, add a scoop of vanilla ice cream to a slightly warm piece.
- Apple Selection is Key: For the best texture and flavor balance, use a mix of apple types. I recommend 2 cups of a firmer, tart apple (like Granny Smith) and 1 cup of a sweeter, softer apple (like Honeycrisp or Braeburn). The firm apples hold their shape, while the softer ones almost melt into the cake, boosting moisture.
- The Thick Batter is Correct: If your batter feels too thick to stir, you’re on the right track. A runny batter will cause the apples to sink to the bottom. The density of this batter is what suspends the fruit evenly throughout every slice.
- Don’t Skimp on Cooling Time: It’s tempting to dig in, but this dense, moist cake needs time to set. Cutting it while warm can cause it to crumble. Letting it cool completely ensures clean slices and allows the flavors to develop fully.
- Test for Doneness Properly: Ovens vary. Start checking at 50 minutes with a toothpick in the center. If it comes out with wet batter, bake in 3-minute increments. It’s better to have a few moist crumbs than an overbaked, dry cake.
- Storage for Maximum Freshness: Store the cooled, glazed cake covered tightly with plastic wrap or in an airtight container at room temperature for up to 3 days. For longer storage, refrigerate for up to 5 days. The cold will firm up the texture, but it will return to its tender state at room temperature.
Recipe Variations
- Gluten-Free Version: Substitute the all-purpose flour with a 1:1 gluten-free baking blend. The result is slightly more crumbly but still deliciously moist.
- Dairy-Free Delight: This cake is naturally dairy-free as written! Just ensure your glaze uses a non-dairy milk like almond or oat milk.
- Nutty or Fruity Add-Ins: Fold in 1 cup of raisins, dried cranberries, or even chopped dates along with the apples. Toasting the walnuts or pecans before adding them will deepen their flavor significantly.
- Spice It Up: Add ¼ teaspoon of ground ginger or allspice to the dry ingredients for an even more complex spice profile.
- Brown Sugar Swirl: For a caramel-like twist, mix ½ cup of the batter with ⅓ cup of packed brown sugar and 1 tsp of cinnamon. Drop dollops of this mixture onto the batter in the pan and swirl gently with a knife before baking.
- Cream Cheese Frosting: For a richer topping, skip the glaze and frost the cooled cake with a simple cream cheese frosting made from 8 oz softened cream cheese, ¼ cup softened butter, 2 cups powdered sugar, and 1 tsp vanilla.
- Individual Bundt Cakes: Bake the batter in a greased muffin tin or mini Bundt pan for individual servings. Reduce baking time to 22-28 minutes.
What to Serve With This Recipe
This Old-Fashioned Apple Cake is a versatile dessert that suits any occasion. It’s perfect for a casual weeknight family dinner, served simply with a dusting of powdered sugar. For a holiday potluck or gathering, the glazed version makes it look extra special without much extra work.
The ultimate pairing is a scoop of high-quality vanilla ice cream or a dollop of freshly whipped cream, which melts wonderfully into the warm, spiced cake. For a brunch offering, serve it alongside a hot cup of coffee or strong black tea. It also makes a wonderful packed dessert for picnics or lunchboxes, as it’s sturdy and travels well.
Storage & Make-Ahead Instructions
- Room Temperature Storage: Once completely cooled, cover the cake pan tightly with plastic wrap or aluminum foil. It will stay fresh and moist at room temperature for up to 3 days.
- Refrigerator Storage: For longer storage, refrigerate the covered cake for up to 5 days. Let slices come to room temperature for about 30 minutes before serving for the best texture and flavor.
- Freezing Instructions: This cake freezes exceptionally well. Wrap the entire cooled cake (unglazed is best) or individual slices tightly in plastic wrap, then place in a freezer bag or airtight container. Freeze for up to 3 months. Thaw overnight in the refrigerator or at room temperature for a few hours.
- Make-Ahead Strategy: This is an ideal make-ahead dessert. Bake the cake 1-2 days before you need it, store it covered at room temperature, and add the glaze just before serving. The flavor improves as it sits.
- Reheating: To serve warm, place individual slices on a microwave-safe plate and heat for 15-20 seconds. You can also warm slices in a 300°F oven for 5-10 minutes.
Frequently Asked Questions
Q: Do I really not have to peel the apples?
A: No, you don’t! The peels add lovely texture, color, and fiber. They soften beautifully during baking and become virtually undetectable in the final cake, while contributing to its rustic charm and nutritional profile.
Q: Can I use a different type of oil?
A: Yes, any neutral-flavored oil like vegetable, canola, or avocado oil works perfectly. I do not recommend olive oil (unless it’s very light) or melted butter, as they can alter the flavor and texture negatively.
Q: My batter is incredibly thick—did I do something wrong?
A: You did everything right! A very thick, almost dough-like batter is the hallmark of this recipe. It’s what holds the apple pieces in suspension.
If it was runny, the apples would all sink to the bottom.
Q: How do I know when the cake is truly done baking?
A: The top will be a rich golden brown, and the edges will just begin to pull away from the sides of the pan. The most reliable test is a toothpick inserted into the center—it should come out clean or with a few moist crumbs, not wet batter.
Q: Can I make this cake gluten-free?
A: Absolutely. Use a reputable 1:1 gluten-free all-purpose flour blend. The texture may be slightly more crumbly, but it will still be delicious and moist.
Q: Why did my cake sink in the middle?
A: This usually indicates under-baking or an issue with the leavening. Ensure your baking soda is fresh (it should fizz when added to vinegar), and be sure to bake until the toothpick test is passed. Also, avoid opening the oven door frequently during the first 45 minutes of baking.
Q: Can I reduce the sugar in this recipe?
A: You can reduce it by up to ½ cup without major structural issues, but the cake will be less sweet and slightly less tender. The sugar contributes to moisture and texture, not just sweetness.
Q: What are the best apples to use?
A: Firm, flavorful apples that hold their shape are best. Granny Smith, Honeycrisp, Braeburn, and Gala are all excellent choices. Using a mix of tart and sweet varieties gives the most complex flavor.
Final Thoughts
This Old-Fashioned Raw Apple Cake is more than just a recipe; it’s a reliable piece of culinary heritage that delivers joy with stunning consistency. Its simplicity is its genius—no fancy techniques, just good ingredients combined in a way that guarantees a moist, flavorful, and deeply satisfying dessert. As a professional, I’ve tested countless apple cakes, and this humble version, with its unpeeled fruit and hand-stirred batter, remains my absolute favorite for its honest texture and foolproof nature.
I encourage you to bake this cake, to smell those spices fill your home, and to experience the simple pleasure of the first bite. It’s a testament to the fact that the best recipes are often the ones that have stood the test of time. Once you try it, I have a feeling it will become a favorite in your home, too.
Please let me know how it turns out by leaving a comment or rating. Share a photo of your creation online and tag me—I love seeing your baking successes! If you enjoyed this classic, explore my site for more tried-and-true recipes that bring confidence and comfort to your kitchen.
Happy baking

Old-Fashioned Raw Apple Cake
- Author: Amelia
- Prep Time: 25 minutes
- Cook Time: 55 minutes
- Total Time: 1 hour 20 minutes
- Yield: 12 servings
- Category: Dessert
- Cuisine: American
Description
This classic Old-Fashioned Raw Apple Cake is a testament to simple, honest baking. Fresh, unpeeled apples are folded into a warmly spiced batter, creating a supremely moist and flavorful cake that's finished with a sweet vanilla glaze. It's comfort in a pan.
Ingredients
Instructions
-
Preheat your oven to 350°F (175°C). Generously grease and flour a 9x13-inch metal baking pan or line it with parchment paper. In a very large mixing bowl, whisk together the flour, sugar, baking soda, salt, cinnamon, and nutmeg until thoroughly combined and no streaks of spice remain.
-
In a separate medium bowl, whisk the room-temperature eggs until frothy and well-blended. Whisk in the oil and vanilla extract until the mixture is completely smooth and emulsified. This creates the liquid base that will hydrate the dense dry ingredients.
-
Pour the wet ingredients into the bowl with the dry ingredients. Use a sturdy wooden spoon or spatula to stir. The batter will be very thick and stiff—this is normal. Keep mixing until no dry flour pockets remain, but don't overmix.
-
Add the chopped apples (and nuts, if using) to the thick batter. This is the 'raw' part! Fold them in gently but firmly until they are evenly distributed throughout the stiff batter. The apples will release moisture as they bake, creating incredible moistness.
-
Transfer the batter to your prepared pan. Use your spatula to spread it into an even layer, pushing it into the corners. The pan will be quite full. Bake on the center rack for 50-60 minutes, or until a toothpick inserted into the center comes out clean or with just a few moist crumbs.
-
Let the cake cool completely in the pan set on a wire rack. Once cool, prepare the optional glaze by whisking 1 1/2 cups powdered sugar with 2-3 tablespoons of milk or cream and 1 teaspoon vanilla until smooth. Drizzle over the cake. Slice and serve.
Notes
- Chef's Tips:
- The cake tastes even better the next day as the flavors meld and the moisture distributes.
- Do not substitute butter for the oil; oil is essential for the cake's signature moist, tender crumb.
- Serve slightly warm with a scoop of vanilla ice cream for the ultimate treat.
- Food Safety:
- Store cooled cake covered at room temperature for up to 3 days or refrigerate for longer freshness.
- Ensure eggs are fresh and not cracked before using.


