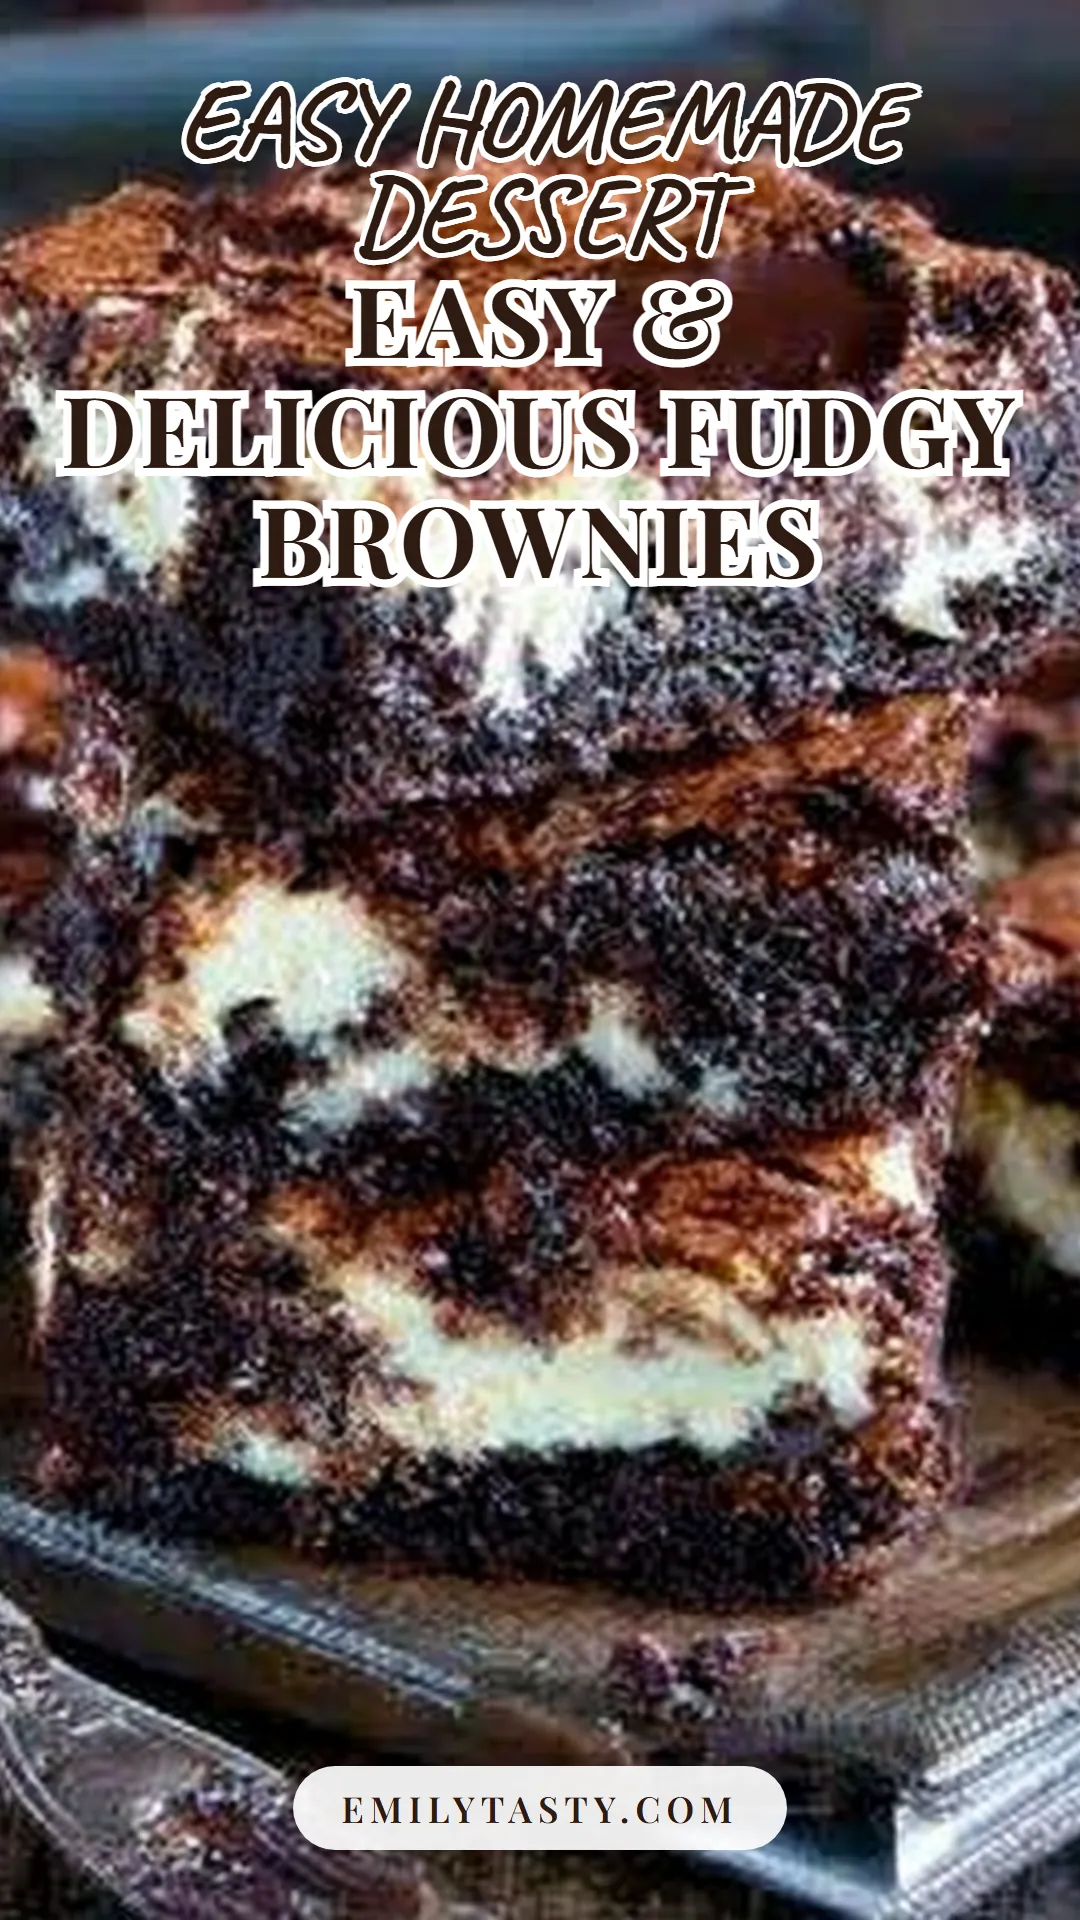
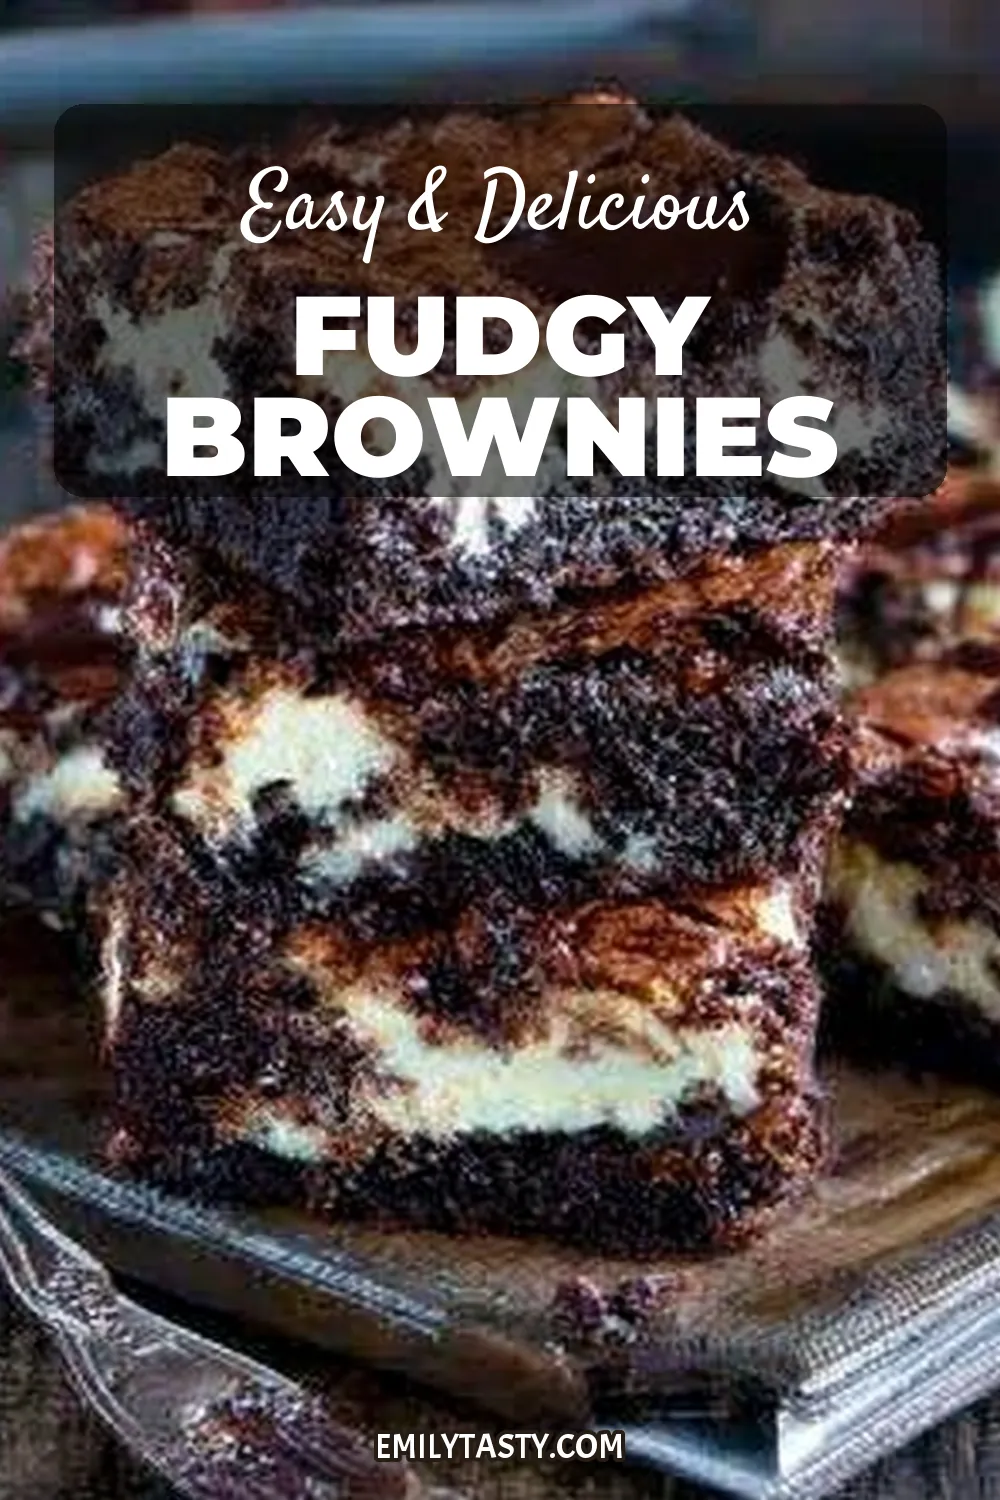
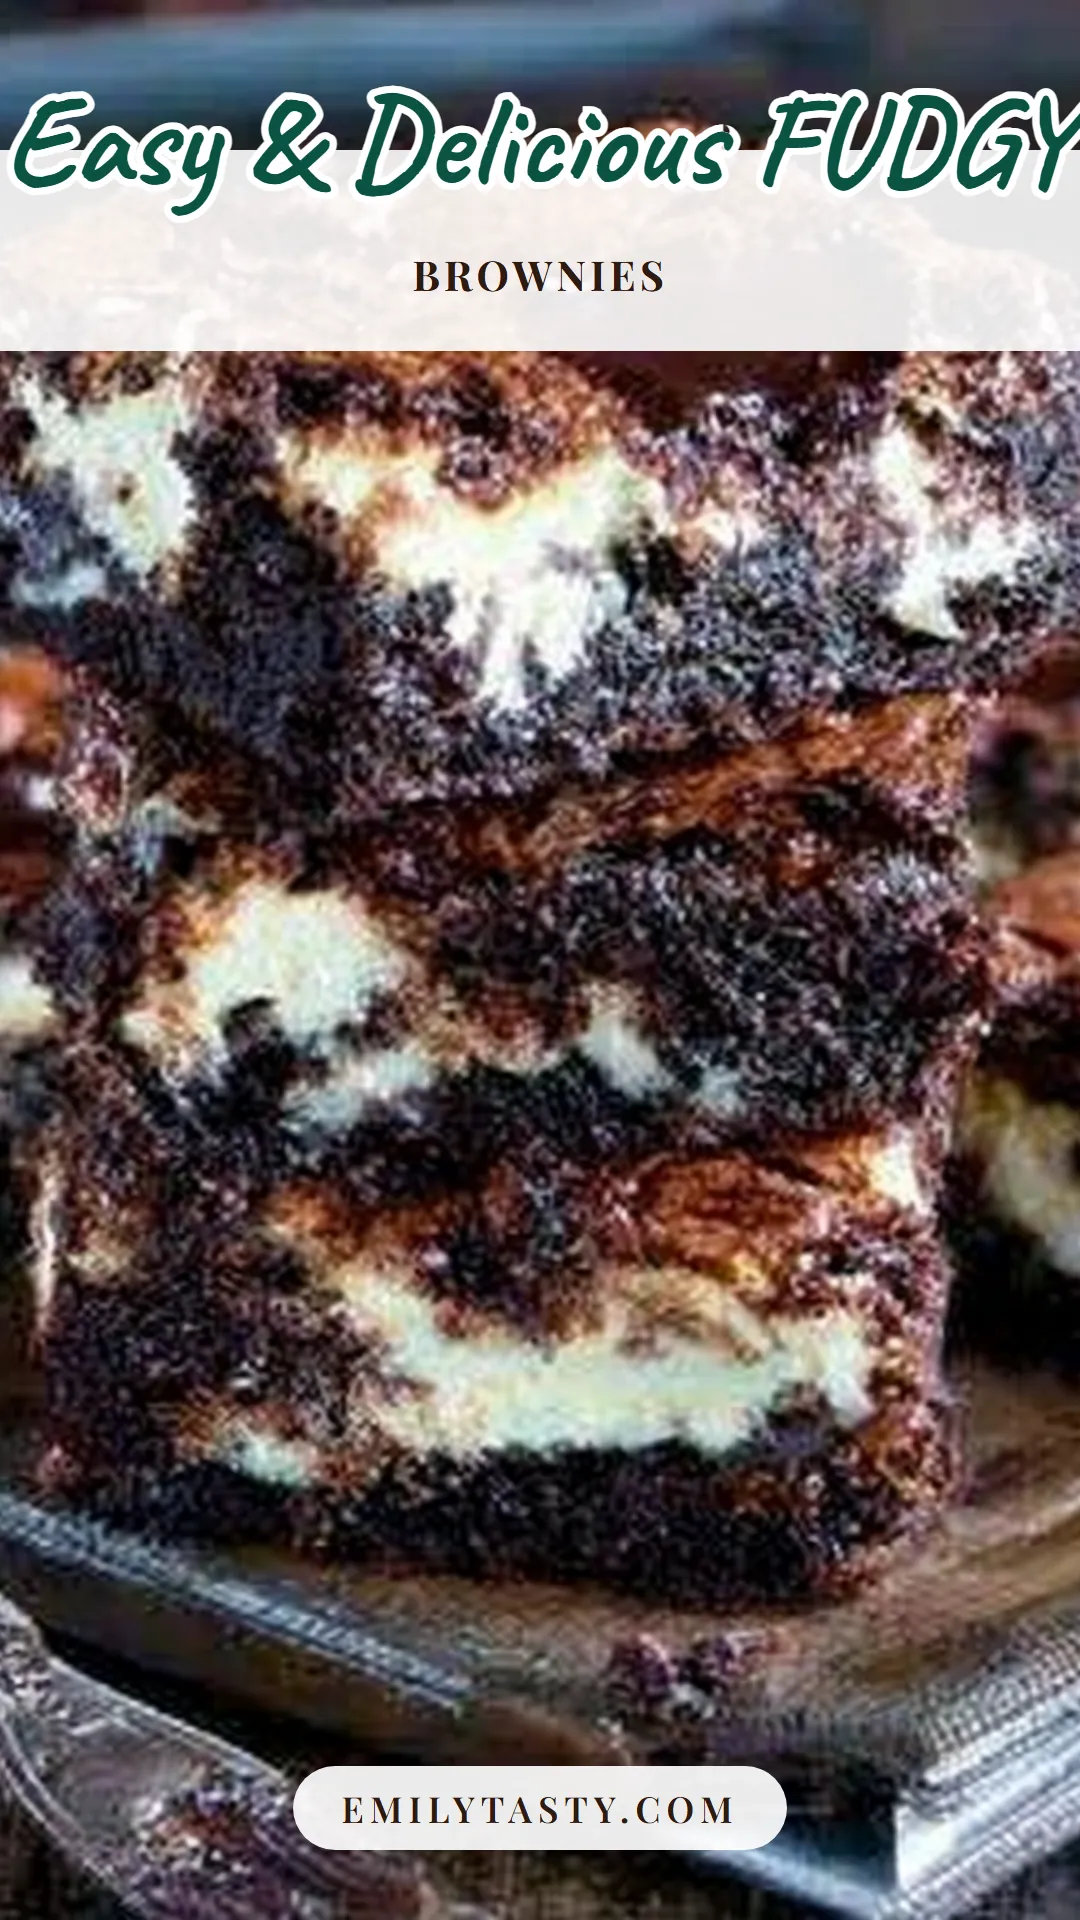
There’s a moment in every baker’s life when a simple brownie just won’t do. You need drama, layers, and that undeniable “wow” factor that makes people stop mid-conversation. That’s where these slutty brownies come in.
As a chef who has plated thousands of desserts, I can tell you that the genius of this recipe isn’t just in its decadence—it’s in its brilliant, foolproof architecture. A chewy cookie base, a creamy Oreo middle, and a fudgy brownie top bake together into a single, legendary bar that’s greater than the sum of its parts. It’s the dessert you make when you want to be a hero, without spending all day in the kitchen.
Get ready for the ultimate crowd-pleaser.
- Maximum Impact, Minimal Effort: By using quality pre-made dough and mix, you skip the tedious steps and focus on the fun layering, achieving a professional-looking dessert with ease.
- The Perfect Textural Symphony: You get the satisfying chew of a cookie, the crisp-creamy bite of an Oreo, and the dense, fudgy crumb of a brownie all in one square.
- Unbeatable Crowd-Pleasing Power: This is the dessert that disappears first at potlucks, parties, and bake sales. It appeals to virtually every age and sweet tooth.
- Highly Customizable: The formula is a perfect canvas. Swap in peanut butter cookies, mint Oreos, or a blondie mix to create your own signature version.
- Make-Ahead Friendly: These bars actually taste better and slice more cleanly the next day, making them a stress-free choice for entertaining.
Recommended Tools for This Recipe


As an Amazon Associate, we may earn a small commission from qualifying purchases — at no extra cost to you.
Ingredients You’ll Need
Let’s gather our components—this is where the magic starts. Using a few smart store-bought shortcuts means we can focus on technique and guarantee perfect results every time. The quality of your brownie mix is key here; opt for a “fudge” or “dark chocolate” style for the richest top layer.
- Refrigerated Chocolate Chip Cookie Dough: One 16-ounce roll or tub. This forms our sturdy, chewy foundation. I often use the “break-apart” style sheets for effortless pressing. If you’re a purist, my tested homemade dough substitute is 2 cups of your favorite recipe, but chill it thoroughly first.
- Oreo Cookies: Sixteen classic or Double Stuf Oreos. The Double Stuf provides an extra layer of creaminess that melts beautifully into the surrounding layers. Don’t use reduced-fat versions, as they can become too hard.
- Family-Size Fudge Brownie Mix: One 18-20 ounce box. This is the workhorse. You’ll also need the ingredients it calls for, typically oil, water, and eggs. The “family size” ensures a thick, generous top layer that fully encapsulates the Oreos.
- Semisweet Chocolate Chips (Optional): A half-cup scattered on top before baking creates delightful pockets of molten chocolate. I recommend Ghirardelli or Guittard for superior meltability.

Note: You’ll find the complete list of ingredients, along with their exact measurements, in the printable recipe card at the bottom of this post.
Kitchen Equipment Needed
You likely have everything you need already. The only specialty item is the pan: a light-colored metal 9×13 inch baking pan is essential. Dark metal or glass pans retain more heat and can over-brown the cookie base before the brownie is set.
Parchment paper with an overhang is your best friend for flawless removal. A wire cooling rack is also crucial—allowing air to circulate underneath prevents the steam from making the bottom soggy. A sharp chef’s knife, warmed under hot water and wiped clean between cuts, will give you those pristine, photogenic slices.
How to Make Slutty Brownies Recipe
Step 1: Prepare Your Pan
Preheat your oven to 350°F (175°C). Line your 9×13 inch metal pan with parchment paper, leaving a few inches of overhang on the two long sides. Lightly grease any exposed pan with butter or non-stick spray.
This parchment sling isn’t just a suggestion; it’s the only way you’ll lift this heavy, multi-layered masterpiece out in one perfect piece for clean slicing. Trust me, skipping this leads to a frustrating mess.
Step 2: Create the Cookie Dough Base
Press the cookie dough evenly into the bottom of the prepared pan. Use your fingers, then the flat bottom of a measuring cup or glass to press it into a compact, uniform layer. You want to reach all the way to the edges and corners.
If the dough is too sticky, lightly wet your fingers or the cup. This base bakes directly on the oven’s heat, so a compact layer ensures it bakes through without burning.
Step 3: Add the Oreo Layer
Now for the fun part: place the Oreos in a single layer over the cookie dough. You should fit 4 rows of 4 cookies perfectly. Press them down gently so they nestle into the dough.
This layer is more than just flavor; it acts as a brilliant moisture barrier. The cookie part absorbs excess moisture from the brownie batter above, while the cream filling melts and binds the layers together. Believe me, it’s culinary engineering at its tastiest.
Step 4: Top with Brownie Batter
Prepare your brownie mix according to the package directions. Pour the batter evenly over the Oreos. Use a spatula to gently spread it to the edges, ensuring every Oreo is completely submerged.
This is critical for even baking. If you’re using the optional chocolate chips, sprinkle them over the top now. They’ll create beautiful pools of chocolate in the finished brownies.
Step 5: Bake to Perfection
Bake for 30-35 minutes. Start checking at the 30-minute mark. The key is to look for a set top with a shiny, crackly crust and edges that are beginning to pull away from the pan.
A toothpick inserted into the center should come out with a few sticky, moist crumbs attached—not wet batter. Tip from me: The cookie layer continues to firm up as it cools, so pulling them out when the brownie is just set prevents a dry result.
Step 6: Cool, Slice, and Serve
This is the ultimate test of patience. Let the pan cool completely on a wire rack for at least 2 hours. Do not attempt to slice warm brownies—the layers will ooze and smear.
Once cool, use the parchment paper overhangs to lift the entire slab onto a cutting board. Use a sharp knife, wiping it clean with a damp cloth between cuts, to slice into 16 squares. Step back and admire those gorgeous, defined layers before serving.
- The Pan Matters: I insist on a light-colored aluminum pan. Dark metal or glass conducts heat differently and almost always results in an overdone, hard cookie base before the brownie is fully set. It’s the single most common mistake I see.
- The Cooling Commandment: Rushing the cooling process is the enemy of clean layers. The brownie and cookie need time to set their structure. For the absolute cleanest cuts, once the pan is room temperature, you can chill the entire slab in the refrigerator for 30 minutes before slicing.
- Testing for Doneness: Look for visual cues over strict time. The brownie top will lose its wet sheen and develop a matte, crackly surface. The edges will visibly pull away from the sides of the pan by about 1/4 inch. The toothpick test with moist crumbs is your final confirmation.
- Slice Like a Pro: Warm your knife under hot running water, wipe it dry, and make a single confident cut. Wipe the blade clean after each cut. This prevents dragging crumbs and chocolate across the beautiful layers, giving you magazine-worthy squares.
Recipe Variations
- Peanut Butter Paradise: Use peanut butter cookie dough for the base and Reese’s Peanut Butter Cups instead of Oreos for an irresistible peanut-chocolate combo.
- Mint Chocolate Delight: Substitute mint Oreos (or add 1/2 tsp peppermint extract to the brownie batter) and use dark chocolate chips for a refreshing, sophisticated twist.
- Salted Caramel Swirl: After spreading the brownie batter, dollop 1/2 cup of thick salted caramel sauce over the top and use a knife to swirl it gently into the batter before baking.
- Blondie Version: For a vanilla-forward bar, use sugar cookie dough for the base and a boxed blondie mix for the top layer. Keep the Oreos or try vanilla sandwich cookies.
- Gluten-Free Adaptation: Use your favorite certified gluten-free cookie dough, gluten-free Oreo-style cookies (like Glutino), and a gluten-free brownie mix. The method remains identical.
- Extra-Gooey Center: For a truly decadent, under-baked center, reduce the bake time by 3-4 minutes. The center will be incredibly fudgy and require a fork, but it’s a textural dream for true dessert lovers.
What to Serve With This Recipe
These brownies are a complete dessert experience on their own, but a few accompaniments can elevate them to a restaurant-level finish. A scoop of high-quality vanilla bean ice cream is the classic and perfect pairing—the cold creaminess contrasts the rich, dense bar. For a dinner party, drizzle individual plates with a raspberry coulis or salted caramel sauce for a touch of elegance.
Beverage-wise, a glass of cold milk is the nostalgic champion, while a dark roast coffee or espresso cuts through the sweetness beautifully. They’re the ideal finale for barbecues, game day spreads, or as the star of a holiday cookie tray.
Storage & Make-Ahead Instructions
- Storage: Once completely cooled, store brownies in an airtight container at room temperature for up to 3 days. Place parchment paper between layers if stacking. They can also be refrigerated for up to 5 days; let them come to room temperature or warm slightly before serving for the best texture.
- Freezing: These freeze exceptionally well. Wrap individual squares tightly in plastic wrap, then place them in a freezer bag or airtight container for up to 3 months. Thaw at room temperature or warm in the microwave for 15-20 seconds.
- Make-Ahead Strategy: This is an excellent make-ahead dessert. Bake and cool the brownies completely the day before you need them. Do not slice until the day of serving. The overnight rest allows the flavors to meld and the layers to set firmly, making slicing even easier.
- Reheating: For that fresh-from-the-oven feel, warm individual squares in the microwave for 10-15 seconds. You can also warm them in a 300°F oven for 5-7 minutes.
Frequently Asked Questions
Q: Can I use homemade cookie dough and brownie batter?
Absolutely. For homemade cookie dough, use your favorite chocolate chip recipe (yielding about 2 cups of dough) and chill it thoroughly before pressing. For homemade brownies, use a recipe for a 9×13 pan.
The baking time may need slight adjustment—start checking 5 minutes earlier.
Q: Why did my cookie dough layer sink into the Oreos?
This usually means the cookie dough was too warm or soft when pressed. Always use chilled dough and press it firmly and evenly to create a compact base that can support the weight of the layers above.
Q: Can I make these in a different size pan?
A 9×9 inch pan will yield thicker, taller bars. You’ll need to increase the bake time by 10-15 minutes and watch the doneness cues closely. I don’t recommend a smaller pan, as the layers will be too thick to bake through evenly.
Q: My brownies are too cakey. What happened?
A cakey texture typically comes from overmixing the brownie batter (which incorporates too much air) or using a “cakey” style brownie mix. Next time, gently mix the batter just until combined and be sure to select a “fudgy” style mix.
Q: Are the Oreos supposed to stay crunchy?
No, they soften during baking. They transform into a moist, cake-like layer that melds the cookie and brownie together. If you prefer a crunchy texture, you’d need to add them after baking, which changes the structural integrity of the bar.
Q: Can I double this recipe?
I don’t recommend simply doubling and baking in a larger pan, as the center won’t bake through. Instead, make two separate batches in two 9×13 pans for guaranteed success.
Q: How do I get those perfect, clean slices?
The holy trinity is: 1) Let them cool completely, 2) Use a very sharp knife, and 3) Wipe the knife clean between every single cut. Chilling the cooled slab for 30 minutes in the fridge makes this even easier.
Final Thoughts
After 15 years of developing recipes, I can confidently say that slutty brownies represent a special kind of baking alchemy. They take simple, beloved components and, through a bit of thoughtful layering, create something that feels entirely new and spectacular. This recipe is designed for success, prioritizing technique over complexity so you can achieve a stunning result that will have everyone asking for the recipe.
The beauty lies in its versatility and reliability—it’s a dessert you can count on for any occasion. I hope you’ll give it a try and experience the joy of pulling that first perfect, multi-layered square from the pan. Don’t forget to share your creations and any fun variations you come up with.
Happy baking

Mouthwatering Slutty Brownies
- Author: Amelia
- Prep Time: 20 minutes
- Cook Time: 35 minutes
- Total Time: 55 minutes
- Yield: 16 servings
- Category: Dessert
- Cuisine: American
Description
These slutty brownies feature three irresistible layers: chewy chocolate chip cookie dough, a whole row of Oreos, and rich, fudgy brownie batter. They're the ultimate crowd-pleasing dessert that's surprisingly simple to make.
Ingredients
Instructions
-
Preheat your oven to 350°F (175°C). Line a 9x13 inch metal baking pan with parchment paper, leaving an overhang on the long sides for easy removal. Lightly grease any exposed pan. This setup is non-negotiable for clean slices later.
-
Press the cookie dough evenly into the bottom of the prepared pan. Use your fingers or the bottom of a measuring cup to create a uniform, compact layer. This forms your sturdy, chewy base. Tip from me: If using homemade dough, chill it for 15 minutes first for easier pressing.
-
Arrange the Oreo cookies in a single, snug layer over the cookie dough. You should fit 4 rows of 4 cookies. Believe me, this middle layer is the magical 'glue' that holds everything together and adds that iconic creaminess.
-
Prepare the brownie batter according to the package directions. Pour it evenly over the Oreo layer, using a spatula to gently spread it to the edges and ensure the cookies are completely covered. Sprinkle the optional chocolate chips on top for extra pockets of melted chocolate.
-
Bake for 30-35 minutes. Start checking at 30 minutes—a toothpick inserted into the center should come out with a few moist crumbs, not wet batter. The edges will be set and the top will have a shiny, crackly crust. Trust me, do not overbake.
-
Let the brownies cool completely in the pan on a wire rack for at least 2 hours. This is the hardest part, but crucial for clean layers. Use the parchment paper overhang to lift the entire slab onto a cutting board. Slice into squares with a sharp knife, wiping it clean between cuts for perfect edges.
Notes
- Chef's Tips:
- For the cleanest cuts, chill the fully cooled brownies in the pan for 30 minutes before slicing.
- A common mistake is using a glass or ceramic pan, which bakes slower and can lead to a gummy base. Metal is best.
- Serve slightly warmed with a scoop of vanilla ice cream for the ultimate experience.
- Food Safety:
- Use pasteurized eggs in brownie batter if you have concerns about consuming raw cookie dough, even though baking will eliminate risk.
- Store cooled brownies in an airtight container to maintain freshness.