

There’s a reason mac and cheese is the undisputed champion of comfort food. It’s the dish we crave on cozy nights, the star of holiday potlucks, and the ultimate crowd-pleaser that brings everyone to the table. But let’s be honest: not all mac and cheese is created equal.
The boxed stuff has its place, but the real magic happens when you build a sauce from scratch, layer flavors with care, and achieve that perfect textural contrast between a creamy interior and a crispy, golden top. After years in professional kitchens and countless recipe tests, I’ve refined this version to be my absolute go-to. It’s rich without being heavy, impressively cheesy, and engineered for that coveted “cheese pull” in every serving.
Trust me, this is the ultimate baked mac and cheese recipe you’ll make again and again.
This recipe is designed for maximum flavor and foolproof success. Here’s what sets it apart:
- Creamy, Never-Grainy Sauce: The combination of a classic roux with a touch of cream cheese creates a velvety, stable emulsion that stays luxuriously smooth, even after baking.
- Perfect Texture Harmony: We undercook the pasta slightly so it finishes absorbing the sauce in the oven, resulting in a perfect bite—never mushy. The buttery panko-Parmesan topping adds an essential crispy crunch.
- Three-Cheese Flavor Bomb: Sharp cheddar provides the classic tang, Gruyère adds a nutty depth, and cream cheese contributes unparalleled creaminess. It’s a balanced, complex cheese flavor.
- Make-Ahead Friendly: You can assemble the entire casserole a day ahead and refrigerate it, then just add the topping and bake when needed. It’s a lifesaver for entertaining.
- Endlessly Customizable: The base recipe is perfection, but it’s also a fantastic canvas for your favorite add-ins, from bacon to lobster to roasted vegetables.
Recommended Tools for This Recipe
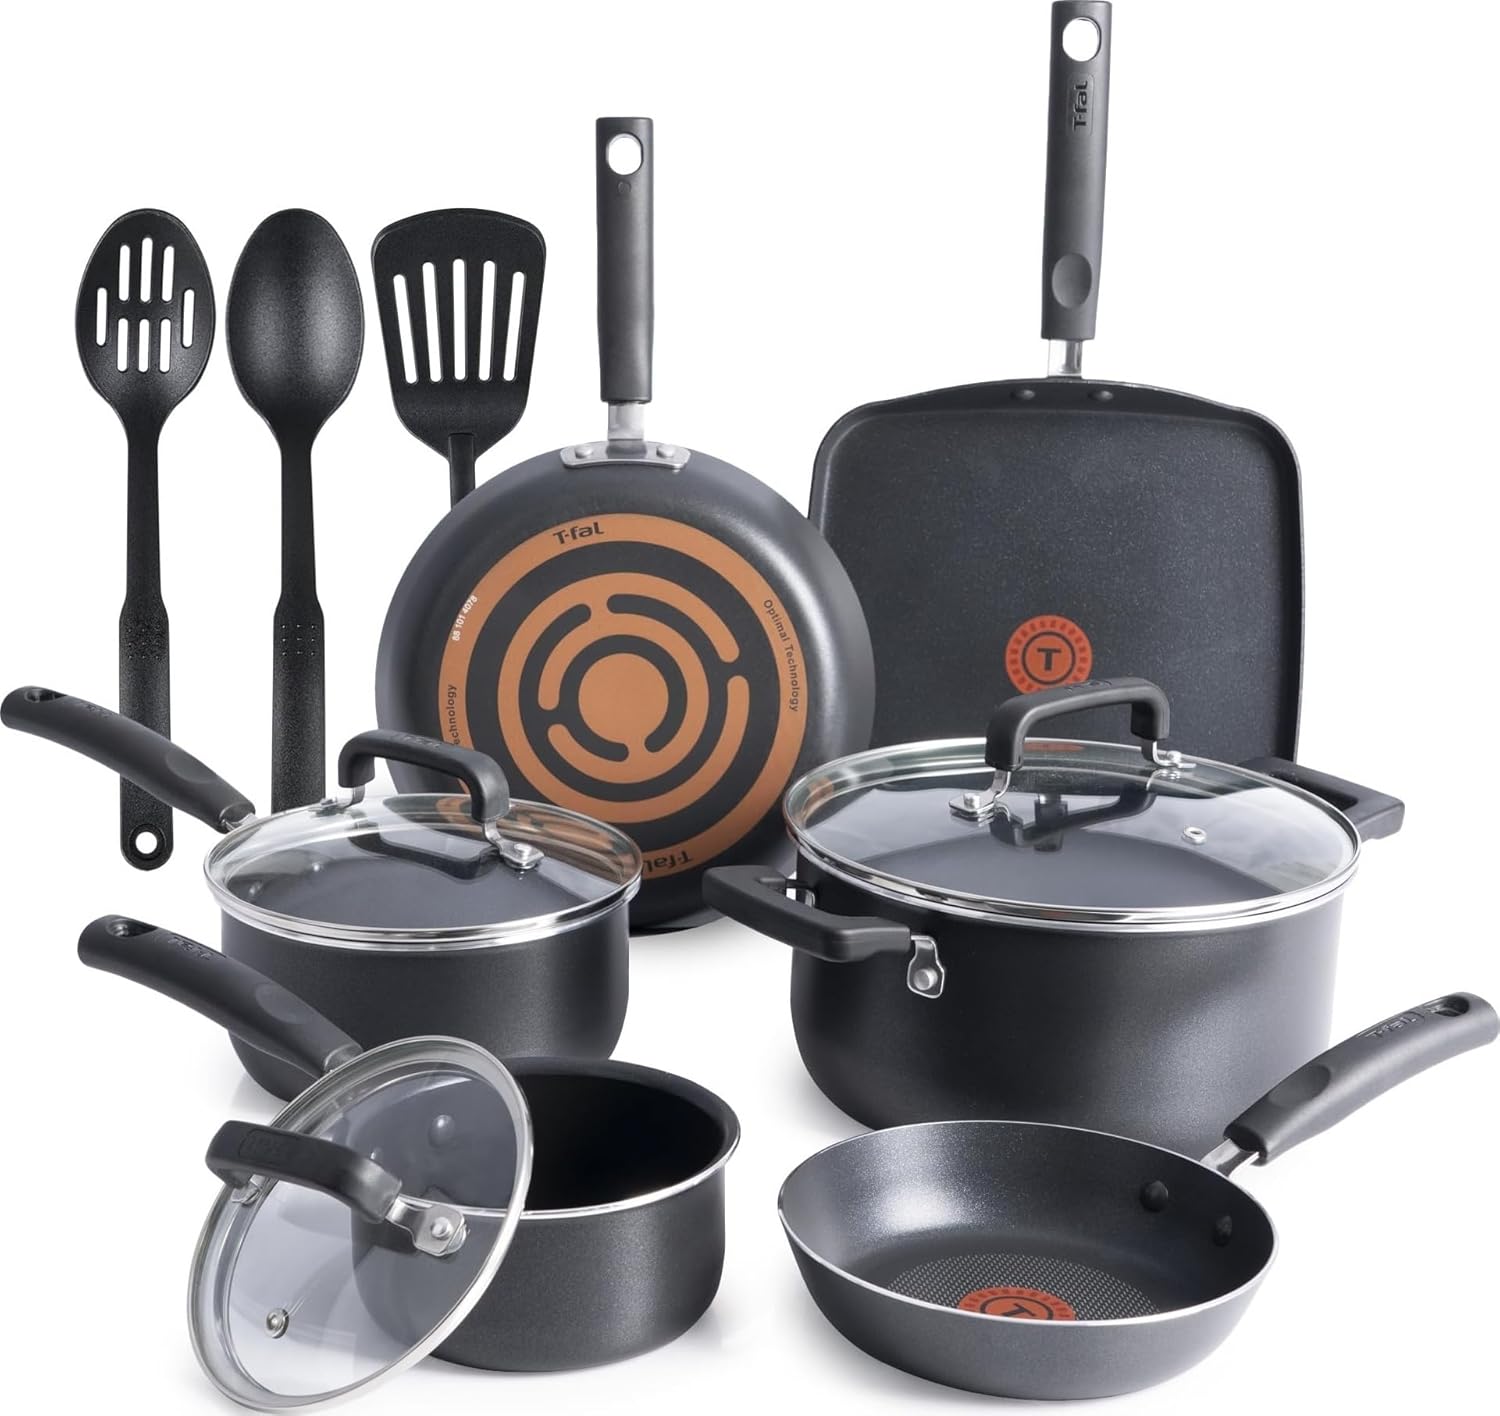


As an Amazon Associate, we may earn a small commission from qualifying purchases — at no extra cost to you.
Ingredients You’ll Need
- Let’s gather our ingredients. This recipe uses pantry staples and a strategic cheese blend to create something truly special. The quality of your cheese is paramount—always buy blocks and grate them yourself. Pre-shredded cheese contains anti-caking agents that can make your sauce grainy and less smooth. Trust me, the extra few minutes of grating are non-negotiable for the ultimate texture.
For the pasta and sauce, you’ll need elbow macaroni, unsalted butter, and all-purpose flour to build the roux, the foundation of our sauce. We’ll use whole milk and heavy cream for a rich, luxurious base. Flavor comes from Dijon mustard (it brightens the cheese without tasting mustardy), garlic powder, paprika, and a hint of cayenne pepper for a subtle warmth.
The cheese trio is key: sharp cheddar for punch, Gruyère for sophistication, and cream cheese for foolproof creaminess. For the irresistible topping, you’ll need panko breadcrumbs (they stay crisper than regular breadcrumbs) and Parmesan cheese for a salty, savory finish.

Note: You’ll find the complete list of ingredients, along with their exact measurements, in the printable recipe card at the bottom of this post.
Kitchen Equipment Needed
You don’t need any specialty gear, but a few key pieces will make the process smoother. A large Dutch oven or heavy-bottomed pot is ideal for making the sauce, as it distributes heat evenly and prevents scorching. You’ll also need a large pot for boiling the pasta, a 9×13 inch baking dish or 3-quart casserole dish, and a whisk for your roux.
A box grater is essential for fresh cheese, and standard measuring cups and spoons round out the list.
How to Make Ultimate Baked Mac and Cheese Recipe
Step 1: Prep Pasta and Preheat
Start by preheating your oven to 375°F (190°C) and greasing your baking dish. This ensures everything is ready for assembly. Bring a large pot of water to a rolling boil and salt it generously—it should taste like the sea.
This is your only chance to season the pasta itself. Cook the macaroni for 1 minute less than the package suggests for al dente. Believe me, this is the secret to perfect texture; the pasta will finish cooking and absorbing the flavorful sauce in the oven, preventing a mushy final dish.
Drain it and set it aside.
Step 2: Build the Roux Base
While the pasta cooks, begin the sauce. In your Dutch oven, melt 4 tablespoons of butter over medium heat. Once foamy, sprinkle in the flour and whisk constantly.
You’re cooking the raw flour taste out, which takes about 2-3 minutes. The mixture will become bubbly and smell slightly nutty. This roux is the thickening agent that will give your sauce body and prevent it from separating later.
Step 3: Create the Creamy Béchamel
Here’s where patience pays off. Slowly drizzle in the warmed milk and cream while whisking non-stop. This gradual addition prevents lumps from forming.
Bring the mixture to a gentle simmer, whisking frequently. It will thicken noticeably in 5-7 minutes, enough to coat the back of a spoon. Tip from me: if you run your finger through the sauce on the spoon, the line should hold.
Remove the pot from the heat. Whisk in the Dijon mustard, garlic powder, paprika, and optional cayenne.
Step 4: Craft the Cheese Sauce
Now for the fun part: the cheese. First, stir in the cubed cream cheese off the heat until it melts smoothly. This adds stability and extra creaminess.
Then, add your freshly grated sharp cheddar and Gruyère, one handful at a time, stirring until fully melted before adding the next. Adding cheese off the heat prevents it from seizing and becoming grainy. Taste the sauce now and season generously with salt and black pepper—it should taste a bit salty, as the pasta will balance it.
Fold in the drained pasta until every piece is gloriously coated.
Step 5: Top and Bake to Perfection
Pour the cheesy macaroni into your prepared dish and spread it evenly. In a small bowl, melt the last 2 tablespoons of butter and mix it with the panko and grated Parmesan. Sprinkle this over the top in an even layer.
For a beautiful finish, dust it lightly with a bit more paprika. Bake for 25-30 minutes until the edges are bubbling vigorously and the topping is a deep, golden brown. For extra crunch, broil for the final 1-2 minutes, but watch it like a hawk!
Step 6: Rest and Serve
This is the hardest but most important step: let it rest. Take the dish out of the oven and let it sit for a full 10 minutes. This allows the sauce to set slightly, making it easier to serve beautiful, clean scoops that hold their shape.
Step back and admire that golden crust before diving in. The first bite, with its contrast of creamy, cheesy pasta and crispy topping, is pure comfort food heaven.
A few chef-driven insights will guarantee your success every single time.
- Grate Your Own Cheese: I can’t stress this enough. Pre-shredded cheese is coated with cellulose or potato starch to prevent clumping. These additives prevent the cheese from melting into a smooth sauce, often leaving it grainy or oily.
- Temperature Matters: Use warm milk and room temperature cream cheese. Adding cold dairy to a hot roux can shock the mixture and make it harder to thicken smoothly. Room-temperature cream cheese incorporates seamlessly.
- Season in Layers: Salt the pasta water well, season the sauce boldly, and remember the Parmesan in the topping is salty. Tasting at each stage ensures a perfectly seasoned final dish, not a bland one.
- The Al Dente Rule: Undercooking the pasta is non-negotiable for baked mac and cheese. It continues to absorb liquid and cook in the oven. If you start with fully cooked pasta, you’ll end up with a soft, mushy casserole.
- Rest Before Serving: Letting the baked dish rest for 10 minutes allows the proteins in the cheese and sauce to relax and set. This means you get perfect, scoopable servings instead of a runny pool on the plate.
Recipe Variations & Customizations
- This ultimate recipe is a fantastic foundation. Here are some of my favorite tested variations to make it your own.
- Smoky Bacon & Jalapeño: Fold in 1 cup of cooked, crumbled bacon and 1/4 cup of finely diced pickled jalapeños with the pasta. The smoky, spicy, and creamy combination is irresistible.
- Lobster or Crab Luxe: Gently fold in 1 pound of cooked, chopped lobster meat or lump crabmeat at the end of Step 4. Elevate it for a special occasion with a pinch of Old Bay seasoning in the sauce.
- Truffle & Mushroom: Sauté 8 oz of sliced cremini mushrooms until golden. Off the heat, stir 1-2 teaspoons of truffle oil into the finished cheese sauce before combining with the pasta and mushrooms.
- Buffalo Chicken: Mix in 2 cups of shredded cooked chicken tossed with 1/3 cup of buffalo sauce. Use a blue cheese or gouda in place of the Gruyère, and crumble some blue cheese over the top before baking.
- Four Greens: Stir in 2 cups of finely chopped, sautéed greens (like spinach, kale, chard, and broccoli rabe) that have been squeezed very dry. It adds color, nutrients, and a pleasant earthy note.
- Gluten-Free: Use your favorite gluten-free pasta and replace the all-purpose flour with an equal amount of a 1:1 gluten-free flour blend. Use certified gluten-free panko crumbs for the topping.
- Extra Crispy Top: Double the panko topping mixture and add 1/4 cup of finely grated Parmesan directly into the sauce for an even more intense cheese flavor throughout.
What to Serve With This Recipe
While this mac and cheese is substantial enough to be a main course, it also shines as part of a larger spread. For a comforting weeknight dinner, pair it with a simple arugula salad with a lemon vinaigrette to cut through the richness. For holiday meals like Thanksgiving or Christmas, it’s the perfect rich side to roasted turkey, glazed ham, or herb-crusted prime rib.
In the summer, serve it alongside grilled sausages, burgers, or BBQ ribs for the ultimate cookout plate. For beverages, a crisp, acidic white wine like Sauvignon Blanc, a light-bodied red like Pinot Noir, or even a cold lager balances the dish beautifully.
Storage & Make-Ahead Instructions
- This recipe is excellent for planning ahead.
- Refrigerator: Cool leftovers completely, then store in an airtight container for up to 4 days.
- Freezer: Assemble the mac and cheese (without the breadcrumb topping) in a freezer-safe dish. Cover tightly with plastic wrap and foil. Freeze for up to 2 months. Thaw overnight in the fridge before adding the topping and baking as directed, adding 5-10 minutes to the bake time.
- Make-Ahead: You can assemble the entire casserole (with topping) up to 24 hours in advance. Cover and refrigerate. Bake straight from the fridge, adding 5-10 minutes to the bake time, until hot and bubbly.
- Reheating: Reheat individual portions in the microwave with a splash of milk. For larger amounts, reheat, covered with foil, in a 350°F oven until warmed through (20-30 minutes). For a recrisped top, remove the foil for the last 5-10 minutes.
Frequently Asked Questions
Q: Can I use different types of pasta?
Absolutely. Cavatappi, shells, penne, or rigatoni are all great choices. Just ensure you cook them al dente.
Smaller shapes like elbows are classic because they hold the sauce in every nook.
Q: My sauce seems too thick before I bake it. Is that okay?
Yes, that’s perfect. The pasta will continue to absorb liquid and the sauce will loosen up as it bakes. If it seems extremely thick, like paste, you can stir in a splash of warm milk to adjust.
Q: Can I make this without heavy cream?
You can substitute the heavy cream with an equal amount of additional whole milk or half-and-half. The sauce will be slightly less rich but still delicious. Do not use skim milk, as the sauce will lack body.
Q: Why did my cheese sauce turn out grainy or oily?
This usually happens if the cheese was added while the sauce was too hot, or if pre-shredded cheese was used. Always remove the pot from the heat before adding cheese, and grate it fresh.
Q: How do I know when it’s done baking?
Look for vigorous bubbling around the edges of the dish and a uniformly golden-brown, crispy topping. An internal temperature of 165°F is a good indicator it’s heated through.
Q: Can I omit the breadcrumb topping?
You can, but you’ll miss the wonderful textural contrast. If you prefer no topping, simply bake until the top is lightly browned and bubbly.
Q: What’s the best way to reheat leftovers to keep them creamy?
The oven is best for larger portions. Add a tiny splash of milk, cover with foil, and bake at 350°F until warm. For single servings, the microwave with a damp paper towel over the dish works well.
Final Thoughts
This ultimate baked mac and cheese recipe represents everything I love about cooking: taking simple, quality ingredients and transforming them into a dish that’s far greater than the sum of its parts. It’s reliable enough for a Tuesday night yet special enough for your holiday table. The techniques here—the fresh-grated cheese, the al dente pasta, the rested bake—are the small details that make a monumental difference.
I promise, once you experience the creamy, cheesy perfection and that satisfying crispy crunch, you’ll have a new family favorite. I’d love to hear how it turns out for you! Share your creations and any fun variations you try by tagging me.
Now, go preheat that oven and get ready for the best mac and cheese of your life.

Ultimate Baked Mac and Cheese
- Author: Amelia
- Prep Time: 20 minutes
- Cook Time: 35 minutes
- Total Time: 55 minutes
- Yield: 8 servings
- Category: Main
- Cuisine: American
Description
This is the ultimate baked mac and cheese, featuring a luxuriously creamy cheese sauce made with three cheeses, perfectly cooked pasta, and a crispy, buttery panko topping. It's a guaranteed crowd-pleaser for any occasion.
Ingredients
Instructions
-
Preheat your oven to 375°F (190°C). Grease a 9x13 inch baking dish or a 3-quart casserole dish. Bring a large pot of generously salted water to a boil. Cook the pasta according to package directions for al dente, shaving 1 minute off the cook time. It will finish cooking in the oven. Drain and set aside.
-
While the pasta cooks, make the roux. In a large Dutch oven or heavy-bottomed pot, melt 4 tablespoons of butter over medium heat. Add the flour and whisk constantly for 2-3 minutes until it forms a smooth paste and smells slightly nutty. This cooks out the raw flour taste.
-
Slowly pour in the warm milk and cream while whisking constantly to prevent lumps. Bring the mixture to a gentle simmer, whisking frequently, until it thickens enough to coat the back of a spoon, about 5-7 minutes. Remove from heat and whisk in the Dijon mustard, garlic powder, paprika, and cayenne.
-
Off the heat, stir in the cubed cream cheese until melted. Gradually add the grated sharp cheddar and Gruyère, a handful at a time, stirring until each addition is fully melted and the sauce is smooth. Season generously with salt and black pepper to taste. Fold in the drained pasta until every piece is coated.
-
Pour the cheesy pasta mixture into your prepared baking dish. In a small bowl, melt the remaining 2 tablespoons of butter. Mix it with the panko breadcrumbs and grated Parmesan until combined. Sprinkle this topping evenly over the mac and cheese. Dust lightly with a bit more paprika for color.
-
Bake for 25-30 minutes, or until the sauce is bubbly around the edges and the topping is a deep golden brown. For an extra-crispy top, broil for the final 1-2 minutes, watching closely to prevent burning. Let it rest for 10 minutes before serving to allow the sauce to set slightly.
Notes
- Chef's Tips:
- For the crispiest topping, use panko breadcrumbs and don't skip the Parmesan cheese mixed in.
- The most common mistake is adding cheese to a sauce that's too hot, which can cause it to become grainy. Always take the pot off the heat first.
- Serve with a simple green salad or roasted vegetables to balance the richness.
- Food Safety:
- Ensure dairy products are refrigerated until ready to use.
- Leftovers should be cooled to room temperature within 2 hours and refrigerated promptly.


