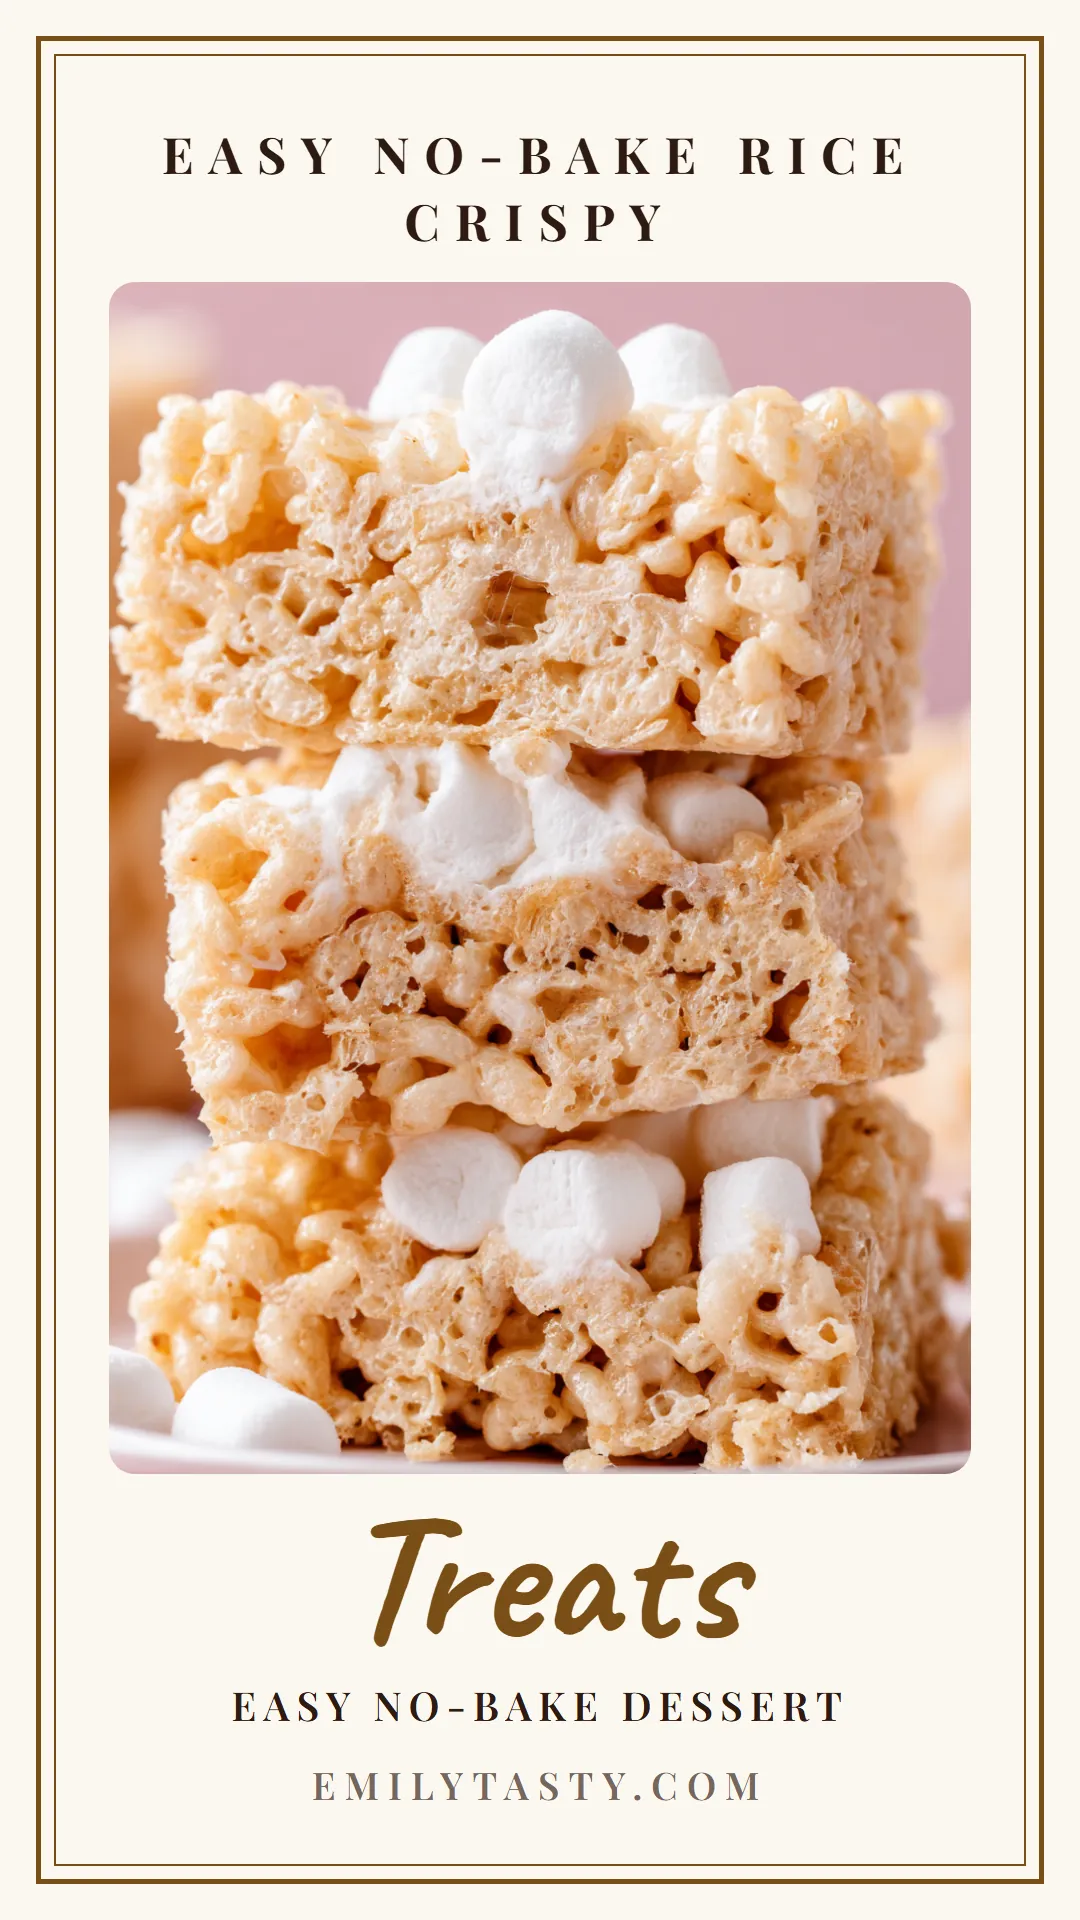
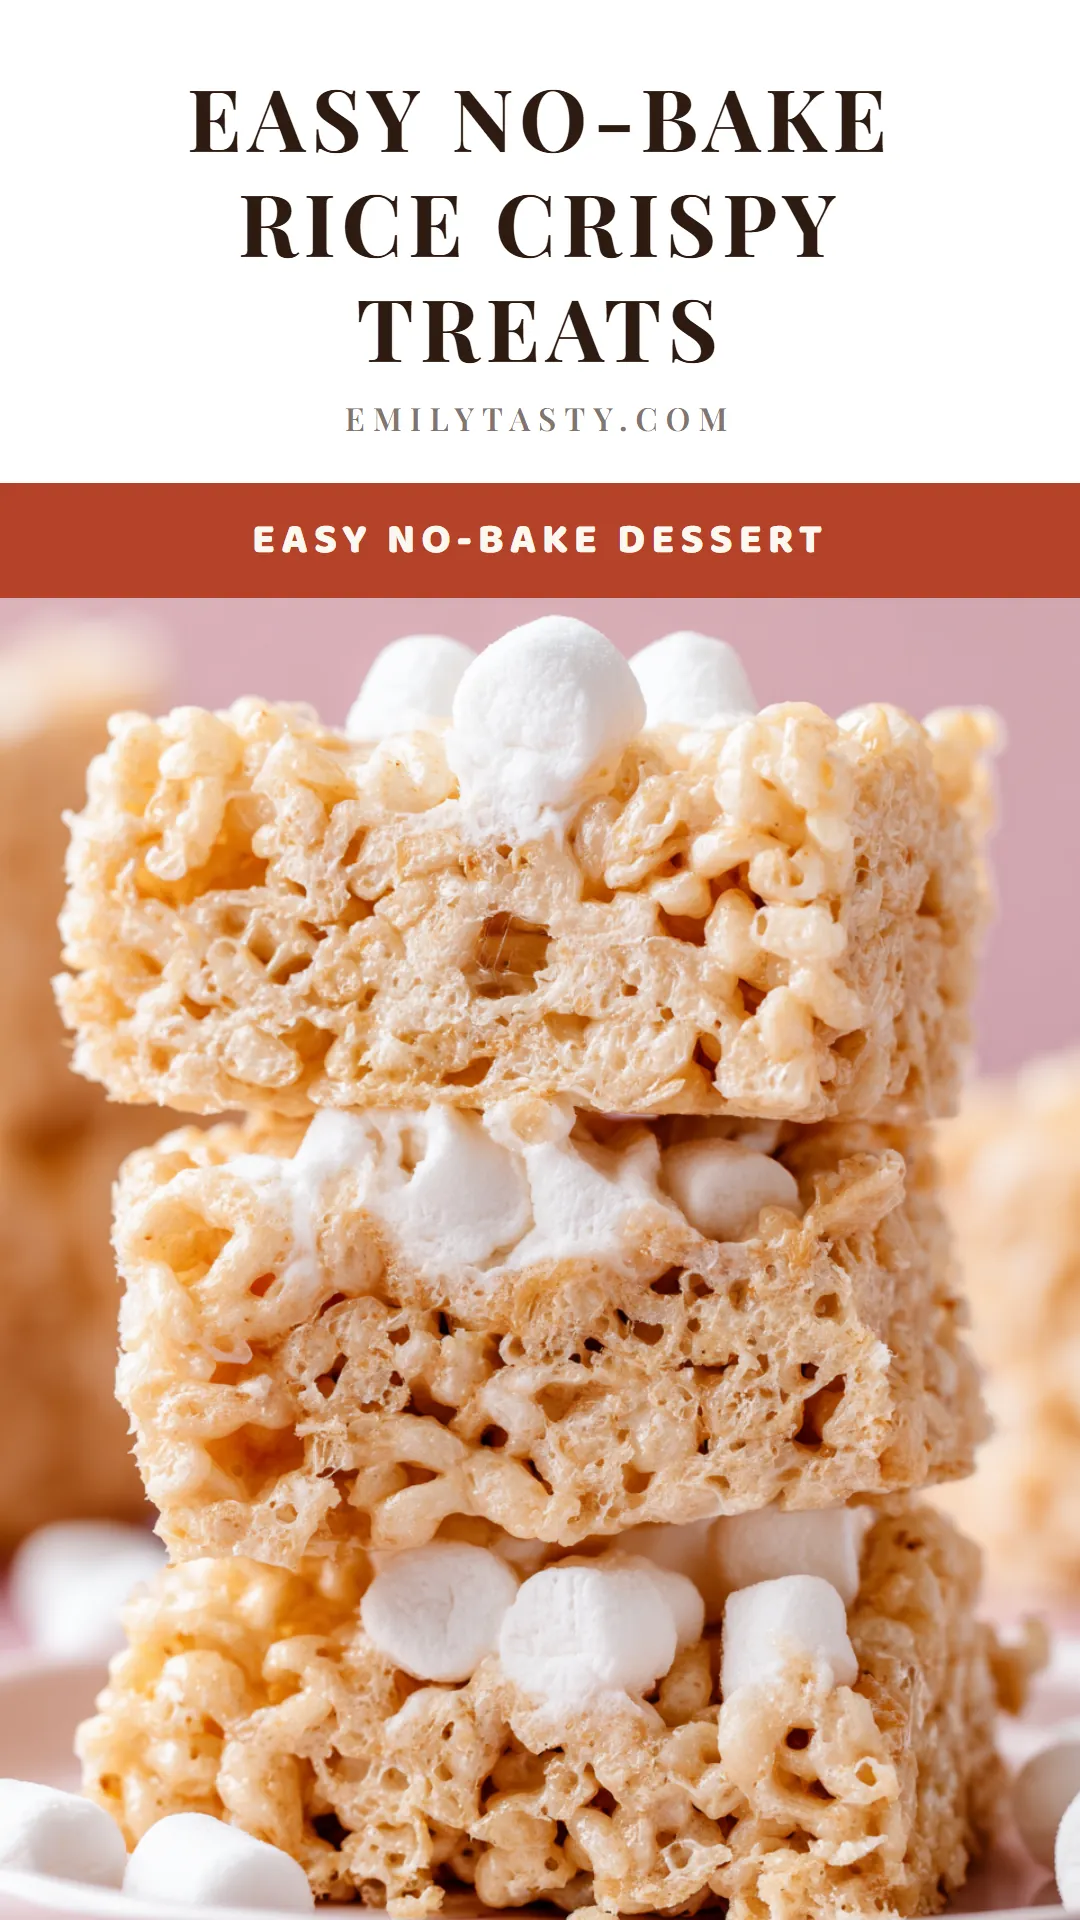
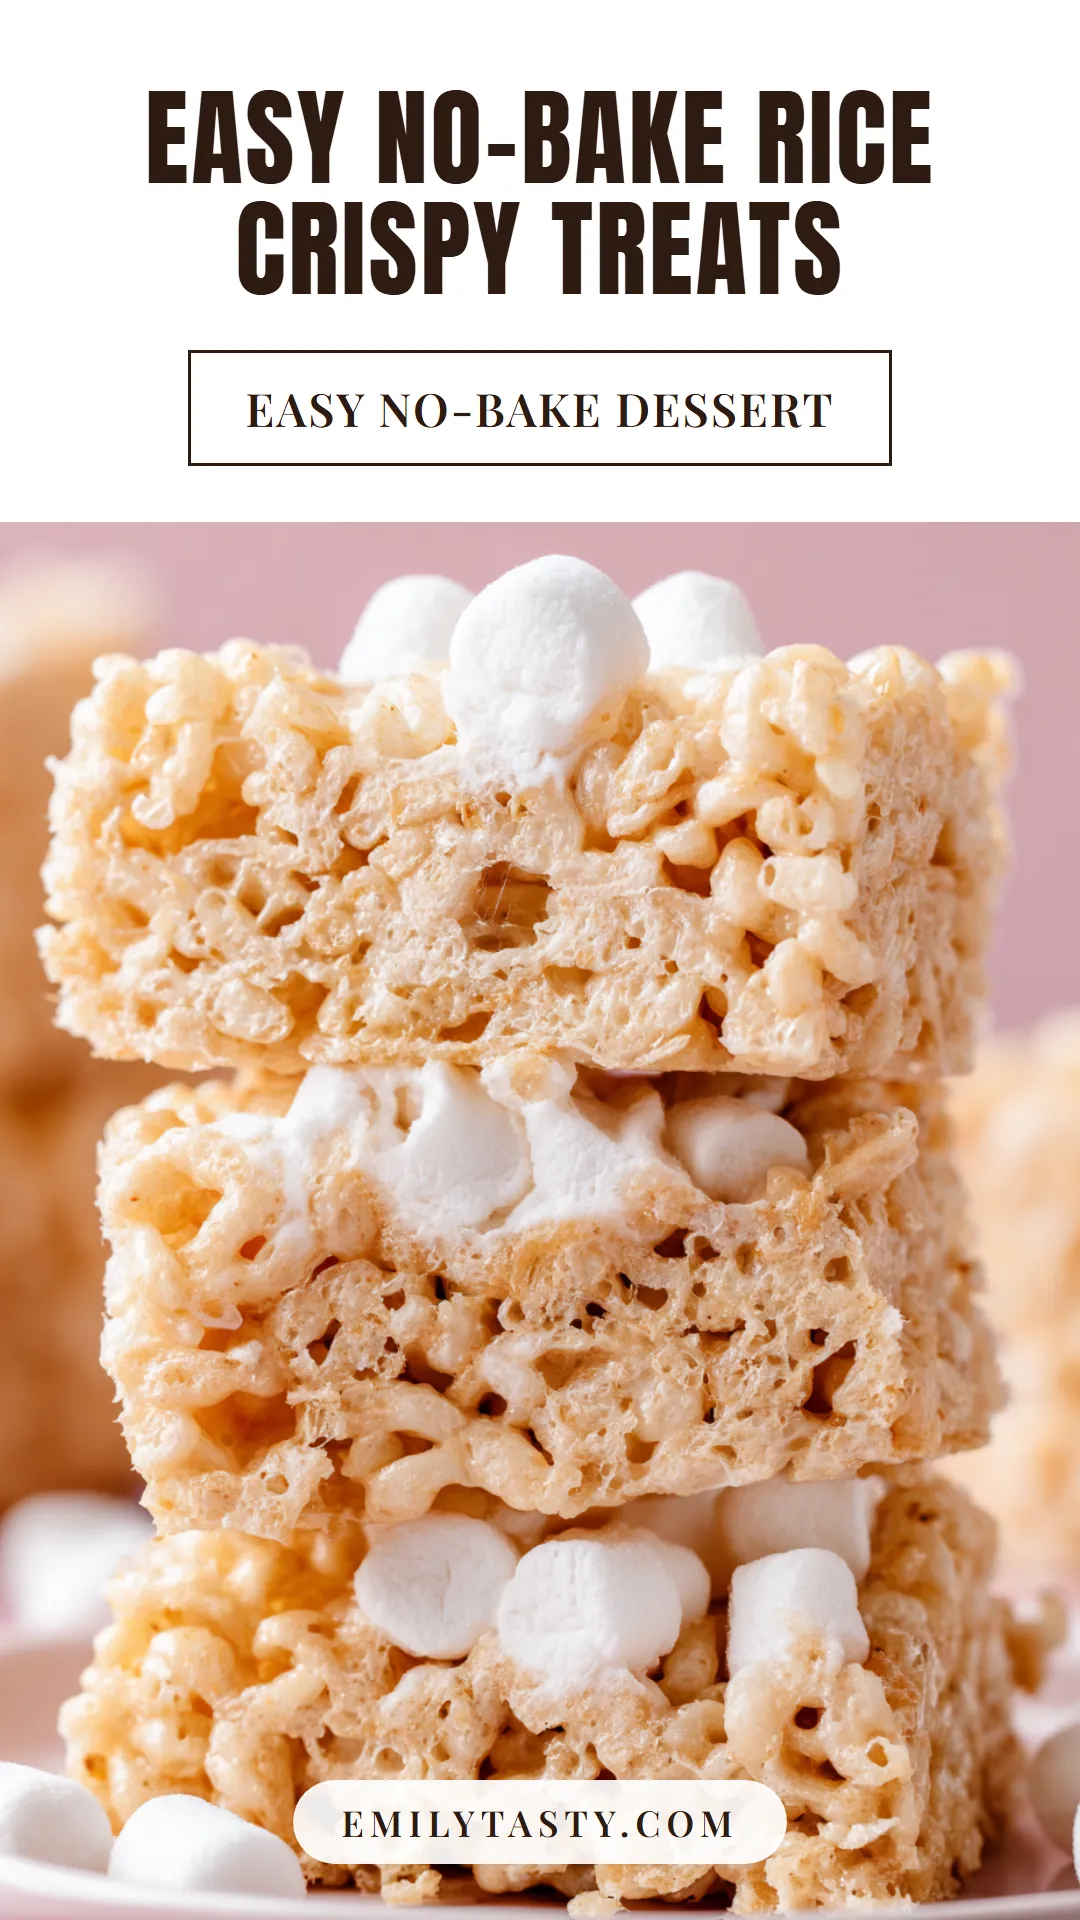
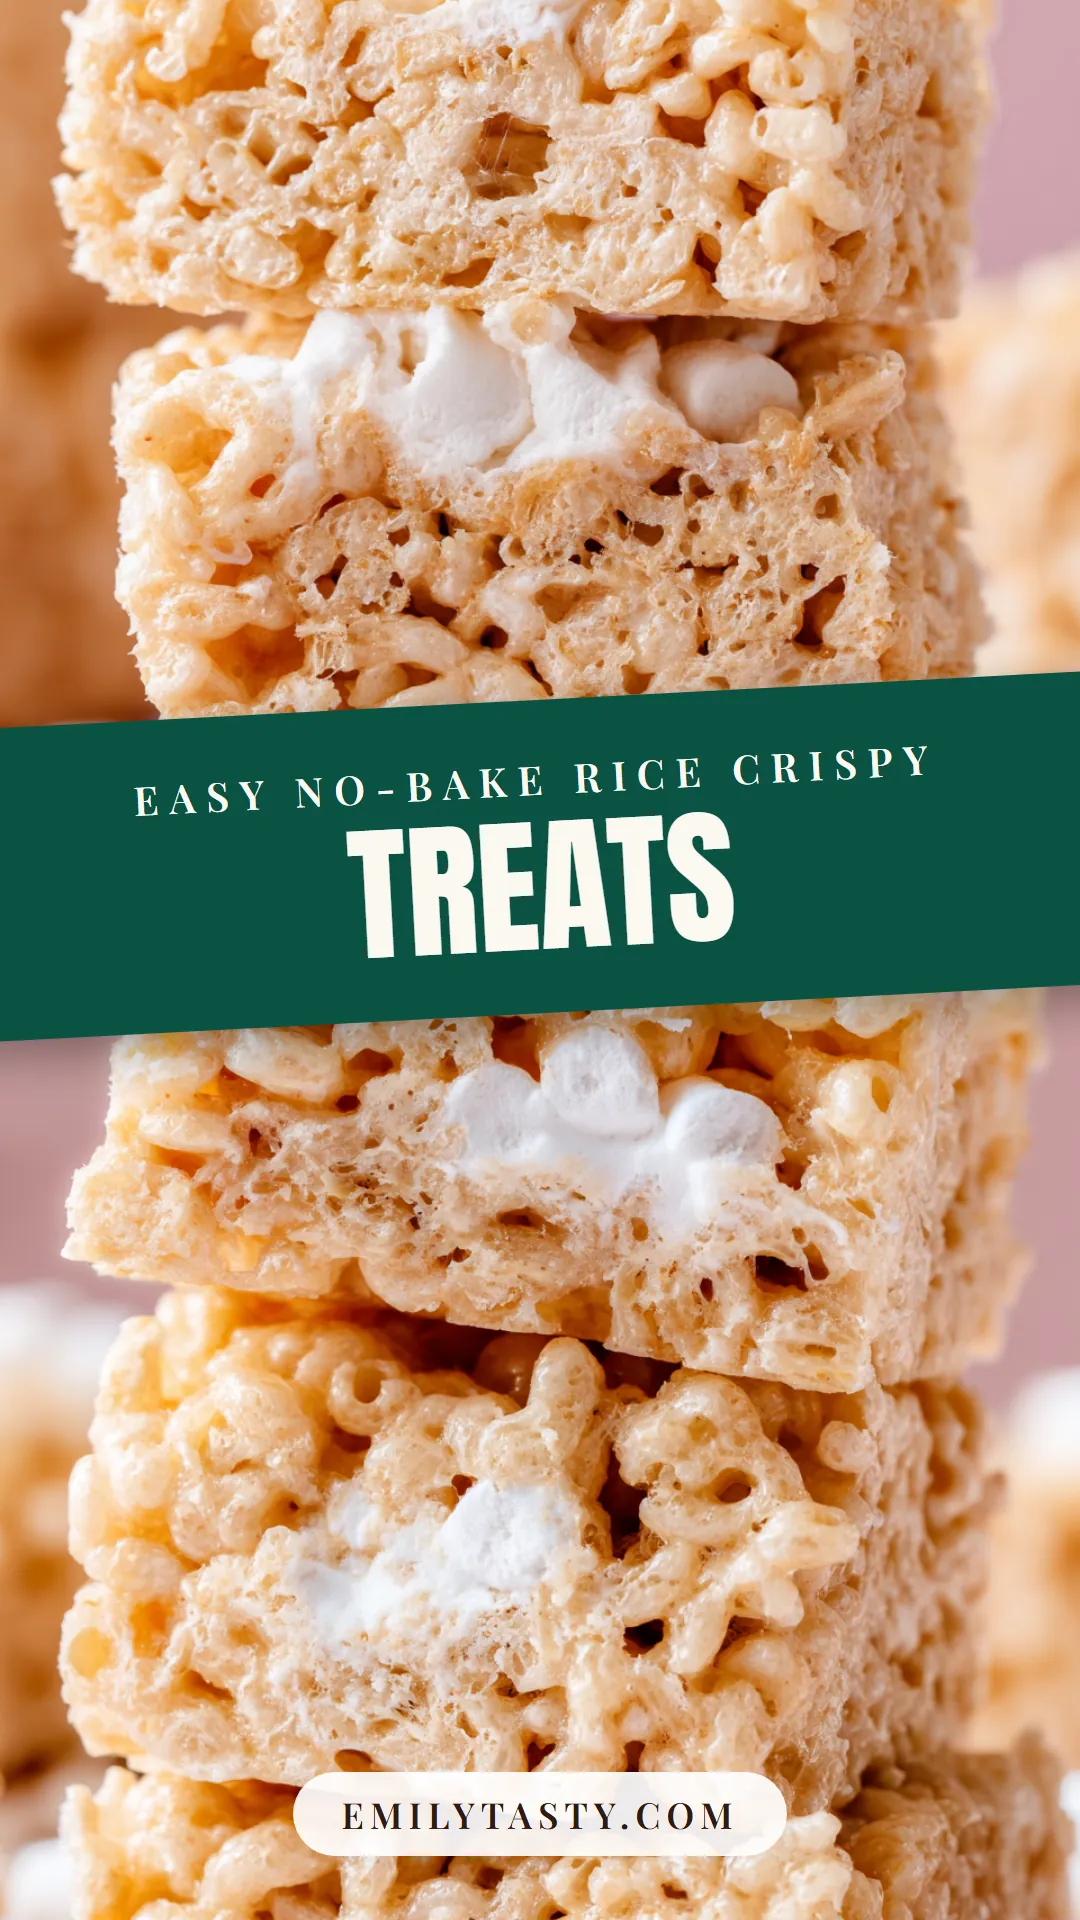
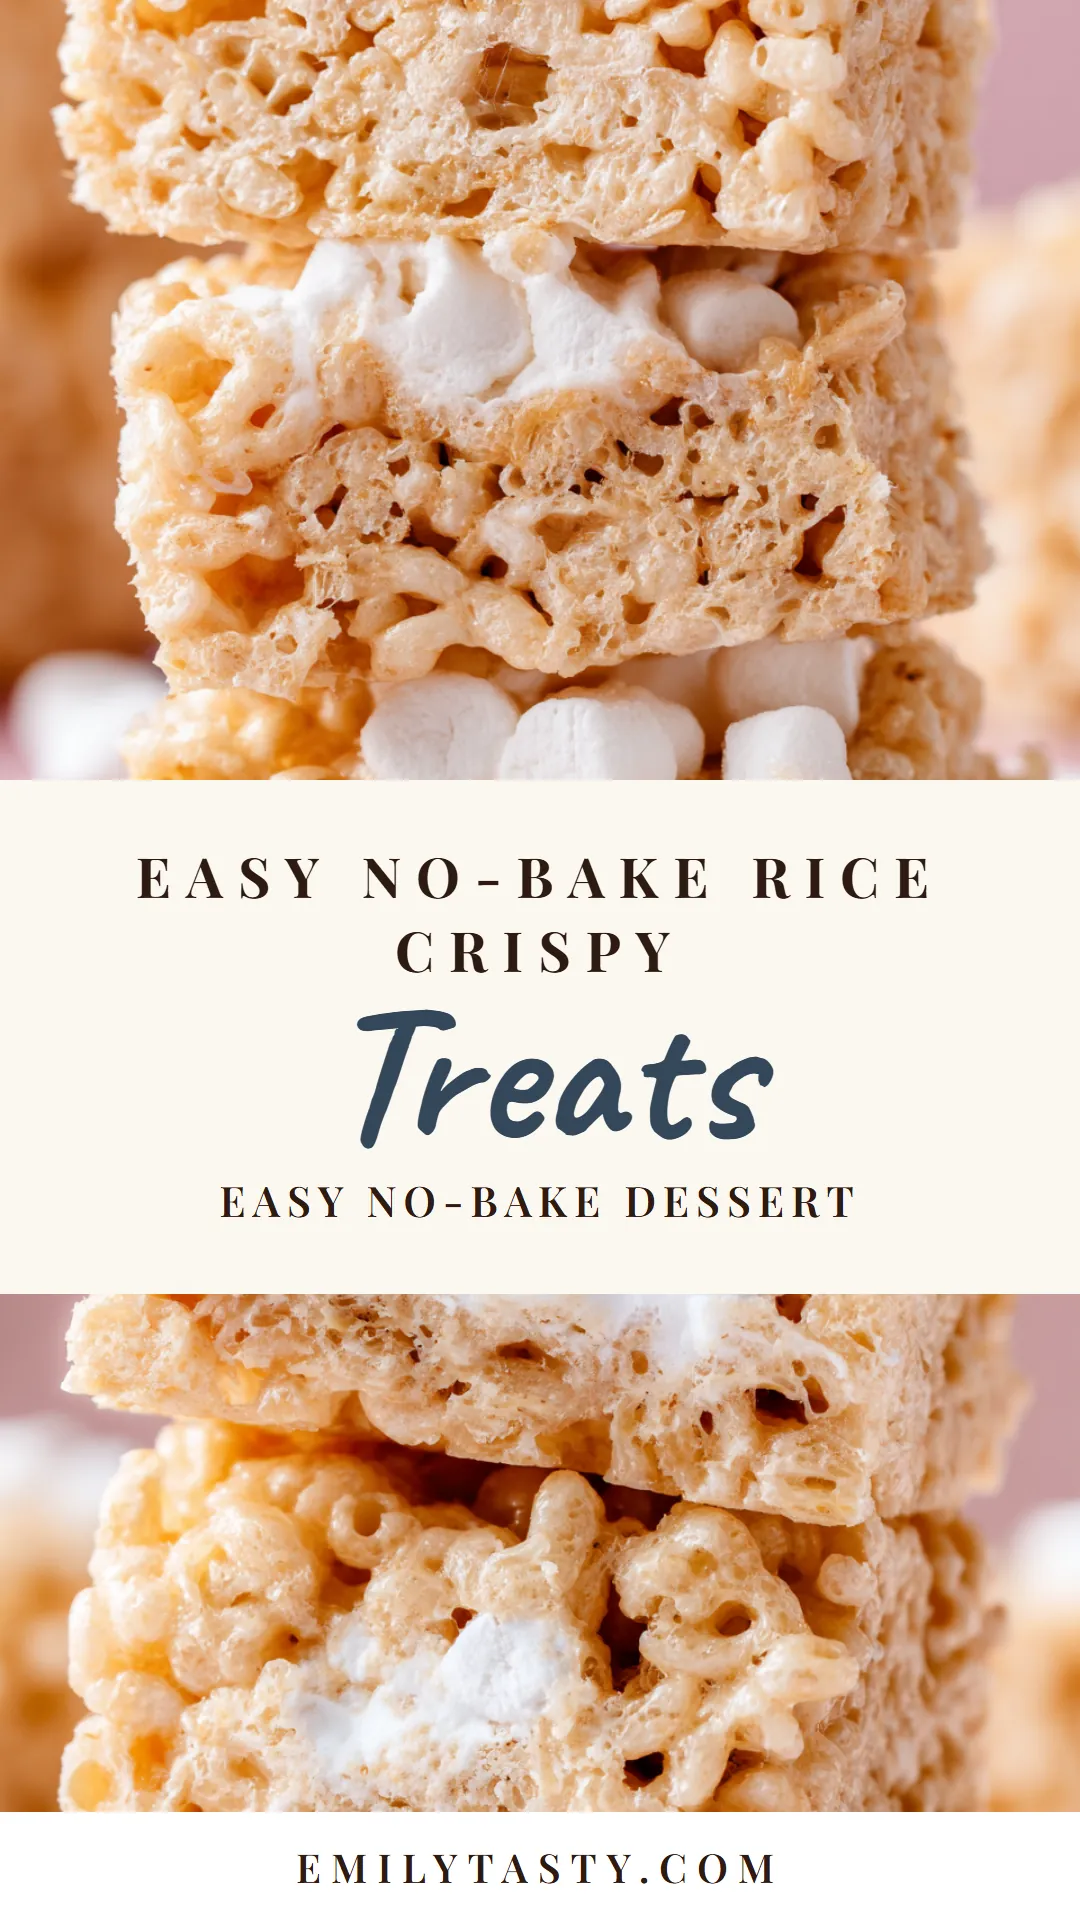
Rice Crispy Treats are a beloved no-bake dessert that’s perfect for any occasion. Whether you’re hosting a party, need a quick treat for the kids, or just want something sweet, these treats are quick, easy, and delicious. In this post, we’ll walk you through how to make perfect Rice Crispy Treats, sharing professional tips and techniques to ensure your treats come out just right every time.
Why You’ll Love This Recipe
- Quick and Easy: Ready in just 15 minutes, no baking required.
- Kid-Friendly: A hit with children of all ages.
- Customizable: Easily adaptable with different mix-ins and flavors.
- Nostalgic Appeal: Brings back memories of childhood treats.
- Perfect Texture: Achieves the ideal balance of chewy and crunchy.
- Dietary Flexibility: Can be made gluten-free with the right ingredients.
Recommended Tools for This Recipe


As an Amazon Associate, we may earn a small commission from qualifying purchases — at no extra cost to you.
Ingredients & Preparation Notes
- Rice Krispies Cereal: The base of your treats. Choose fresh cereal for the best crunch.
- Marshmallows: Use a 10 oz package, either regular or mini. Fresh marshmallows melt more smoothly.
- Butter: Unsalted butter helps control the saltiness of your treats. Use 3 tablespoons.
Substitutions: If you need a dairy-free version, you can use a dairy-free butter substitute. For gluten-free treats, ensure you use gluten-free Rice Krispies.
Quality Selection: Opt for high-quality ingredients for the best flavor and texture. Fresh marshmallows and Rice Krispies make a significant difference.
Professional Tips & Techniques
- Low and Slow: Melt the butter and marshmallows over low heat to prevent burning. Stir constantly for a smooth mixture.
- Quick Mixing: Once the marshmallows are melted, remove from heat and quickly stir in the cereal. This ensures an even coating without the mixture hardening too fast.
- Pressing the Mixture: Use a lightly greased spatula or your hands (also lightly greased) to press the mixture into the pan. This prevents sticking and helps achieve an even layer.
- Visual Cues: The treats are ready when the mixture is sticky and holds together well. If it’s too loose, it needs more marshmallow; if too sticky, you might have used too much.
Common Mistakes to Avoid:
- Overheating the marshmallows, which can cause them to burn or become tough.
- Not mixing quickly enough, leading to unevenly coated cereal.
- Pressing the mixture too hard, which can make the treats dense and hard.
Recipe Variations
- Chocolate Lover’s Delight: Add 1 cup of chocolate chips to the mixture for a chocolatey twist.
- Peanut Butter Bliss: Mix in 1/2 cup of peanut butter with the marshmallows for a nutty flavor.
- Fruit and Nut: Add 1/2 cup of dried fruit and 1/2 cup of chopped nuts for added texture and flavor.
- S’mores Inspired: Mix in 1 cup of mini marshmallows and 1 cup of crushed graham crackers.
- Festive Fun: Add holiday-themed sprinkles or colored sugar for a festive touch.
- Coconut Crunch: Mix in 1 cup of shredded coconut for a tropical flavor.
- Candy Crunch: Add 1 cup of your favorite chopped candy bars for a sweet surprise.
- Gluten-Free Option: Use gluten-free Rice Krispies for a gluten-free version.
Serving Suggestions
- Party Platter: Cut into squares and arrange on a platter for a party.
- Individual Treats: Use cookie cutters to create fun shapes for kids’ parties or special occasions.
- Dessert Bars: Serve in a large dish as a dessert bar, allowing guests to cut their own portions.
- Ice Cream Sandwiches: Use the treats as the “bread” for ice cream sandwiches.
- Presentation Tips: Dust with powdered sugar or drizzle with melted chocolate for an elegant touch.
- Pairing Suggestions: Serve with a glass of cold milk or a hot cup of tea for a perfect pairing.
Storage & Make-Ahead Tips
- Storage: Store in an airtight container at room temperature for up to 3 days.
- Shelf Life: Best enjoyed within 24 hours for optimal freshness.
- Make-Ahead: You can prepare the treats a day in advance and store them in an airtight container.
- Freezing: Freeze in a single layer on a baking sheet, then transfer to a freezer-safe bag. They can be frozen for up to 1 month. Thaw at room temperature before serving.
Frequently Asked Questions
Q: Can I make this ahead of time?
Yes, you can make Rice Crispy Treats a day in advance. Store them in an airtight container at room temperature.
Q: How long do Rice Crispy Treats last?
They are best enjoyed within 24 hours but can last up to 3 days at room temperature in an airtight container.
Q: Can I freeze Rice Crispy Treats?
Yes, you can freeze them for up to 1 month. Freeze in a single layer, then transfer to a freezer-safe bag. Thaw at room temperature before serving.
Q: What can I use instead of butter?
You can use a dairy-free butter substitute for a dairy-free version of the treats.
Q: Can I make these gluten-free?
Yes, use gluten-free Rice Krispies to make gluten-free Rice Crispy Treats.
Q: How do I prevent the treats from sticking to the pan?
Lightly grease the pan with butter or cooking spray before adding the mixture.
Q: Can I add other ingredients to the treats?
Yes, you can add chocolate chips, peanut butter, dried fruit, nuts, or other mix-ins to customize the treats.
Q: What’s the best way to cut the treats?
Use a sharp knife dipped in hot water and wiped clean between cuts for neat squares.
Conclusion
Rice Crispy Treats are a timeless dessert that’s easy to make and loved by all. With our step-by-step guide and professional tips, you’ll be able to create perfect treats every time. Whether you’re making them for a party, a snack, or just because, these treats are sure to be a hit.
Give this recipe a try, and don’t forget to share your results with us on social media. Enjoy your delicious Rice Crispy Treats!

Perfect Rice Crispy Treats
- Author: Amelia
- Prep Time: 10 minutes
- Cook Time: 5 minutes
- Total Time: 15 minutes
- Yield: 16 servings
- Category: Dessert
- Cuisine: American
Description
A classic no-bake dessert, these Rice Crispy Treats are perfect for any occasion. With just a few ingredients, you can whip up a batch in no time. Follow our detailed instructions for perfect results every time.
Ingredients
Instructions
-
Melt the butter in a large saucepan over low heat. Once melted, add the marshmallows and stir until completely melted and smooth. This should take about 5 minutes.
-
Remove the saucepan from the heat and quickly stir in the Rice Krispies cereal until well coated. Work fast to prevent the mixture from hardening.
Notes
- Chef's Tips:
- For best results, use fresh marshmallows and Rice Krispies.
- Avoid over-stirring the mixture to prevent the treats from becoming too hard.
- Serve at room temperature for the best texture and flavor.
- Food Safety:
- Use fresh ingredients to ensure the best flavor and texture.
- Store in an airtight container to maintain freshness.