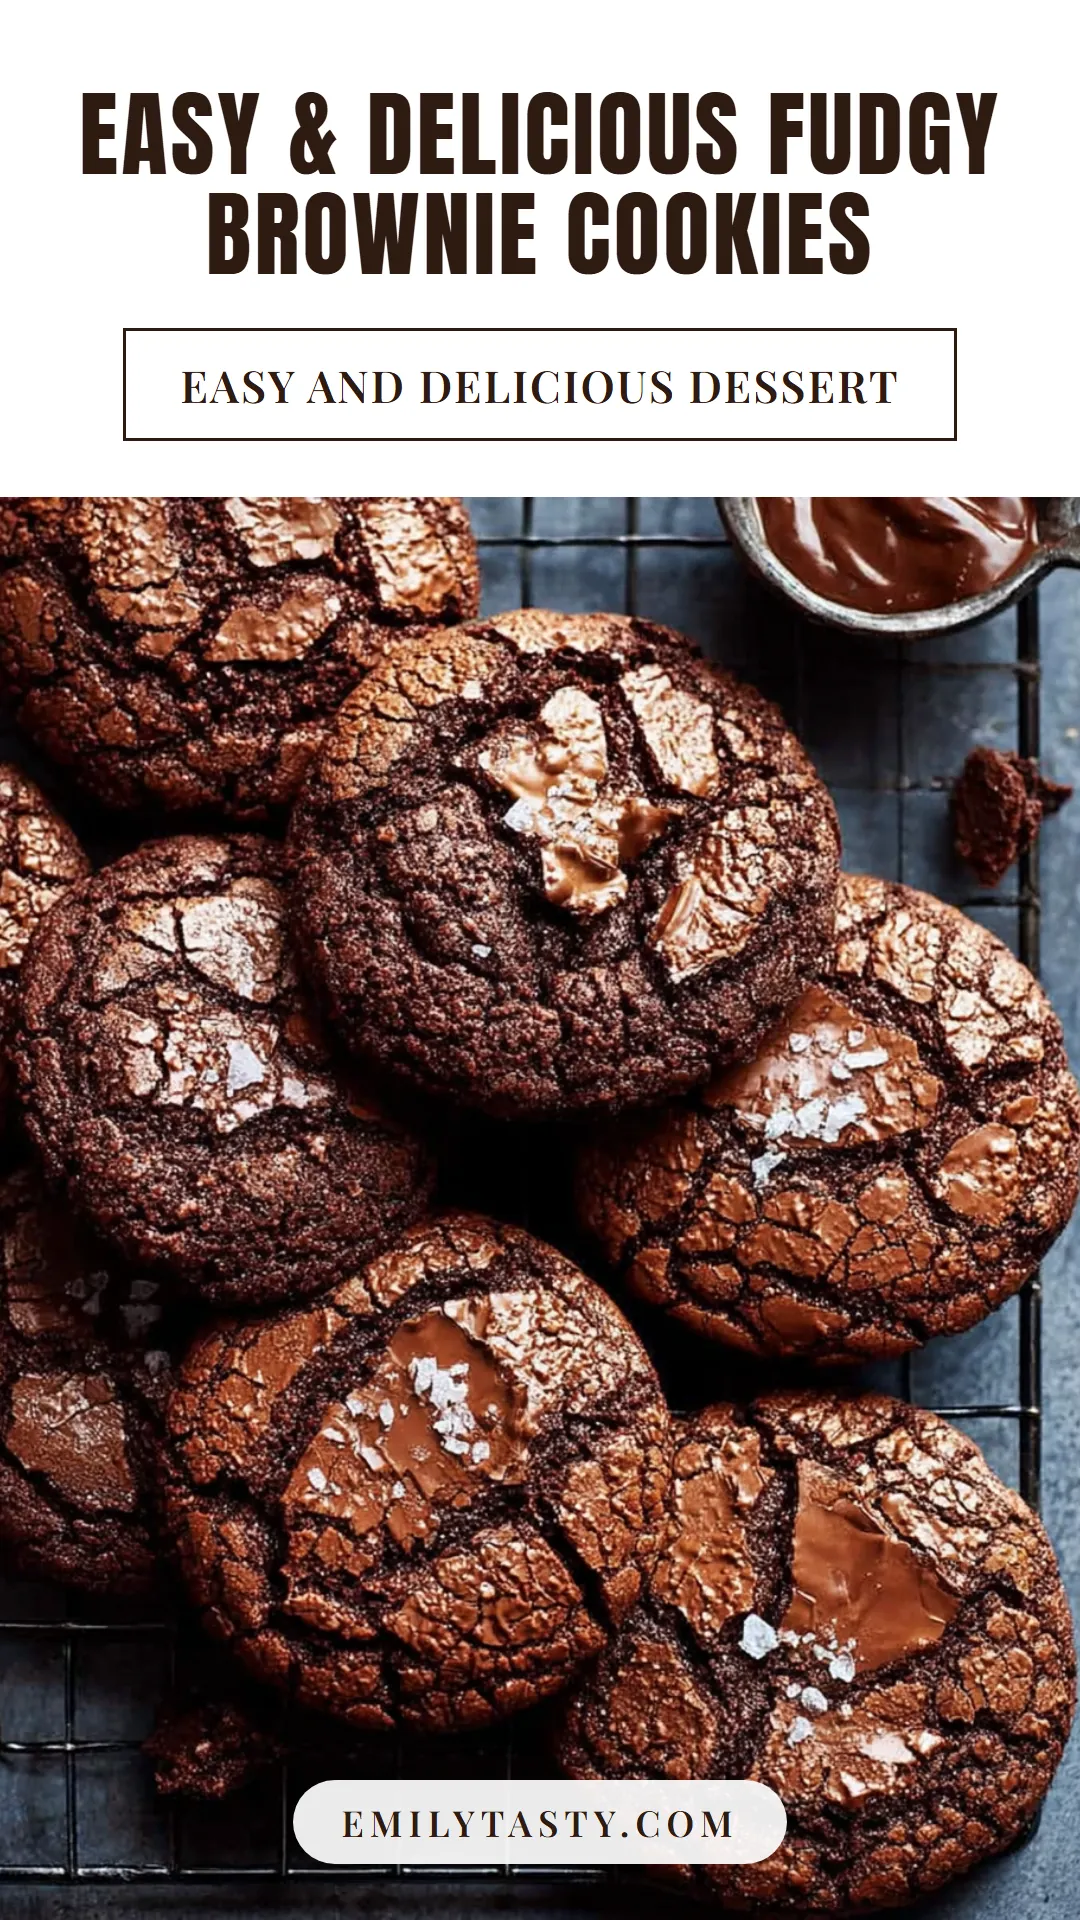
There’s a moment of pure joy when you bite into a dessert that perfectly marries two beloved classics. Imagine the dense, fudgy heart of your favorite brownie, but with the chewy, crisp-edged convenience of a cookie you can hold in your hand. That’s the magic of a well-made brownie cookie.
As a chef who has tested countless chocolate recipes, I developed this version to deliver maximum chocolate impact with minimal fuss, using a simple one-bowl method that guarantees a crackled top and a gooey center every single time. Whether you need a quick treat for a bake sale or a deeply satisfying chocolate fix, this recipe is your new secret weapon.
- Fudgy-Chewy Perfection: These cookies bake up with crisp edges and soft, almost brownie-like centers that stay wonderfully moist for days.
- One-Bowl Simplicity: The melted butter method means minimal dishes and no need for a stand mixer—just a bowl and a whisk.
- Intense Chocolate Flavor: A combination of cocoa powder and melted chocolate chips creates a deep, rich chocolate taste that’s not overly sweet.
- Fast & Foolproof: From bowl to oven in under 15 minutes, with clear visual cues so you know exactly when they’re perfectly baked.
- Crowd-Pleasing Versatility: Equally loved by kids and adults, and easy to customize with different mix-ins for any occasion.
- Make-Ahead Friendly: The dough can be scooped and frozen for weeks, allowing you to bake fresh, warm cookies on demand.
Recommended Tools for This Recipe


As an Amazon Associate, we may earn a small commission from qualifying purchases — at no extra cost to you.
Ingredients You’ll Need
Let’s gather our ingredients—this is where simple pantry staples transform into something extraordinary. The magic lies in the balance: cocoa powder for intense flavor, melted butter for chewiness, and just the right amount of sugar for that classic crackled top.
- All-purpose flour: This provides the necessary structure. Be sure to spoon it into your measuring cup and level it off for accuracy; scooping directly can pack in too much flour and lead to dry cookies.
- Unsweetened cocoa powder: This is your flavor powerhouse. I prefer Dutch-process cocoa for its smoother, less acidic taste, but natural cocoa works perfectly too. Just be sure to sift it to avoid lumps.
- Baking soda: Our leavening agent. It reacts with the acidic components (the cocoa and brown sugar, if using) to give the cookies their lift and contribute to the crackly surface.
- Fine sea salt: Salt is non-negotiable in chocolate desserts. It heightens all the other flavors and balances the sweetness.
- Unsalted butter: Melted and slightly cooled. Melted butter, as opposed to creamed, gives these cookies their distinctively chewy and dense texture, reminiscent of a brownie’s mouthfeel.
- Granulated sugar: Using only white sugar (instead of a brown/white mix) is intentional here. It allows the deep chocolate flavor to shine and promotes that beautiful, shiny, cracked top we all love.
- Eggs: Use large eggs at room temperature. They bind the dough and add moisture. Cold eggs can cause the melted butter to seize up.
- Pure vanilla extract: A splash enhances the chocolate notes and adds a layer of warm complexity.
- Semisweet chocolate chips: Divided use. Most get folded into the batter for pockets of melted chocolate, while a few are pressed on top for visual appeal and extra chocolate in every bite.

Note: You’ll find the complete list of ingredients, along with their exact measurements, in the printable recipe card at the bottom of this post.
Kitchen Equipment Needed
You don’t need any specialty gear for this recipe. The essentials are likely already in your kitchen: a couple of mixing bowls, a whisk, and a spatula. A medium cookie scoop (about 1.5 tablespoons) is highly recommended for evenly sized cookies that bake uniformly.
Parchment paper or silicone baking mats are crucial for preventing sticking and making cleanup effortless. Finally, have a wire cooling rack ready; allowing the cookies to firm up on the hot baking sheet for 5 minutes before moving them is key to setting their fudgy structure.
How to Make Fudgy Brownie Cookies Recipe
Step 1: Prep and Combine Dry Ingredients
Start by preheating your oven to 350°F (175°C) and lining your baking sheets. This ensures they’re ready to go the moment your dough is. In a medium bowl, take the time to whisk together the flour, sifted cocoa powder, baking soda, and salt.
Trust me, whisking thoroughly here is a small step that pays off hugely, ensuring every bite has evenly distributed chocolate flavor and leavening, with no bitter pockets of raw cocoa.
Step 2: Create the Wet Base
In a large bowl, combine the melted butter and granulated sugar. Whisk them together vigorously for a full minute. Believe me, this isn’t busy work; you’re helping dissolve the sugar into the butter, which creates a glossy mixture that directly contributes to the cookies’ shiny, crackled crust.
Whisk in the room-temperature eggs one at a time until fully incorporated, then stir in the vanilla. The mixture should be smooth and slightly thickened.
Step 3: Fold and Rest the Dough
Add the dry ingredients to the wet ingredients. Now, switch to a rubber spatula and use a gentle folding motion. Tip from me: stop mixing when just a few streaks of flour remain.
Add one cup of the chocolate chips and fold until you have a thick, fudgy, and cohesive dough. Let this dough rest on the counter for 5 minutes. This brief rest allows the cocoa powder to fully hydrate and the flour to absorb the moisture, resulting in a better texture and easier scooping.
Step 4: Scoop, Top, and Bake
Using your cookie scoop, portion the dough onto the prepared sheets, spacing them at least 2 inches apart—they will spread. Gently press the remaining chocolate chips onto the tops. Bake one sheet at a time on the center rack for 10-12 minutes.
The perfect doneness cue is this: the edges will look set and dry, while the centers will still appear puffed, soft, and slightly underbaked. They will not look “done” in the traditional sense, and that’s exactly what you want.
Step 5: Cool and Serve
This is the most important step for texture: when you pull the cookies from the oven, let them cool directly on the hot baking sheet for a full 5 minutes. This allows them to finish setting without overcooking, solidifying that fudgy interior. Then, transfer them to a wire rack to cool completely.
Step back and admire those gorgeous cracks before serving slightly warm for the ultimate gooey experience.
- Temperature is Key: Ensure your melted butter is no longer hot to the touch before adding the eggs, or you risk cooking them. Room-temperature eggs incorporate much more smoothly.
- The Underbake Rule: For the fudgiest results, err on the side of underbaking. Remove the cookies when the centers still look soft and moist. They will continue to cook from residual heat on the sheet.
- Scoop for Consistency: Using a cookie scoop isn’t just about neatness; it ensures all your cookies are the same size, which means they will bake at the same rate. No more burnt edges on some and raw centers on others.
- Don’t Skip the Rest: That 5-minute rest for the dough makes it easier to handle and improves the final texture by allowing the flour to fully absorb the liquid ingredients.
- Storage for Freshness: Store completely cooled cookies in an airtight container at room temperature with a piece of bread. The bread will release moisture that the cookies absorb, keeping them soft and chewy for days.
Recipe Variations
- Salted Caramel Swirl: After scooping the dough, press a small piece of soft caramel into the center of each ball before baking. Finish with a flake of sea salt after baking.
- Mint Chocolate Chip: Replace the vanilla extract with ½ teaspoon of pure peppermint extract and use dark chocolate or mint chocolate chips.
- Espresso Infused: Add 1-2 teaspoons of instant espresso powder to the dry ingredients. This won’t make them taste like coffee but will deepen and enrich the chocolate flavor dramatically.
- Peanut Butter Pocket: Use a teaspoon to make an indent in each dough ball and fill with about ½ teaspoon of peanut butter before sealing the dough around it and baking.
- Gluten-Free Adaptation: Substitute the all-purpose flour with a 1:1 gluten-free baking blend. The texture will be slightly more delicate but still wonderfully fudgy.
- Double Chocolate Chunk: Replace the semisweet chips with a chopped high-quality dark chocolate bar for irregular, melty pockets of chocolate throughout.
- S’mores Style: Fold in ½ cup of crushed graham crackers and use milk chocolate chips. After baking, press a mini marshmallow onto the top of each warm cookie.
What to Serve With This Recipe
These cookies are a star on their own, but they can anchor a fantastic dessert spread. For a classic pairing, serve them still slightly warm with a cold glass of whole milk or a scoop of vanilla bean ice cream sandwiched between two cookies. For a more sophisticated dessert plate, crumble a cookie over a bowl of espresso gelato or alongside a small pot of cherry compote.
They’re perfect for holiday cookie boxes, bake sales, or as a lunchbox treat. For a casual gathering, I love setting out a platter of these with a bowl of fresh berries and some whipped cream for a build-your-own dessert station.
Storage & Make-Ahead Instructions
- Room Temperature Storage: Keep cooled cookies in an airtight container at room temperature for up to 5 days. Adding a slice of bread to the container will help maintain their chewiness.
- Freezing Baked Cookies: These cookies freeze beautifully. Place cooled cookies in a single layer on a baking sheet to freeze solid, then transfer to a freezer bag or container for up to 3 months. Thaw at room temperature or warm briefly in the microwave.
- Freezing Cookie Dough: This is my favorite make-ahead trick. Scoop the dough balls onto a parchment-lined sheet and freeze until solid. Transfer the frozen dough balls to a freezer bag. You can bake them directly from frozen, adding 1-2 minutes to the bake time.
- Reheating: To recapture that fresh-from-the-oven warmth and softness, microwave a cookie for 8-10 seconds or warm in a 300°F oven for 3-4 minutes.
Frequently Asked Questions
Q: Can I use brown sugar instead of white sugar?
A: You can, but it will change the texture and appearance. Brown sugar will make the cookies softer, chewier, and more moist, but you will lose some of the classic shiny, crackled top that white sugar provides. The flavor will be deeper with hints of caramel.
Q: Why did my cookies turn out cakey instead of fudgy?
A: This usually means they were overbaked or the dough was overmixed. Remember to take them out when the centers look soft, and fold the dry ingredients in just until combined. Using a kitchen scale for flour (165 grams) is the best guarantee against accidentally adding too much.
Q: Can I make these cookies without a mixer?
A: Absolutely! This recipe is designed to be mixed by hand. A whisk for the wet ingredients and a spatula for combining with the dry ingredients are all you need.
Q: My cookies spread too much. What happened?
A: The most common culprit is butter that was too warm when mixed, or dough that was placed on a hot baking sheet. Ensure your melted butter has cooled to just warm, and always use cool, room-temperature baking sheets for each batch.
Q: How do I know exactly when they are done baking?
A: Look for set edges and puffy, soft centers that still look slightly underbaked. A toothpick inserted near the edge should come out with moist crumbs, not wet batter. They will deflate and set as they cool.
Q: Can I add nuts or other mix-ins?
A: Definitely! Fold in up to 1 cup of chopped walnuts, pecans, or even toasted hazelnuts along with the chocolate chips. Just be mindful that adding too many extra ingredients can affect how the dough holds together.
Q: Is Dutch-process cocoa necessary?
A: It’s my preference for its mellow flavor, but natural cocoa powder works perfectly. The recipe uses baking soda, which reacts with the acidity in natural cocoa, so the leavening is balanced for either type.
Final Thoughts
This fudgy brownie cookie recipe represents everything I love about recipe development: taking the soul-satisfying essence of a classic dessert and presenting it in a new, incredibly convenient form. The process is straightforward, the ingredients are simple, but the result feels indulgent and special. That moment when you break one open to reveal the soft, dark interior is a small kitchen victory worth celebrating.
I’ve tested this formula multiple times to ensure it works reliably, giving you the confidence to create a treat that will impress anyone who tries it. Whether you’re a seasoned baker or just starting out, these cookies are a guaranteed win. I’d love to hear how your batch turns out—what variations you tried, or how you enjoyed them.
Share your creations with me, and don’t forget to explore the site for more of my kitchen-tested recipes designed for real-life cooking. Now, go preheat that oven and get ready for the best chocolate cookie of your life.

Fudgy Brownie Cookies
- Author: Amelia
- Prep Time: 15 minutes
- Cook Time: 12 minutes
- Total Time: 27 minutes
- Yield: 18 servings
- Category: Dessert
- Cuisine: American
Description
These decadent cookies combine the best of both worlds: the chewy, crackled top of a brownie and the convenient, handheld shape of a cookie. Made with simple ingredients, they bake up with fudgy centers and crisp edges.
Ingredients
Instructions
-
Preheat your oven to 350°F (175°C). Line two large baking sheets with parchment paper. In a medium bowl, whisk together the flour, sifted cocoa powder, baking soda, and salt until thoroughly combined and no lumps remain. This ensures even distribution of leavening and flavor.
-
In a large mixing bowl, combine the melted (but not hot) butter and granulated sugar. Whisk vigorously for about 1 minute until the mixture is smooth and glossy. This step helps dissolve the sugar slightly, contributing to the cookies' signature crackled top. Whisk in the room-temperature eggs, one at a time, followed by the vanilla extract.
-
Add the dry ingredients to the wet ingredients. Use a rubber spatula to fold gently until just a few streaks of flour remain. Add 1 cup of the chocolate chips and fold until the dough is uniform. It will be thick and fudgy—this is correct. Let the dough rest for 5 minutes; it will firm up slightly.
-
Using a medium cookie scoop (about 1.5 tablespoons), portion the dough onto the prepared sheets, spacing them at least 2 inches apart. They will spread. Gently press the remaining ½ cup of chocolate chips onto the tops of the dough balls for a bakery-style look.
-
Bake for 10-12 minutes. The cookies are done when the edges look set and the centers appear puffed and slightly underdone. They will deflate as they cool, creating that fudgy texture. Let them cool on the baking sheet for 5 full minutes before transferring to a wire rack to cool completely.
Notes
- Chef's Tips:
- For extra fudginess, slightly underbake by 1 minute. The cookies will continue to set as they cool on the hot pan.
- Do not overmix the dough once the flour is added, as this can develop gluten and make the cookies tough.
- Serve slightly warm with a glass of cold milk or a scoop of vanilla ice cream for an incredible dessert.
- Food Safety:
- Use pasteurized eggs if concerned about raw egg consumption in underbaked centers.
- Store cooled cookies in an airtight container at room temperature.