

There’s a specific kind of magic that happens in a kitchen on a crisp fall morning. It’s the scent of warm spices, the sizzle of batter hitting a hot iron, and the anticipation of that first bite of a waffle that’s simultaneously crisp, fluffy, and packed with seasonal flavor. This recipe for Cider Pumpkin Waffles with Salted Maple Butter is my culinary love letter to autumn.
It combines two iconic fall ingredients—pumpkin and apple cider—into a breakfast that feels celebratory yet is deceptively simple to make. The result is a waffle with a beautifully caramelized exterior, a tender, spiced interior, and a topping so good you’ll want to put it on everything. Let’s make a breakfast worth getting out of bed for.
This recipe is designed for success and maximum enjoyment, whether you’re a weekend brunch host or just treating your family.
- Perfect Fall Flavor Fusion: We’re not just adding pumpkin; we’re intensifying apple cider by reducing it, which packs a powerful, tangy-sweet apple essence into every bite without making the waffles wet.
- Expert-Textured Waffles: The combination of baking powder and soda, plus the thick batter, guarantees a lift that yields waffles with a shatteringly crisp exterior and a light, fluffy interior.
- The Topping That Steals the Show: The salted maple butter is a 3-ingredient wonder. The salt cuts the sweetness, enhances the maple, and creates a luxurious, melt-in sauce that’s far superior to plain syrup.
- Make-Ahead Friendly: Both the waffle batter (covered and refrigerated) and the salted maple butter can be made the night before, streamlining your morning routine.
- Crowd-Pleasing Versatility: These waffles are a hit with adults and kids alike. They’re substantial enough for a special brunch centerpiece but cozy enough for a lazy Saturday.
Recommended Tools for This Recipe


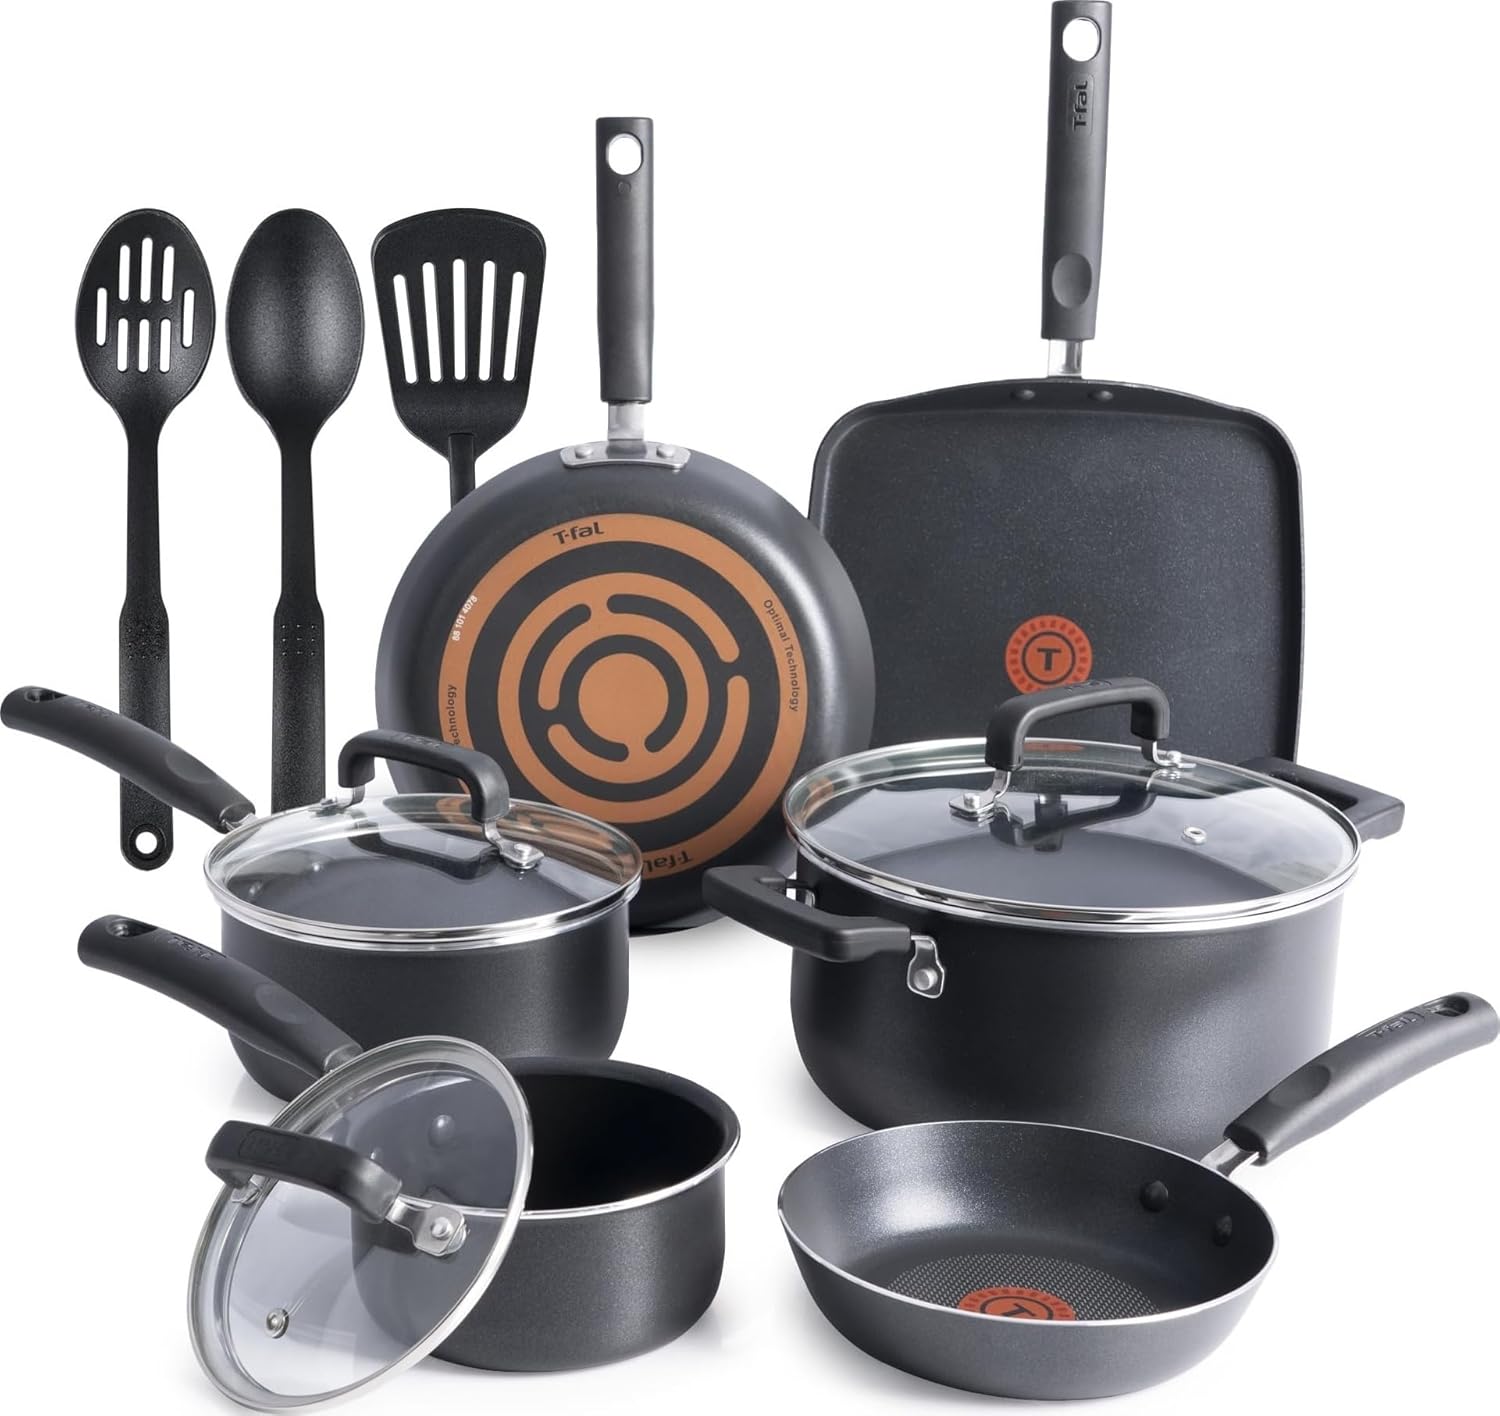
As an Amazon Associate, we may earn a small commission from qualifying purchases — at no extra cost to you.
Ingredients You’ll Need
- Let’s gather our ingredients. This recipe uses mostly pantry staples, but a few key choices will make all the difference in your results. I’ve tested this multiple times to ensure the balance is just right.
You’ll need ingredients for both the waffles and the compound butter. For the waffles, all-purpose flour forms the base. Please spoon it into your measuring cup and level it off—this small step prevents dense waffles.
Baking powder and baking soda are our leavening dream team for maximum lift. For spice, we use both pumpkin pie spice and extra ground cinnamon for a warm, deep flavor profile. Kosher salt is crucial for balancing all the sweetness and spice.
The wet ingredients start with eggs; having them at room temperature helps them incorporate more smoothly. Use pure pumpkin puree, not pumpkin pie filling, which has added sugar and spices. Brown sugar adds molasses notes that pair perfectly with pumpkin.
For fat, we use a combination of melted unsalted butter for flavor and vegetable oil for tenderness and reliable browning. The star ingredient is apple cider (the cloudy, tart kind, not clear apple juice). We reduce it to concentrate its flavor.
Finally, pure vanilla extract rounds everything out.
For the Salted Maple Butter, you’ll need softened unsalted butter, pure maple syrup (the real stuff—it’s non-negotiable), and flaky sea salt like Maldon. The flaky texture provides delightful bursts of salinity.

Note: You’ll find the complete list of ingredients, along with their exact measurements, in the printable recipe card at the bottom of this post.
Kitchen Equipment Needed
You don’t need any fancy equipment, but a few key tools will ensure success. The most important item is a reliable waffle iron, either Belgian or standard style. A wire cooling rack is my non-negotiable pro tip for keeping waffles crisp; placing them directly on a plate creates steam and makes them soggy.
You’ll need a small saucepan for reducing the cider, two mixing bowls (one large, one medium), a whisk, and a spatula for folding the batter. Having a brush or spray bottle for greasing the iron is also helpful.
How to Make Cider Pumpkin Waffles Recipe
Step 1: Reduce the Apple Cider
This is our flavor secret weapon. Pour one cup of apple cider into a small saucepan and bring it to a lively simmer over medium-high heat. Let it bubble away, stirring occasionally, for 8 to 10 minutes.
You’ll know it’s ready when it’s reduced by about half (to roughly 1/2 cup) and has a slightly thicker, more syrupy consistency. This process cooks off the water, leaving behind concentrated apple flavor and sugars without adding excess moisture to our batter. Trust me, this step is what separates good waffles from unforgettable ones.
Set it aside to cool completely.
Step 2: Make the Salted Maple Butter
While the cider cools, let’s make the topping that will have everyone asking for the recipe. In a small bowl, combine the softened butter, maple syrup, and flaky sea salt. Use a fork or a small whisk to beat it vigorously until it’s completely smooth, creamy, and emulsified—you shouldn’t see any separation.
Tip from me: Using properly softened butter (leave it out for 30-60 minutes) is key here. If the butter is too cold, you’ll have a lumpy mess; if it’s melted, it won’t whip up. Scrape it into a pretty serving dish and let it sit at room temperature until serving.
Step 3: Mix the Dry and Wet Ingredients
Preheat your waffle iron now so it’s screaming hot when your batter is ready. In your large bowl, whisk together the flour, baking powder, baking soda, pumpkin pie spice, cinnamon, and salt. In your medium bowl, whisk the two eggs until they’re well blended.
Then, add the pumpkin puree, brown sugar, the 1/4 cup of melted butter, oil, the completely cooled reduced cider, and vanilla. Whisk this wet mixture until it’s smooth and homogenous. You’ll see the beautiful orange hue of fall right there in your bowl.
Step 4: Combine the Batter
Here’s where gentle hands matter. Pour the wet ingredients into the bowl with the dry ingredients. Take your spatula and fold them together.
I use a motion where I cut down through the center, then sweep along the bottom and up the side. Believe me, you want to mix just until the last streaks of flour disappear. A few small lumps are absolutely fine and actually desirable.
Overmixing develops gluten, which leads to tough, chewy waffles. The batter will be quite thick—this is correct. Let it rest for 5 minutes while your iron finishes heating.
Step 5: Cook the Waffles
Lightly brush or spray the hot waffle iron grids with oil or melted butter. For a standard round Belgian iron, I use about 1/2 to 2/3 cup of batter, plopping it right in the center. Close the lid and do not peek for at least 3 minutes!
The steam is doing the work. Cook until the steam has nearly stopped and the waffles are a deep, golden brown and very crisp to the touch. This usually takes 4-5 minutes.
As each waffle finishes, transfer it directly to the wire cooling rack. This allows air to circulate and prevents the dreaded sogginess.
Step 6: Serve and Enjoy
Now for the best part. Serve the waffles immediately, while they’re hot and crisp. Place a generous dollop of the salted maple butter on top of each steaming waffle and watch it melt, cascading into all the little squares.
The combination of the warm, spiced pumpkin, the tangy apple cider notes, and the rich, salty-sweet butter is pure harmony. Step back and admire your creation, then dig in.
Drawing from years in professional kitchens, here are the insights that will guarantee your waffles are perfect every single time.
- The Cooling Rack Rule: This is my number one tip for crisp waffles. Never stack hot waffles on a plate. The trapped steam instantly makes the bottom one soggy. A wire rack is essential.
- Butter Temperature for the Topping: Your butter for the salted maple butter must be softened to around 65°F (cool room temperature). You should be able to press a finger into it easily, but it shouldn’t be greasy or melted. This ensures a smooth, spreadable, emulsified final product.
- Don’t Peek!: Resist the urge to lift the waffle iron lid early. You’ll release steam and pressure, which can cause the waffle to tear and prevent it from cooking evenly. Wait until the steam slows down significantly.
- Batter Consistency is Key: The batter should be thick, almost like a muffin batter. If it seems too thick, don’t add more liquid. This density helps create those distinct, deep pockets that hold all the delicious maple butter.
- Keeping Waffles Warm: If cooking for a crowd, keep finished waffles crisp by placing them in a single layer on a rack set over a baking sheet in a 200°F oven.
Recipe Variations
- This recipe is wonderfully adaptable. Here are some tested variations to make it your own.
- Gluten-Free Pumpkin Waffles: Substitute the all-purpose flour with a 1:1 gluten-free baking blend. I’ve had great success with brands like Bob’s Red Mill or King Arthur. The texture will be slightly more delicate but still delicious.
- Dairy-Free Adaptation: Use a neutral-flavored oil (like avocado) in place of the melted butter in the batter, and a plant-based milk (unsweetened oat or almond) in place of the reduced cider (though you’ll lose the apple flavor). For the topping, use a high-quality vegan butter stick.
- Gingerbread Spice Variation: For a deeper spice profile, replace the pumpkin pie spice with a blend of 1 tsp cinnamon, 1/2 tsp ginger, 1/4 tsp cloves, and 1/4 tsp allspice. Add 1 tablespoon of molasses to the wet ingredients.
- Add-Ins for Texture: Fold 1/2 cup of toasted pecans or walnuts, or even chopped crystallized ginger, into the batter right before cooking for a delightful crunch and flavor burst.
- Savory-Sweet Twist: Add 1/2 cup of shredded sharp cheddar cheese and a pinch of black pepper to the dry ingredients. The cheese melts into the waffles, creating an incredible sweet-and-savory combination that’s fantastic with the maple butter.
What to Serve With This Recipe
These waffles are a complete star on their own, but they can anchor an incredible fall brunch spread. For protein, I love serving them with thick-cut applewood smoked bacon or breakfast sausage links. The salty, savory meat is the perfect counterpoint to the sweet, spiced waffles.
A side of sautéed apples or pears in a little butter and cinnamon complements the apple cider notes beautifully.
For beverages, a pot of strong coffee or black tea is essential. For a true autumnal touch, offer hot apple cider or pumpkin spice lattes. If you’re serving this for a holiday brunch like Thanksgiving morning, round out the table with a simple mixed green salad with a bright vinaigrette to cut the richness.
Storage & Make-Ahead Instructions
- These waffles store and reheat beautifully, making them a fantastic make-ahead option.
- Refrigerating Leftover Waffles: Allow cooked waffles to cool completely on a wire rack. Once cool, place them in a single layer in an airtight container or zip-top bag. They will keep in the refrigerator for up to 3 days.
- Freezing for Later: For longer storage, freeze the cooled waffles. Place them in a single layer on a parchment-lined baking sheet and freeze until solid (about 1 hour). Then transfer them to a freezer bag, pressing out as much air as possible. They will keep for up to 2 months.
- Reheating for Best Results: To restore crispness, never microwave (it makes them tough and chewy). Instead, reheat frozen or refrigerated waffles directly in a toaster, toaster oven, or a 350°F conventional oven for 5-8 minutes until hot and crisp.
- Make-Ahead Batter: You can mix the dry and wet ingredients separately the night before. Cover the dry mix and refrigerate the wet mix. In the morning, let the wet ingredients come to room temperature for 15 minutes, then combine and cook as directed.
Frequently Asked Questions
Q: Can I use pumpkin pie filling instead of pure pumpkin puree?
A: I do not recommend it. Pumpkin pie filling has added sugar, spices, and thickeners. Using it will throw off the sweetness and spice balance of the recipe, likely resulting in overly sweet, dense waffles.
Stick to 100% pure pumpkin puree.
Q: My waffle iron sticks, even when I grease it. What can I do?
A: First, ensure your iron is fully preheated before adding batter. Second, make sure you’re using enough fat in the batter itself—the oil/butter combo here helps. Third, for stubborn irons, use a pastry brush to apply a thin layer of melted butter or oil to every crevice of the grids, not just a quick spray.
Q: Can I make the batter the night before?
A: You can, but with a caveat. Mix the dry and wet ingredients separately and store them covered in the fridge. In the morning, let the wet mix sit out for 15-20 minutes to take the chill off, then combine and cook.
Letting mixed batter sit overnight can cause the leavening to lose potency, resulting in flatter waffles.
Q: Why did my waffles come out soft and not crisp?
A: The most common reasons are undercooking, stacking hot waffles, or a batter that’s too thin. Ensure you cook until the steam has nearly stopped. Always use a wire rack.
And remember, our reduced cider ensures the batter is thick, which is key for crispness.
Q: I don’t have apple cider. What can I use?
A: The best substitute is 1/2 cup of unsweetened applesauce mixed with 1 tablespoon of apple cider vinegar or lemon juice to mimic the tang. You will lose some complexity, but the waffles will still be tasty. Do not use plain apple juice, as it’s too sweet and watery.
Q: How do I know when the salted maple butter has gone bad?
A: Since it contains dairy, it should be stored in the refrigerator if not used within a few hours. It will keep for up to 2 weeks refrigerated. Let it soften at room temperature for 20 minutes before serving.
Discard if you notice any off smells, discoloration, or mold.
Q: Can I make these as pancakes instead?
A: Absolutely. The batter will work for pancakes. You may want to add a tablespoon or two of milk to thin it slightly for easier spreading on the griddle.
Cook on a buttered griddle over medium heat until bubbles form on the surface and the edges look set, then flip.
Final Thoughts
This recipe for Cider Pumpkin Waffles with Salted Maple Butter encapsulates everything I love about fall cooking: deep, comforting flavors, inviting aromas, and the joy of sharing something special. It’s a recipe that looks impressive but is built on simple, reliable techniques—like reducing cider for intensity and using a wire rack for the perfect texture. That salted maple butter is a game-changer; once you try it, you’ll find excuses to put it on toast, oatmeal, and even roasted vegetables.
I encourage you to give this recipe a try this season. Pour a cup of coffee, fire up your waffle iron, and treat yourself to a breakfast that feels like a warm hug. After 15 years of testing recipes, this one has earned a permanent spot in my fall rotation.
I’d love to hear how it turns out for you—share your photos and experiences, and don’t forget to pin it for later. Happy cooking, and enjoy every delicious, autumnal bite

Cider Pumpkin Waffles With Salted Maple Butter
- Author: Amelia
- Prep Time: 15 minutes
- Cook Time: 20 minutes
- Total Time: 35 minutes
- Yield: 4 servings
- Category: Breakfast
- Cuisine: American
Description
Fluffy, spiced pumpkin waffles infused with apple cider flavor, served with a simple, decadent salted maple butter. This is the cozy fall breakfast you've been dreaming of.
Ingredients
Instructions
-
First, reduce the apple cider. In a small saucepan over medium-high heat, bring 1 cup of apple cider to a simmer. Cook, stirring occasionally, until it has reduced to about 1/2 cup, which should take 8-10 minutes. It will become slightly syrupy. Set aside to cool completely. This step concentrates the flavor and prevents soggy waffles.
-
While the cider cools, make the salted maple butter. In a small bowl, combine the 1/2 cup of softened butter, 1/4 cup maple syrup, and 1/4 teaspoon flaky sea salt. Use a fork or a small whisk to beat until completely smooth and emulsified. Scrape into a serving dish, cover, and set aside at room temperature.
-
Preheat your waffle iron according to manufacturer's instructions, usually to a medium-high setting. In a large bowl, whisk together the flour, baking powder, baking soda, pumpkin pie spice, cinnamon, and salt. In a separate medium bowl, whisk the eggs, then add the pumpkin puree, brown sugar, melted butter, oil, the cooled reduced cider, and vanilla. Whisk until smooth.
-
Pour the wet ingredients into the dry ingredients. Use a spatula to gently fold the batter together until just combined. A few small lumps are perfectly fine—overmixing leads to tough waffles. The batter will be quite thick. Let it rest for 5 minutes while your waffle iron finishes heating.
-
Lightly brush or spray the hot waffle iron with oil or melted butter. For a standard Belgian waffle iron, scoop about 1/2 to 2/3 cup of batter into the center. Close the lid and cook until the steam nearly stops and the waffles are deeply golden brown and crisp, about 4-5 minutes. Avoid peeking too early!
-
Transfer cooked waffles to a wire rack (not a plate—this keeps them crisp). Repeat with remaining batter. Serve immediately, topped with a generous dollop of the salted maple butter, letting it melt into every crevice. Garnish with an extra pinch of flaky sea salt if desired.
Notes
- Chef's Tips:
- For the crispiest waffles, let them cool for a minute on a wire rack before serving. This allows steam to escape.
- Do not overmix the batter. Gluten development is the enemy of tender waffles.
- Serve these with crispy bacon or sausage links and a hot cup of coffee for the perfect fall brunch.
- Food Safety:
- Pumpkin puree from a can should be refrigerated after opening and used within 5-7 days.
- Leftover waffles should be cooled completely before storing to prevent condensation and sogginess.


