

There’s something profoundly comforting about the aroma of apples, cinnamon, and butter wafting from the oven. A perfect apple pie is more than just dessert; it’s a centerpiece, a gesture of welcome, and a testament to the simple magic of baking. But achieving that ideal slice—with a shatteringly flaky crust and a filling that’s spiced, sweet, and holds its shape—can feel elusive.
After 15 years of testing in professional and home kitchens, I’ve refined the techniques that guarantee success. This recipe demystifies the process, giving you a classic apple pie that’s worthy of any celebration.
- Flaky, All-Butter Crust: This recipe uses a simple, reliable method and the science of cold butter to create layers of tender, flavorful pastry.
- No-Soggy-Bottom Filling: By macerating the apples and using the right thickener, you get a luscious, sliceable filling, not a watery pool.
- Balanced, Complex Flavor: A blend of apple varieties and warm spices creates depth, avoiding one-note sweetness.
- Make-Ahead Friendly: Both the dough and the filling can be prepared a day ahead, making assembly a breeze.
- Crowd-Pleasing Classic: This is the nostalgic, universally loved dessert that never goes out of style.
- Teachable Techniques: You’ll learn professional pastry tips that apply to all your future baking projects.
Recommended Tools for This Recipe
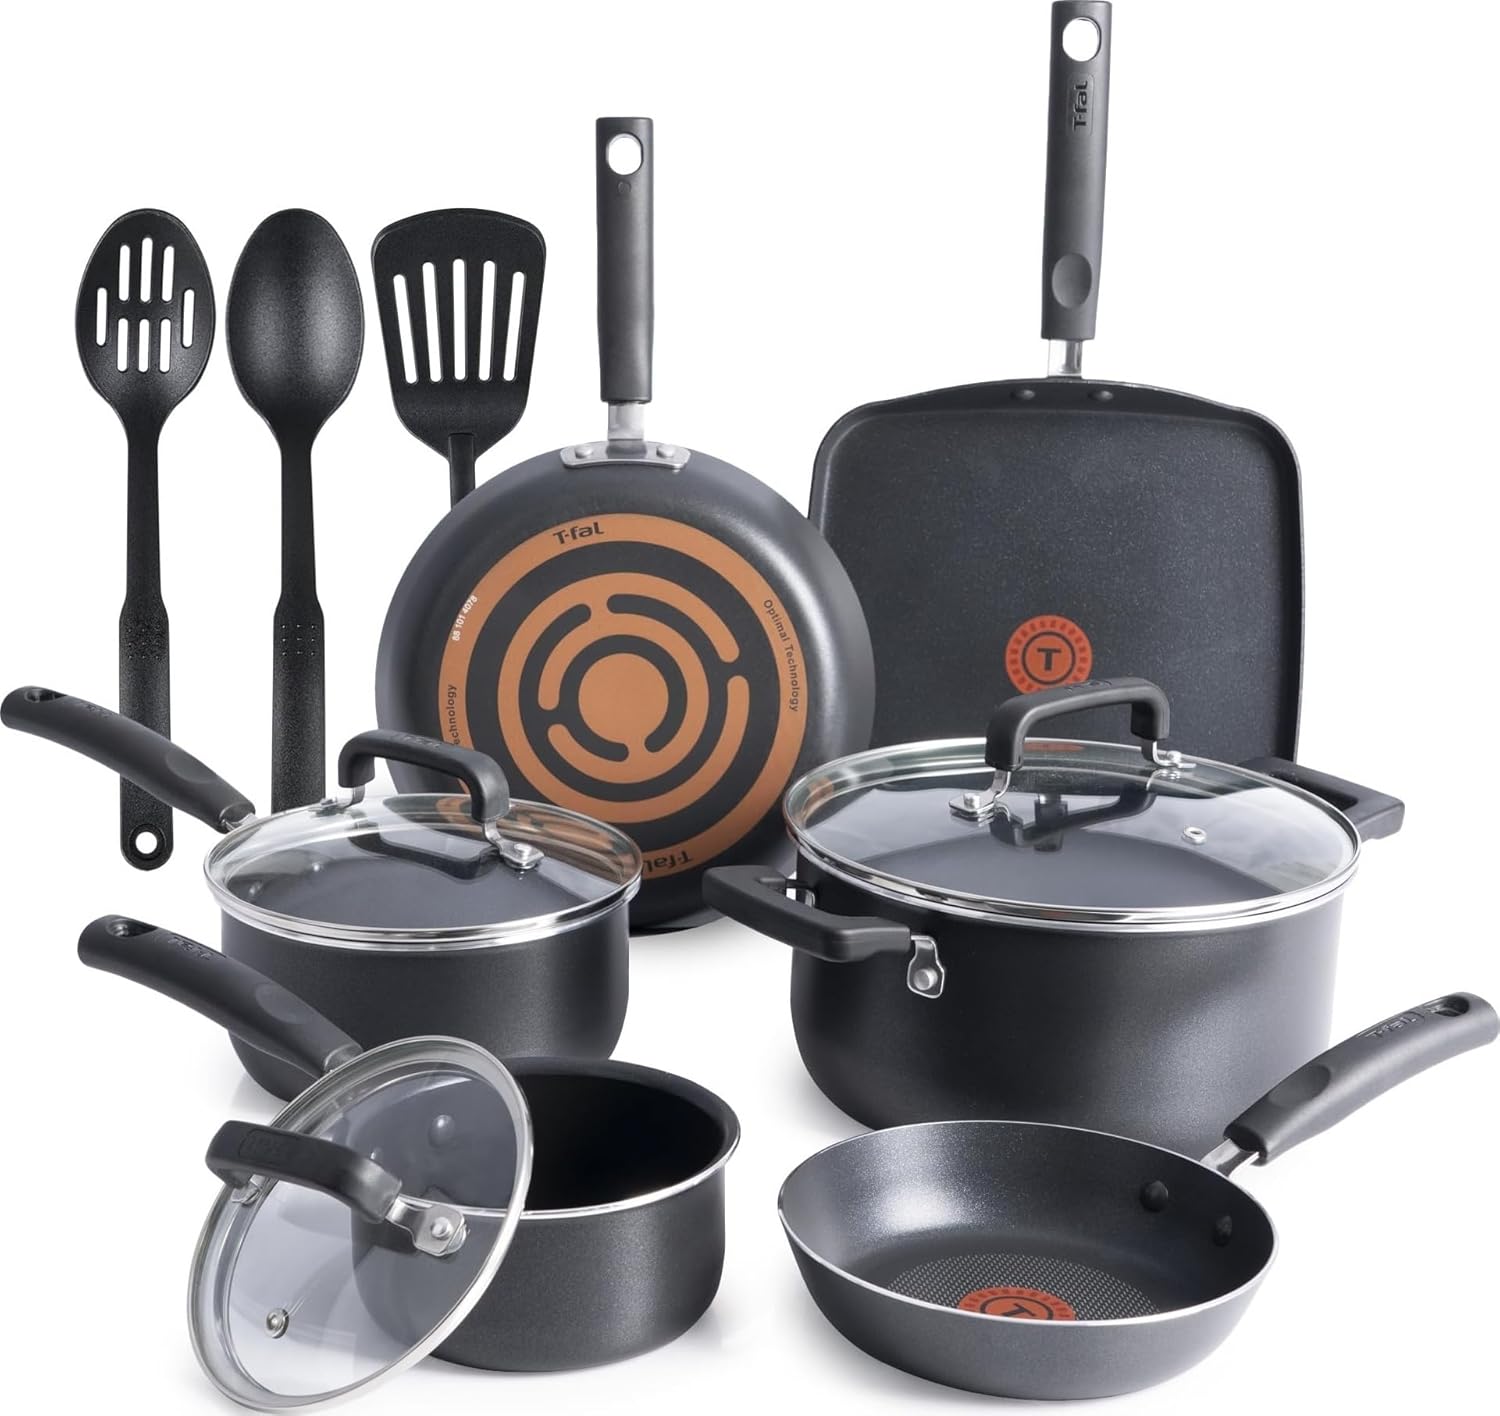


As an Amazon Associate, we may earn a small commission from qualifying purchases — at no extra cost to you.
Ingredients You’ll Need
Let’s gather our ingredients—this is where quality truly shines. For the crust, the star is cold, high-fat unsalted butter. It creates steam pockets as it melts, leading to that coveted flakiness.
For the filling, using a mix of apple types is non-negotiable. Tart Granny Smiths provide structure and brightness, while sweeter varieties like Honeycrisp or Braeburn break down slightly and offer deep, honeyed notes. The combination prevents a mushy or overly firm texture.
The small amount of flour (or cornstarch) is our thickener, crucial for binding the released juices. Don’t skip the lemon juice; its acidity balances the sweetness and keeps the apples from browning.

Note: You’ll find the complete list of ingredients, along with their exact measurements, in the printable recipe card at the bottom of this post.
Kitchen Equipment Needed
You don’t need fancy tools, but the right basics make all the difference. A 9-inch pie plate (I prefer glass so you can see the bottom browning) is essential. A pastry cutter speeds up making the dough, but two forks work perfectly.
A sturdy rolling pin and a rimmed baking sheet (to catch any bubbling-over juices) are must-haves. Having a sharp paring knife for prepping apples and a pastry brush for the egg wash will round out your toolkit.
How to Make Apple Pie Recipe
Step 1: Create the Flaky Foundation
In a large bowl, whisk together your dry ingredients for the crust. Add the cold, cubed butter. Using a pastry cutter or your fingertips, work the butter into the flour until you have a crumbly mixture with visible butter pieces the size of small peas.
This is key—those solid fat pockets will create flaky layers. Drizzle in the ice water and mix just until the dough holds together when pinched. Overworking makes tough crust.
Divide the dough, shape into discs, wrap, and chill. This rest relaxes the gluten and re-chills the butter, making rolling easier.
Step 2: Build a Flavorful Filling
Peel, core, and slice your apples uniformly—about 1/4-inch thick—so they cook evenly. In your large bowl, whisk the sugars, flour (or cornstarch), spices, and salt. Add the apple slices, lemon juice, and vanilla, then toss with vigor until every slice is coated.
Believe me, letting this mixture sit for 15-20 minutes is a game-changer. It draws out excess juice from the apples, which we then bake with, preventing a soggy crust and concentrating the apple flavor.
Step 3: Assemble with Care
On a floured surface, roll your first dough disc into a 12-inch circle. Transfer it to your pie plate by gently folding it into quarters, placing the point in the center, and unfolding. Gently press it in without stretching.
Spoon in the apple filling and all those precious juices, mounding it slightly. Dot with butter for added richness. Roll out the top crust, lay it over, trim, and tuck the edges.
Crimp them decoratively to seal. Now, cut clear steam vents in the top—this isn’t just decorative; it lets steam escape so your top crust doesn’t get soggy.
Step 4: Bake for Perfection
Chill the assembled pie for 15 minutes. This final chill firms the butter again for maximum flakiness. Preheat your oven to a hot 400°F.
Brush the top with an egg wash (this gives that beautiful golden shine) and sprinkle with coarse sugar for sparkle and crunch. Tip from me: always bake your pie on a rimmed baking sheet. It catches any bubbling-over juices and saves you from a smoky oven.
Bake at the high heat for 20 minutes to set the crust, then reduce to 375°F to cook the filling through without burning.
Step 5: The Crucial Cool Down and Serve
When the crust is a deep golden brown and you see thick, bubbly juices peeking through the vents, your pie is done. Transfer it to a wire rack. Now, exercise patience.
You must let the pie cool completely, for at least 4 hours. Trust me, this allows the pectin in the apples and the thickener to fully set, giving you clean, perfect slices. Serve at room temperature or slightly warmed.
Step back and admire your masterpiece before slicing and serving with a generous scoop of vanilla ice cream.
- Keep Everything Cold: The secret to flaky pie crust is keeping the butter solid until it hits the oven. I sometimes chill my flour and bowl for 10 minutes before starting.
- Don’t Over-Hydrate the Dough: Add the minimum amount of water first. The dough should just hold together when pinched; it will hydrate more as it rests in the fridge.
- Vent Strategically: Your steam vents should be at least 1-inch long and placed in the center of the pie to effectively channel steam from the heart of the filling.
- Test for Doneness: The filling is done when you see thick, slow bubbles emerging from the vents, not just thin, fast bubbles. This indicates the thickener has fully cooked.
- Prevent Burnt Edges: If your crust edges are browning too quickly, don’t hesitate to tent them with aluminum foil or use a dedicated pie crust shield.
Recipe Variations
- Dutch Apple Pie: Swap the top crust for a streusel topping. Mix 1 cup flour, 1/2 cup brown sugar, 1 tsp cinnamon, and 1/2 cup cold cubed butter until crumbly. Sprinkle over the filling and bake.
- Cheddar Crust: Add 1/2 cup of finely grated sharp cheddar cheese to the flour mixture when making your dough for a savory, tangy twist that pairs beautifully with apples.
- Caramel Apple Pie: Drizzle 1/2 cup of good-quality thick caramel sauce over the apple filling before adding the top crust for an extra decadent treat.
- Gluten-Free Apple Pie: Substitute a 1:1 gluten-free flour blend for the all-purpose flour in both the crust and the filling. Use cornstarch as the thickener.
- Spice It Up: Add 1/4 tsp of ground cardamom or ginger to the filling spices for a more complex, warming flavor profile.
- Individual Hand Pies: Roll dough into smaller circles, fill with a portion of apple filling, fold over, crimp edges with a fork, and bake for 20-25 minutes.
What to Serve With This Recipe
A slice of warm apple pie is sublime on its own, but a few accompaniments elevate it to a special occasion dessert. Vanilla bean ice cream is the classic for a reason—the hot/cold contrast is irresistible. For a lighter option, try freshly whipped cream sweetened just slightly with a touch of powdered sugar and vanilla.
A wedge of sharp aged cheddar cheese served on the side is a beloved traditional pairing, especially in New England. For beverages, consider a cup of strong black coffee, a glass of cold milk, a dessert wine like late-harvest Riesling, or even a spiced hard cider to echo the pie’s flavors.
Storage & Make-Ahead Instructions
- Storage: Once completely cool, cover the pie loosely with foil or plastic wrap and store at room temperature for up to 2 days. For longer storage, refrigerate for up to 4 days.
- Freezing: You can freeze the unbaked, assembled pie. Prepare it up through the egg wash step (omit the wash), but do not cut vents. Wrap tightly in several layers of plastic wrap and foil. Freeze for up to 3 months. Bake from frozen, adding 20-30 minutes to the baking time, and apply the egg wash and sugar after the first 20 minutes of baking.
- Make-Ahead: The pie dough discs can be refrigerated for up to 3 days or frozen for 3 months. The apple filling can be prepared, mixed with the dry ingredients, and refrigerated in an airtight container for up to 24 hours.
- Reheating: Reheat individual slices in a 350°F oven for 10-15 minutes, or in a toaster oven, to re-crisp the crust. Avoid the microwave, as it will make the crust soggy.
Frequently Asked Questions
Q: What are the best apples for apple pie?
A: Use a mix for the best texture and flavor. Granny Smith (tart/firm), Honeycrisp (sweet/crisp), Braeburn (sweet-tart/firm), or Jonagold are all excellent choices. Avoid Red Delicious, as they become mealy.
Q: Can I use store-bought pie crust?
A: You can, but the flavor and texture won’t be as good. If you do, look for a brand made with butter, and still follow the chilling steps for the filled pie before baking.
Q: Why did my filling turn out watery?
A: This is usually due to not using enough thickener, using the wrong type (tapioca needs precise timing), or, most commonly, slicing the pie before it has fully cooled and set.
Q: How do I prevent the bottom crust from getting soggy?
A: Ensure your filling has a proper thickener (flour or cornstarch), macerate the apples to pre-release juice, and bake on the lower oven rack on a preheated baking sheet for the first 20 minutes.
Q: Can I make this pie ahead of time?
A: Absolutely. You can prepare the dough and filling 1-2 days in advance and store them separately in the fridge. Assemble and bake the day you plan to serve it for the freshest crust.
Q: My crust edges are burning. What can I do?
A: Use a pie crust shield or make one from foil. Gently tent it over the edges once they have achieved a nice golden color, usually about 30 minutes into baking.
Q: Is it necessary to peel the apples?
A: For a classic smooth texture, yes. The peels can become tough and separate from the flesh during baking. Leaving them on is an option for a more rustic, fibrous pie.
Q: Can I add other fruits to the filling?
A: Yes! A handful of fresh cranberries adds a wonderful tartness, or some sliced pears can complement the apples beautifully. Adjust sugar slightly based on the added fruit’s sweetness.
Final Thoughts
Mastering a classic apple pie is a rewarding culinary achievement that pays dividends for every holiday and potluck to come. This recipe breaks down the process with the tested, professional techniques that ensure success: keeping your crust ingredients cold, balancing your apple varieties, and, above all, allowing the pie the time it needs to cool and set. The result is a dessert that’s as beautiful as it is delicious—a flaky, buttery crust giving way to a warmly spiced, perfectly sweet-tart filling.
I encourage you to give it a try, embrace the process, and fill your kitchen with that unforgettable aroma. Don’t forget to rate the recipe and share your results—I love seeing your baking triumphs!

Classic Apple Pie
- Author: Amelia
- Prep Time: 45 minutes
- Cook Time: 1 hour 5 minutes
- Total Time: 1 hour 50 minutes
- Yield: 8 servings
- Category: Dessert
- Cuisine: American
Description
This classic apple pie features a from-scratch, flaky all-butter crust and a perfectly balanced, not-watery filling made with a blend of tart and sweet apples, warm spices, and a secret thickener.
Ingredients
Instructions
-
Make the pie dough: In a large bowl, whisk together 2 1/2 cups flour, 1 tsp salt, and 1 tbsp sugar. Add the cold, cubed butter. Using a pastry cutter or your fingertips, work the butter into the flour until the mixture resembles coarse meal with some pea-sized butter pieces remaining. Drizzle in 1/3 cup ice water and mix with a fork just until the dough begins to clump. Add more water, 1 tbsp at a time, if needed. Turn dough out, divide in two, shape into discs, wrap tightly in plastic, and refrigerate for at least 1 hour.
-
Prepare the filling: Peel, core, and slice apples into 1/4-inch thick slices. In a large bowl, combine the granulated sugar, brown sugar, 3 tbsp flour (or cornstarch), cinnamon, nutmeg, and 1/4 tsp salt. Add the apple slices, lemon juice, and vanilla. Toss thoroughly until every slice is coated. Let sit for 15-20 minutes to macerate and release juices.
-
Roll out the crust: On a lightly floured surface, roll one dough disc into a 12-inch circle. Carefully transfer it to a 9-inch pie plate. Gently press it into the bottom and sides without stretching. Trim the overhang to about 1 inch. Spoon the apple filling and all its juices into the crust, mounding it slightly in the center. Dot the top of the filling with the 2 tbsp of butter pieces.
-
Top and vent the pie: Roll out the second dough disc to an 11-inch circle. Place it over the filling. Trim the top crust, leaving a 1/2-inch overhang. Tuck the top edge under the bottom crust and crimp decoratively. Cut 4-5 slits in the center of the top crust to allow steam to escape. Chill the assembled pie for 15 minutes while you preheat the oven to 400°F (200°C).
-
Bake to perfection: In a small bowl, beat the egg with 1 tbsp of water to make an egg wash. Brush it evenly over the top crust and sprinkle generously with coarse sugar. Place the pie on a rimmed baking sheet (to catch drips). Bake for 20 minutes at 400°F, then reduce the oven temperature to 375°F (190°C). Continue baking for 45-55 minutes, until the crust is deeply golden brown and the filling is bubbling through the vents. If the edges brown too quickly, tent them with foil.
-
Cool and serve: Transfer the pie to a wire cooling rack. This is the hardest part—let it cool completely, for at least 4 hours. Trust me, this allows the filling to set properly so it won't be runny when you slice it. Serve at room temperature or slightly warmed, ideally with a scoop of vanilla ice cream.
Notes
- Chef's Tips:
- For the flakiest crust, keep everything cold—the butter, the water, even the bowl if possible.
- The most common mistake is slicing the pie while it's still warm. Patience is key for clean slices.
- Serve with sharp cheddar cheese for a classic pairing, or with a dollop of lightly sweetened whipped cream.
- Food Safety:
- Ensure pie is cooled to room temperature within 2 hours of baking before refrigerating.
- Refrigerate leftovers promptly and consume within 4 days.


