

There’s a moment in early fall when the air turns crisp and the first bags of apples appear at the market, and I immediately start dreaming of this cake. It’s the perfect weekend project—the kind of baking that fills your kitchen with the warm, comforting scents of cinnamon and brown sugar, promising a reward that’s worth every minute. This Apple Crisp Coffee Cake is my ultimate homage to the season, a brilliant mash-up that delivers the tender, spiced crumb of a classic coffee cake with the irresistible, buttery crunch of an apple crisp topping.
You get sweet, tart apples nestled in a moist cake, all crowned with a streusel that bakes up golden and shatteringly good. It’s the centerpiece your brunch table has been waiting for, and I can’t wait for you to try it.
This recipe is a crowd-pleaser for so many reasons. After testing it multiple times in my own kitchen, I’ve perfected the balance of textures and flavors that make it truly special.
- Two Desserts in One: You get the cozy, sliceable comfort of coffee cake and the rustic, fruit-forward appeal of an apple crisp, all in a single pan.
- Perfect Texture: The sour cream ensures an incredibly moist and tender crumb that stays soft for days, while the oat streusel provides a delightful crunchy contrast.
- Simple Process: This uses the classic creaming method—no fancy techniques required. It’s an accessible recipe for bakers of all levels.
- Make-Ahead Friendly: You can prepare the crisp topping and slice the apples a day ahead, making morning assembly a breeze. The cake itself also stores and reheats beautifully.
- Versatile Serving: It’s equally at home on a brunch buffet with coffee as it is on a dessert plate with a scoop of vanilla ice cream.
- Customizable: Easily adapt it with different apple varieties, nuts in the topping, or a drizzle of caramel for a personal touch.
Recommended Tools for This Recipe


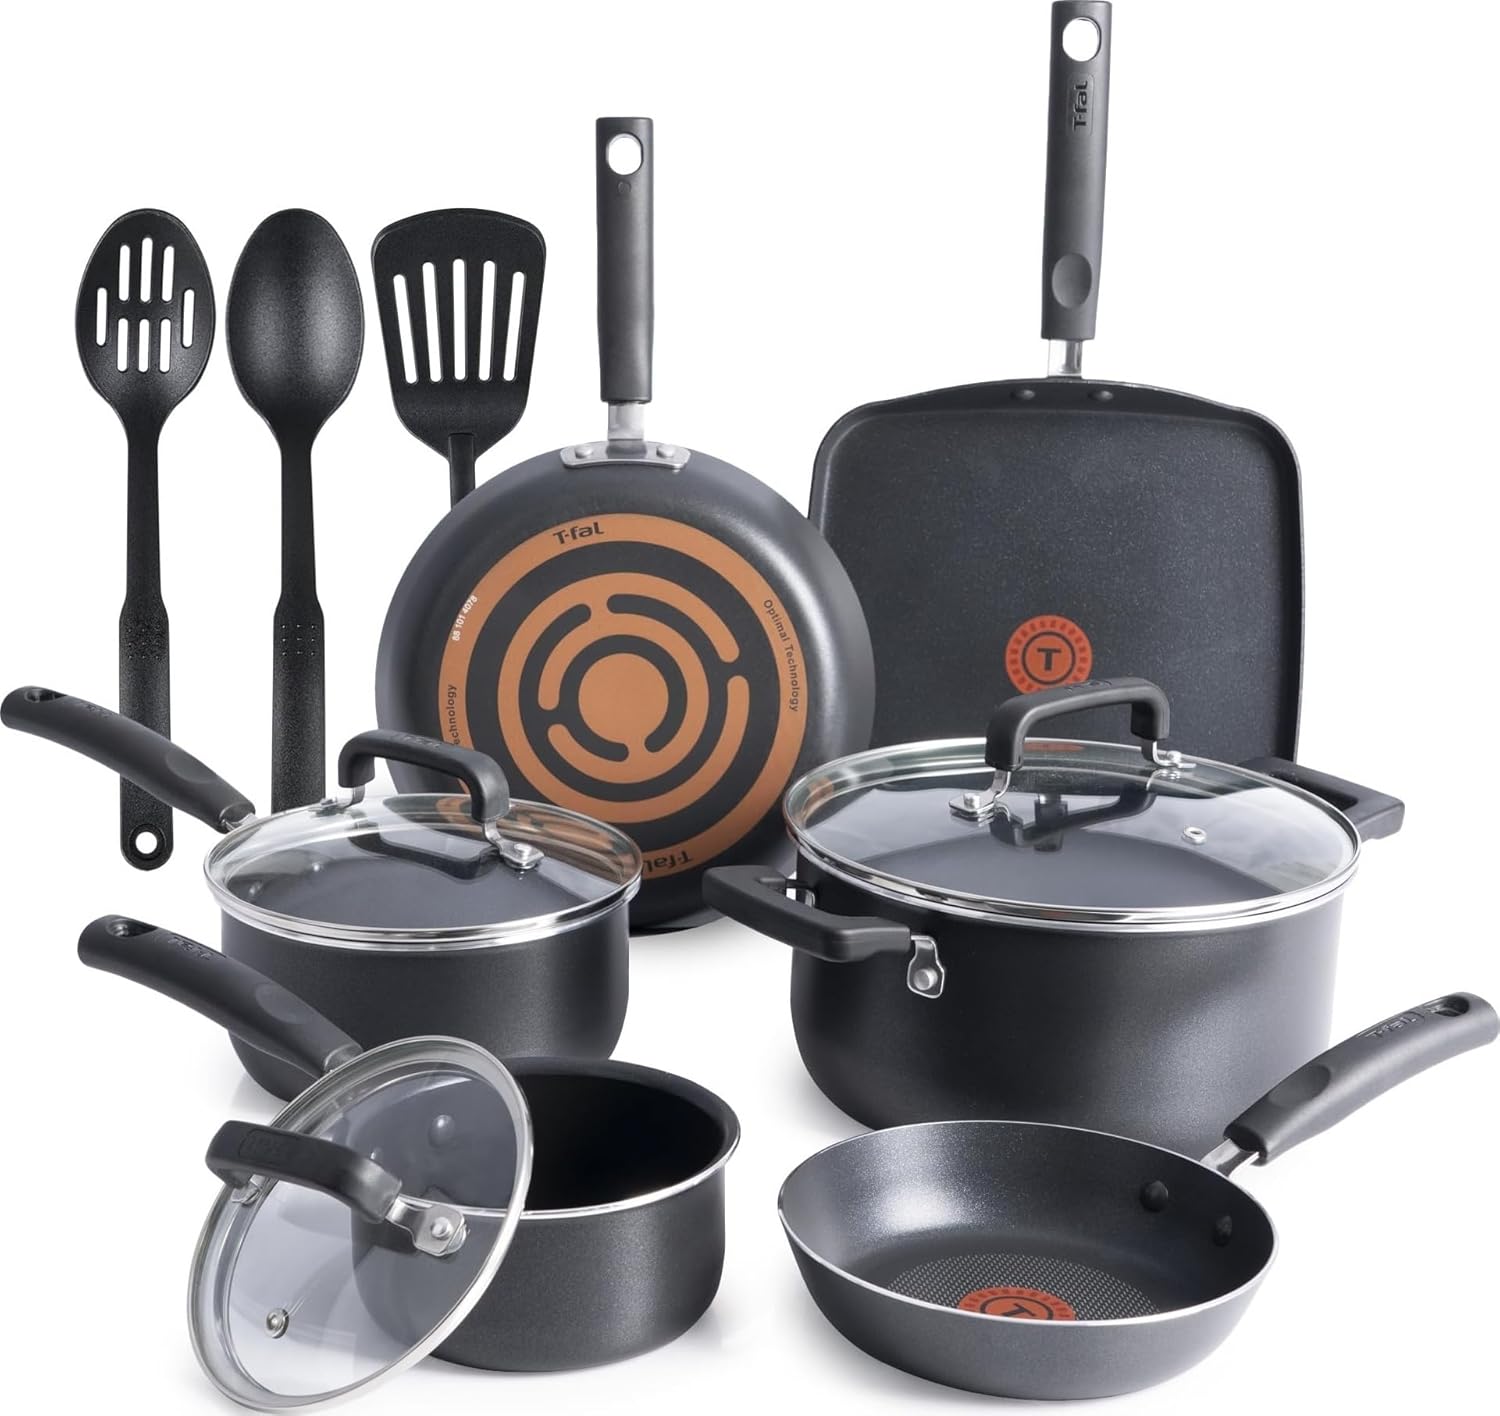
As an Amazon Associate, we may earn a small commission from qualifying purchases — at no extra cost to you.
Ingredients You’ll Need
- Let’s gather our ingredients—this is where simple pantry staples come together to create something truly magical. The beauty of this cake lies in the quality of its basic components. Using room-temperature butter and eggs is non-negotiable for proper emulsification and a light texture, so plan ahead. For the apples, I love the sweet-tart balance of Honeycrisp, but a firm Granny Smith will give you a brighter, more defined apple flavor that stands up beautifully to the spices.
- All-Purpose Flour: The foundation of our cake and topping. Be sure to spoon it into your measuring cup and level it off for accuracy; scooping packs in too much flour and can lead to a dry cake.
- Baking Powder & Baking Soda: Our dual leavening agents. The baking powder provides the main lift, while the baking soda reacts with the acidity in the sour cream for additional tenderness.
- Salt & Cinnamon: Salt heightens all the other flavors, and cinnamon is the warm, aromatic soul of this fall bake.
- Unsalted Butter: Used in both the cake and the topping. For the cake, it must be softened to room temperature for proper creaming. For the crisp topping, it must be cold to create those perfect, flaky crumbs.
- Granulated Sugar & Brown Sugar: White sugar sweetens the cake, while brown sugar (used in the topping) adds moisture and a deep, molasses-like flavor.
- Eggs: They provide structure and richness. Room-temperature eggs incorporate more evenly into the butter mixture.
- Vanilla Extract: A splash of pure vanilla rounds out the sweetness and adds depth.
- Sour Cream or Yogurt: This is the secret to an unbelievably moist crumb. The fat and acidity tenderize the gluten, resulting in a cake that stays soft. Full-fat is best for texture.
- Apples: You’ll need about two medium apples. Peel them for the best texture, as the skins can become tough when baked. Slice them thinly (about 1/4-inch thick) so they soften perfectly during baking.
- Rolled Oats: For the topping. Old-fashioned oats give the best texture; quick oats can become too mushy.

Note: You’ll find the complete list of ingredients, along with their exact measurements, in the printable recipe card at the bottom of this post.
Kitchen Equipment Needed
You don’t need any specialty tools for this recipe, just standard baking equipment. A 9×9 inch square baking pan or a 9-inch round springform pan is ideal. The springform makes for a beautiful presentation and easy removal.
You’ll need a hand mixer or stand mixer to properly cream the butter and sugar—this step is key for a light cake. Have a few mixing bowls, a whisk, and rubber spatula on hand. Don’t forget parchment paper to line the pan; it guarantees your cake will release cleanly.
A box grater can be helpful if your butter is too cold—you can grate it to quickly bring it to room temperature for the cake batter.
How to Make Apple Crisp Coffee Cake Recipe
Step 1: Prep Your Pan and Dry Ingredients
Start by preheating your oven to 350°F (175°C). This ensures a consistent temperature from the moment the cake goes in. Grease your chosen pan thoroughly, then line the bottom with a square of parchment paper.
This simple trick is a pro move—it absolutely guarantees a clean release and no stuck-on cake. In a medium bowl, whisk together the flour, baking powder, baking soda, salt, and cinnamon. Whisking does two things: it combines them evenly and aerates the flour, which contributes to a lighter cake.
Set this bowl aside.
Step 2: Cream the Butter and Sugar
Now, in a large bowl, combine the room-temperature butter and granulated sugar. Using your mixer on medium-high speed, beat them together for a full 2-3 minutes. Trust me, don’t rush this.
You’re looking for the mixture to become pale, fluffy, and almost whipped in texture. This process incorporates tiny air bubbles that will expand in the oven, giving your cake its lift and tender crumb. Scrape down the sides of the bowl with a spatula to ensure everything is incorporated.
Step 3: Build the Cake Batter
With the mixer on medium speed, add the eggs one at a time, beating well after each addition until fully blended. Mix in the vanilla extract. Now, with the mixer on low speed, you’ll add the dry and wet ingredients alternately.
Add about one-third of the flour mixture, then half of the sour cream, another third of flour, the rest of the sour cream, and finish with the last of the flour. Mix just until the batter is smooth and no dry pockets remain. Overmixing at this stage can develop the gluten and make the cake tough.
The batter will be gloriously thick and creamy.
Step 4: Layer the Batter and Apples
Here comes the fun part—assembling the layers. Using your spatula, spread about two-thirds of the batter into the bottom of your prepared pan, smoothing it into an even layer. Arrange your thinly sliced apples in a single, pretty layer over the batter.
Dollop the remaining batter over the apples. Don’t worry about spreading it perfectly or covering every apple; it will spread and puff as it bakes, creating lovely pockets of juicy fruit.
Step 5: Make and Add the Crisp Topping
In a small bowl, combine the flour, oats, brown sugar, cinnamon, and salt for the topping. Take your cold, cubed butter and add it to the bowl. Using a fork, a pastry cutter, or your fingertips, work the butter into the dry ingredients.
Tip from me: you want to stop when the mixture looks like uneven coarse crumbs, with some pea-sized bits of butter remaining. Those butter pieces will melt and create deliciously flaky pockets. Sprinkle this crumb mixture evenly over the entire surface of the cake.
Step 6: Bake, Cool, and Serve
Carefully place the pan in the center of your preheated oven. Bake for 40-45 minutes. The true test is the toothpick: insert it into the center of the cake (avoiding a chunk of apple or a thick streusel piece).
It should come out clean or with a few moist crumbs attached. The topping will be a deep, golden brown. Let the cake cool in the pan on a wire rack for at least 30 minutes.
This allows the structure to set, making it much easier to slice. Step back and admire your creation before serving it slightly warm.
A few insights from my years in professional kitchens can make the difference between a good cake and a great one.
- Butter Temperature is Key: For the cake, your butter should be soft enough that you can easily make an indentation with your finger, but not oily or melted. For the topping, butter straight from the fridge is best.
- Don’t Overwork the Topping: When making the crisp crumble, mix until just combined. Over-mixing will create a paste-like texture instead of the desirable sandy, crumbly streusel.
- The Toothpick Test is Your Friend: Ovens vary, so start checking at 40 minutes. Because of the moist apples and thick topping, the center can take longer to set than the edges appear done.
- Cooling is Part of Baking: Letting the cake cool in the pan allows the steam to finish cooking the interior gently and firms up the crumb. Cutting into a hot cake will cause it to fall apart.
- Slicing Cleanly: For picture-perfect slices, use a sharp, thin-bladed knife and wipe it clean between cuts.
Recipe Variations & Customizations
- This recipe is wonderfully adaptable. Here are some tested variations to make it your own.
- Nutty Crunch: Add 1/2 cup of chopped pecans or walnuts to the crisp topping mixture for added texture and flavor.
- Ginger-Spiced: Add 1/2 teaspoon of ground ginger and a tablespoon of finely chopped crystallized ginger to the cake batter for a warm, zesty kick.
- Pear & Cardamom: Substitute the apples for ripe but firm pears and replace the cinnamon in the cake with 1/2 teaspoon of ground cardamom for an elegant twist.
- Gluten-Free Version: Use a 1:1 gluten-free all-purpose flour blend in both the cake and topping. The result is nearly identical.
- Dairy-Free Adaptation: Use plant-based butter and a thick, plain dairy-free yogurt (like coconut or soy) in place of the sour cream and butter.
- Caramel Apple: After arranging the apples, drizzle 2-3 tablespoons of good-quality caramel sauce over them before adding the final dollops of batter.
- Berry Bliss: In summer, replace the apples with 1 1/2 cups of fresh blueberries or blackberries for a burst of juicy flavor.
What to Serve With This Recipe
This cake is a star on its own, but a few thoughtful pairings can elevate it into a full experience. For a leisurely weekend brunch, serve it alongside savory dishes like a herbaceous frittata or crispy bacon to balance the sweetness. A pot of strong coffee or a pot of Earl Grey tea is the classic, non-negotiable beverage pairing.
If you’re serving it as dessert, take it over the top with a scoop of vanilla bean ice cream or a generous dollop of freshly whipped cream. A drizzle of salted caramel sauce never hurts. It’s perfect for holiday mornings, potlucks, or as a thoughtful gift to a neighbor—just bake it in a disposable pan.
Storage & Make-Ahead Instructions
- This cake keeps remarkably well. To store, once completely cooled, cover it tightly with plastic wrap or transfer slices to an airtight container.
- Room Temperature: It will stay fresh and moist at room temperature for up to 2 days.
- Refrigerator: For longer storage, refrigerate for up to 5 days. Let slices come to room temperature or warm gently before serving.
- Freezer: The whole cake or individual slices freeze beautifully. Wrap tightly in plastic wrap and then foil, and freeze for up to 3 months. Thaw overnight in the refrigerator.
- Make-Ahead Strategy: You can prepare the crisp topping and store it in a zip-top bag in the refrigerator for up to 3 days. The apples can be sliced and tossed with a squeeze of lemon juice to prevent browning, then stored in an airtight container in the fridge for a day. Assemble and bake the morning you need it.
Frequently Asked Questions
Q: Can I use a different type of apple?
Absolutely. For a tarter, more defined apple flavor that holds its shape, use Granny Smith. For sweeter, softer bakes, Honeycrisp, Fuji, or Braeburn are excellent.
Avoid Red Delicious, as they can become mushy.
Q: My topping seems to be browning too fast. What should I do?
If the streusel is getting dark before the cake is done, loosely tent the pan with a sheet of aluminum foil. This will slow down the browning while allowing the center to continue baking.
Q: Can I make this without a mixer?
Yes, you can. Use a sturdy wooden spoon and some elbow grease to cream the butter and sugar until very light. Then whisk in the eggs and vanilla vigorously before folding in the dry ingredients and sour cream alternately.
Q: Why did my cake sink in the middle?
This is typically caused by under-baking, opening the oven door too early (before the structure has set), or an issue with leavening. Ensure your baking powder and soda are fresh and that you bake until a toothpick tests clean.
Q: Is sour cream or yogurt better?
Both work wonderfully. Sour cream yields a slightly richer, more tender crumb. Yogurt (especially Greek yogurt) creates a tangier, slightly denser texture.
I prefer full-fat sour cream for the ultimate result.
Q: Can I double this recipe?
Yes, for a crowd, simply double all ingredients and bake in a 9×13 inch pan. The baking time may increase by 10-15 minutes; always rely on the toothpick test for doneness.
Q: How do I get a really crisp streusel topping?
The secrets are cold butter, not over-mixing, and ensuring your oven is fully preheated. The cold butter melts slowly in the oven, creating steam pockets that result in a flaky, crisp texture.
Final Thoughts
This Apple Crisp Coffee Cake is more than just a recipe; it’s a celebration of fall in a baking pan. It embodies everything I love about home baking: approachable techniques, comforting flavors, and a result that never fails to impress. The marriage of soft, spiced cake with juicy apples and that irresistible crunchy topping is a textural dream.
I’ve shared this recipe with countless friends and readers, and it consistently becomes a seasonal staple in their homes, just as it is in mine.
I encourage you to give it a try this weekend. Put on some music, slice those apples, and enjoy the process. The reward—a warm slice with a cup of coffee—is pure comfort.
If you make it, I’d love to hear how it turned out! Leave a comment or rating below, and share a photo on social media—tag me so I can see your beautiful bake. Happy baking, and enjoy every delicious bite

Apple Crisp Coffee Cake
- Author: Amelia
- Prep Time: 20 minutes
- Cook Time: 45 minutes
- Total Time: 1 hour 5 minutes
- Yield: 12 servings
- Category: Breakfast
- Cuisine: American
Description
A tender cinnamon coffee cake layered with fresh apple slices and topped with a buttery oat crisp topping. It's the perfect marriage of two classic desserts, ideal for a cozy morning or a sweet ending to any meal.
Ingredients
Instructions
-
Preheat your oven to 350°F (175°C). Grease a 9x9 inch or 9-inch round springform pan and line the bottom with parchment paper. In a medium bowl, whisk together the flour, baking powder, baking soda, salt, and cinnamon. Set this dry mixture aside.
-
In a large bowl using a hand mixer or stand mixer fitted with the paddle attachment, cream the softened butter and granulated sugar together on medium-high speed for 2-3 minutes, until light and fluffy. Scrape down the bowl. Add the eggs one at a time, beating well after each addition, then mix in the vanilla extract.
-
With the mixer on low speed, add the dry flour mixture to the butter mixture in three additions, alternating with the sour cream in two additions. Begin and end with the flour. Mix just until the batter is smooth and no dry streaks remain; do not overmix. The batter will be thick.
-
Spread about two-thirds of the batter evenly into the bottom of your prepared pan. Arrange the thinly sliced apples in an even layer over the batter. Dollop the remaining batter over the apples—it's okay if it doesn't fully cover them.
-
In a small bowl, make the crisp topping. Combine 3/4 cup all-purpose flour, 1/2 cup rolled oats, 1/2 cup packed brown sugar, 1 tsp cinnamon, and a pinch of salt. Using a fork or your fingers, work in 6 tablespoons of cold, cubed unsalted butter until the mixture resembles coarse crumbs. Sprinkle this evenly over the entire cake.
-
Bake for 40-45 minutes, or until a toothpick inserted into the center of the cake (not just the topping) comes out clean or with a few moist crumbs. The topping should be golden brown. Place the pan on a wire rack and let the cake cool for at least 30 minutes before serving warm.
Notes
- Chef's Tips:
- For the crispest topping, use cold butter and don't over-mix it into the dry ingredients.
- A common mistake is under-baking the center because the topping looks done. Use the toothpick test.
- Serve slightly warm with a dollop of whipped cream or a drizzle of caramel sauce.
- Food Safety:
- Store leftovers covered at room temperature for up to 2 days or refrigerated for up to 5 days.
- Ensure cake is fully cooled before covering to prevent condensation and sogginess.


