

There’s something deeply comforting about the scent of baking apples and cinnamon wafting from your oven. It’s the smell of home, of crisp fall days, and of a dessert that promises warmth with every spoonful. A great apple cobbler is a study in beautiful contrasts: tender, spiced fruit beneath a golden, craggy biscuit topping that soaks up just enough of the sweet juices.
As a chef, I appreciate its humble elegance, and as a home cook, I love its forgiving nature. This recipe is my tested-and-perfected version, designed to deliver that perfect balance of flavor and texture with minimal fuss. Let’s make a dessert that will have everyone asking for seconds.
- Simple & Approachable: No fancy techniques or equipment are needed. If you can slice apples and stir a bowl, you can make this cobbler.
- Perfect Texture Harmony: The filling is syrupy and soft without being mushy, while the topping bakes up fluffy and tender with slight crisp edges.
- Customizable Foundation: This recipe is a perfect canvas. Use your favorite apple blend or add nuts, oats, or other fruits to make it your own.
- Crowd-Pleasing Comfort: It’s a universally loved dessert that fits everything from a casual weeknight treat to a holiday dinner finale.
- Better Than The Box: The flavor of homemade, from-scratch biscuit topping and freshly spiced apples is incomparable to any store-bought mix.
- Make-Ahead Friendly: You can prepare the apple filling and the dry biscuit mix ahead of time, making assembly a breeze when you’re ready to bake.
Recommended Tools for This Recipe
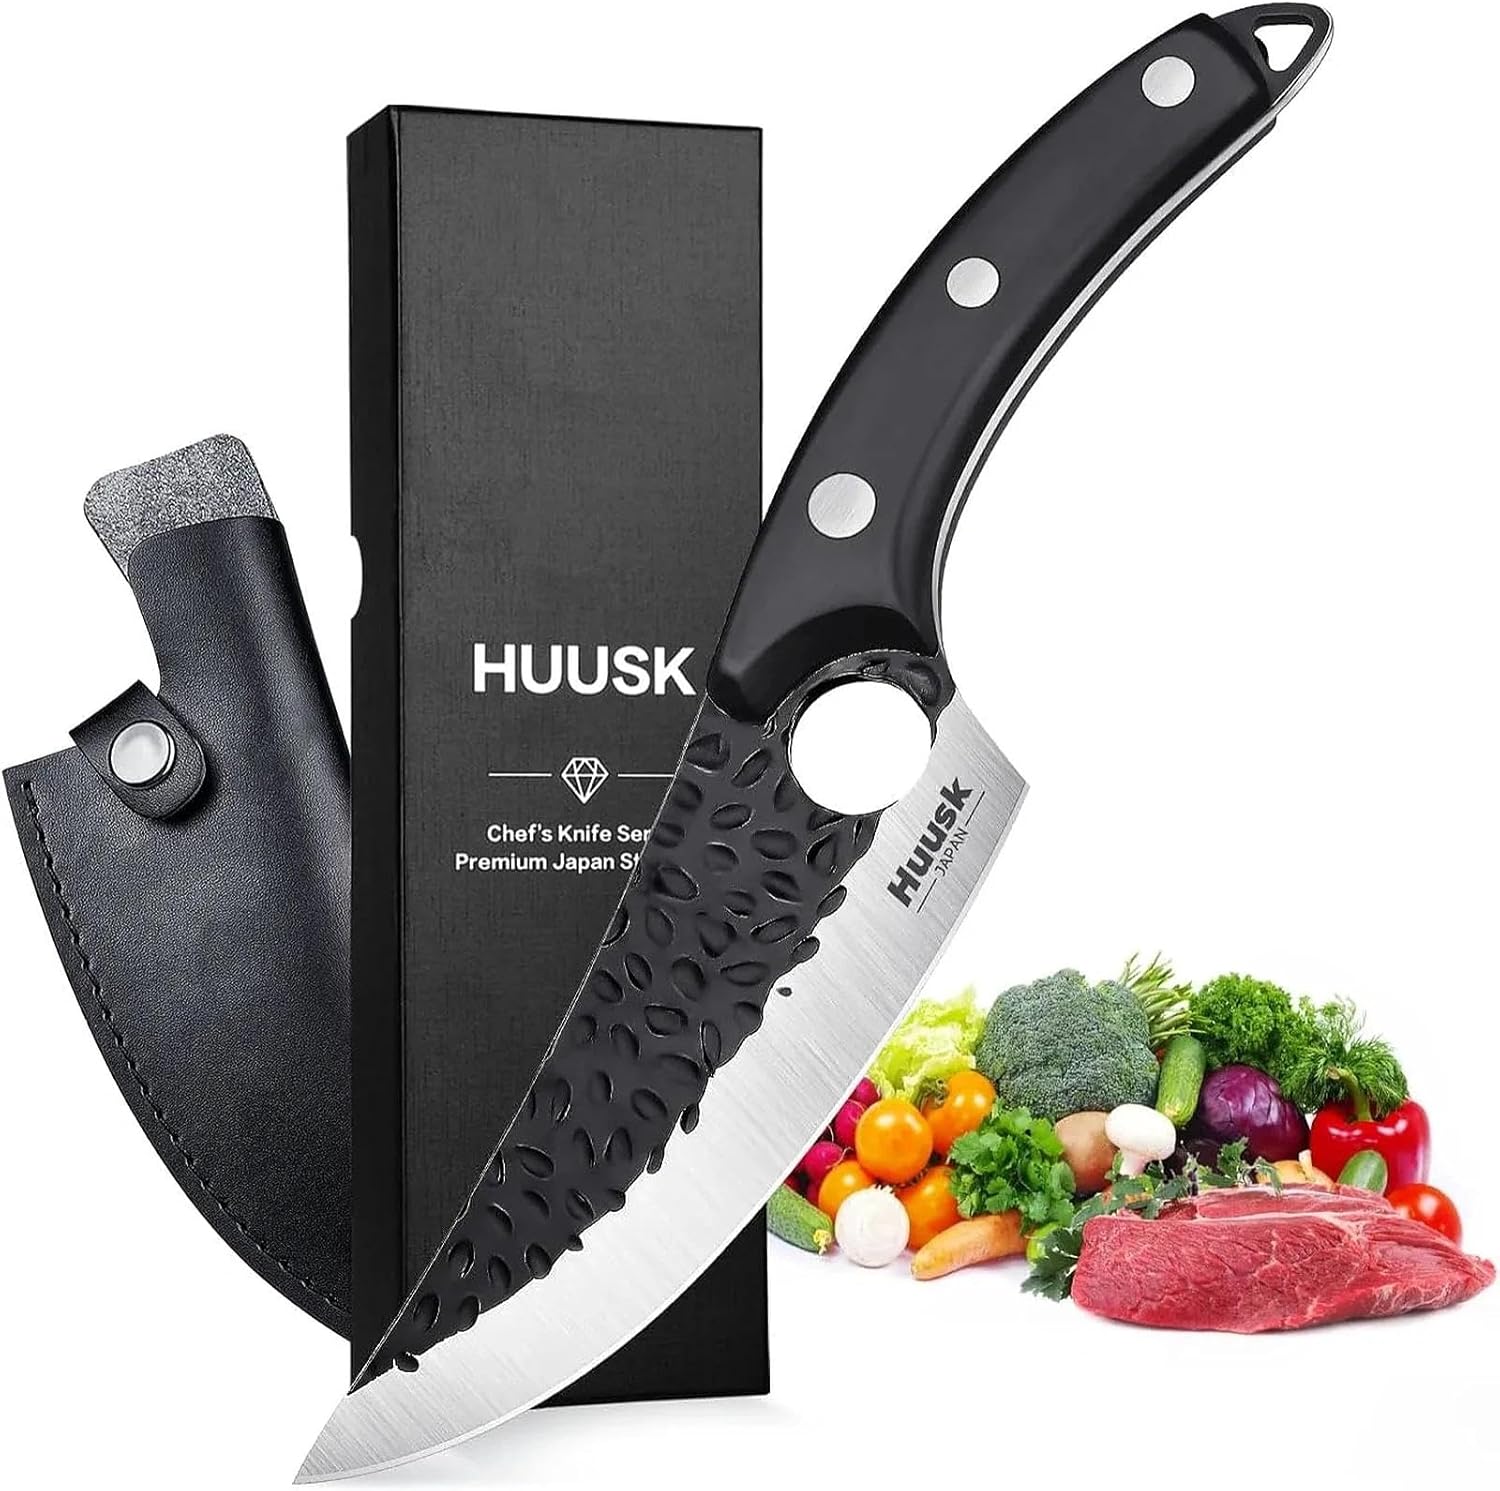


As an Amazon Associate, we may earn a small commission from qualifying purchases — at no extra cost to you.
Ingredients You’ll Need
Let’s gather our ingredients—this is where simple pantry staples transform into something magical. The beauty of a cobbler lies in this short list. For the apple filling, you’ll want a mix of varieties for the best flavor and texture.
I always recommend a combination like tart Granny Smith and sweet Honeycrisp or Braeburn. The granulated sugar sweetens the apples and helps create a luscious syrup, while the cinnamon and nutmeg provide that classic, warm spice. A splash of lemon juice is my secret weapon; it brightens the flavor and prevents the apples from browning.
For the biscuit topping, all-purpose flour forms the structure. The leavening power comes from both baking powder (for lift) and baking soda (which reacts with the buttermilk). Using cold, unsalted butter is non-negotiable for a flaky texture.
Cold buttermilk adds tang and tenderness, and if you don’t have any, see my FAQ for an easy substitute. A sprinkle of coarse sugar on top before baking is optional but highly recommended for a delightful crunch and professional finish.

Note: You’ll find the complete list of ingredients, along with their exact measurements, in the printable recipe card at the bottom of this post.
Kitchen Equipment Needed
You likely have everything you need already. The essential vessel is a 9×13 inch baking dish or a similar 3-quart ceramic baker. You’ll need a large mixing bowl for the apples and a medium bowl for the biscuit dough.
A pastry cutter makes quick work of cutting the butter into the flour, but two forks or even your clean fingertips work perfectly well. I always recommend placing your baking dish on a rimmed baking sheet before it goes in the oven; this catches any bubbling juices and saves you from a messy oven cleanup. A wire cooling rack is ideal for letting the cobbler settle after baking.
How to Make Apple Cobbler Recipe
Step 1: Prep the Apples and Preheat
Start by preheating your oven to 375°F (190°C) to ensure it’s perfectly hot when your cobbler goes in. Grease your baking dish lightly. Now, for the apples: peel, core, and slice them into consistent 1/4-inch thick slices.
Trust me, uniform slices ensure even cooking. Toss them in your large bowl with the sugar, flour, spices, vanilla, and lemon juice until every slice is glistening and coated. This mixture will look dry at first, but the sugar and lemon juice will draw out the apples’ natural juices as it bakes.
Pour it all into your prepared dish, creating an even layer—this is your flavorful foundation.
Step 2: Create the Biscuit Dough Base
In your medium bowl, whisk together the flour, sugar, baking powder, baking soda, and salt. This aerates the dry ingredients and ensures the leaveners are evenly distributed. Now, add the cold butter pieces.
Using your pastry cutter or forks, cut the butter into the flour until the mixture looks like coarse sand with visible butter bits no larger than a pea. This step is the secret to a flaky topping; those solid butter pieces will steam in the oven, creating lovely layers. Tip from me: work quickly so the butter stays cold.
Step 3: Bring the Dough Together
Make a well in the center of your flour-butter mixture. Pour the cold buttermilk right into the well. Using a fork or a silicone spatula, gently stir from the center outward, just until the dry ingredients are moistened and a shaggy, sticky dough forms.
Believe me, this is the most critical moment: stop mixing the second it comes together. A few dry flour streaks are absolutely fine. Overmixing develops gluten, which would give you a tough, dense topping instead of the light, tender biscuit we’re after.
Step 4: Assemble and Bake
Now comes the fun part—assembly! Using a large spoon or a cookie scoop, drop rough, generous mounds of the biscuit dough evenly over the surface of the apple filling. Don’t try to spread it smooth or make it neat; the craggy, uneven texture is what creates those beautiful golden peaks and allows the filling to bubble up in between.
For a gorgeous finish, sprinkle the top evenly with coarse sugar. Carefully place the dish on your rimmed baking sheet and slide it into the preheated oven.
Step 5: Cool, Serve, and Enjoy
Bake for 40-45 minutes. You’ll know it’s done when your kitchen smells incredible, the filling is bubbling thickly around the edges of the dish, and the biscuit topping is puffed and a deep, golden brown. The hardest part?
Letting it cool! Rest the cobbler on a wire rack for at least 20-25 minutes. This allows the bubbling fruit syrup to thicken slightly so it doesn’t run everywhere when you scoop it.
Step back and admire your work, then serve it warm, ideally with a melting scoop of vanilla ice cream.
- Apple Selection is Key: For a balanced filling, use 2-3 different types. I prefer a 50/50 mix of a firm, tart apple (like Granny Smith) and a sweeter, softer variety (like McIntosh or Cortland). This gives you both structure and deep apple flavor.
- Keep Everything Cold: The number one rule for tender biscuits is cold fat and cold liquid. I even chill my mixing bowl for 5 minutes before starting. If the butter melts before baking, you’ll lose the flaky layers.
- The Bubble Test: Don’t just rely on the timer or color. The cobbler is truly ready when you see slow, thick bubbles erupting through the topping around the center of the dish. This indicates the flour in the filling has cooked and thickened the juices.
- Resist the Urge to Overmix: I can’t stress this enough. Stir the wet and dry ingredients for the topping just until they’re combined. A lumpy, shaggy dough is a good dough.
- Perfect Serving Consistency: That 25-minute rest after baking is not a suggestion—it’s a requirement for the perfect serving texture. It allows the pectin in the apples to set the filling so it holds its shape on the spoon.
Recipe Variations
- Berry Apple Cobbler: Add 1 to 1 1/2 cups of fresh or frozen blueberries, blackberries, or raspberries to the apple mixture. The berries will burst and create a beautiful, vibrant sauce.
- Oatmeal Crumble Topping: For a streusel-style top, replace the biscuit dough with a mix of 1 cup flour, 1 cup old-fashioned oats, 2/3 cup brown sugar, 1 tsp cinnamon, and 1/2 cup melted butter. Combine and sprinkle over filling.
- Savory-Sweet Twist: Add 1/2 teaspoon of freshly cracked black pepper and a pinch of cardamom to the apple filling spices. It creates a wonderfully complex, grown-up flavor profile.
- Gluten-Free Version: Substitute a 1:1 gluten-free all-purpose flour blend for the regular flour in both the filling and the topping. The results are excellent.
- Dairy-Free Adaptation: Use a plant-based butter stick and unsweetened, unflavored almond or oat milk mixed with 1 tablespoon of lemon juice or vinegar (let it sit for 5 minutes) instead of buttermilk.
- Nutty Delight: Fold 1/2 cup of chopped pecans or walnuts into the apple filling, or sprinkle them on top of the biscuit dough before baking for added crunch and richness.
What to Serve With This Recipe
Apple cobbler is a star on its own, but the right accompaniments elevate it to a memorable dessert. The classic, non-negotiable pairing is a generous scoop of high-quality vanilla ice cream. The cold, creamy ice cream melting into the warm cobbler is a textural dream.
For a lighter option, a dollop of freshly whipped cream or a drizzle of heavy cream is equally delightful. If you’re serving it for a brunch or afternoon coffee, a simple dusting of powdered sugar works beautifully.
For a full menu, this cobbler is the perfect ending to a cozy fall dinner. Start with a simple roasted squash soup, followed by a main course like herb-roasted chicken or pork tenderloin with roasted vegetables. The cobbler’s warmth and spice make it ideal for holidays like Thanksgiving, where it offers a delicious alternative to pie.
It’s also a fantastic potluck or picnic dessert, as it travels well and is easy to serve.
Storage & Make-Ahead Instructions
- Storage: Once completely cooled, cover the baking dish tightly with plastic wrap or transfer leftovers to an airtight container. It will keep in the refrigerator for up to 4 days.
- Reheating: To restore that fresh-from-the-oven warmth, reheat individual portions in the microwave for 30-45 seconds. For larger amounts, cover the dish with foil and warm in a 300°F oven for 15-20 minutes.
- Freezing: You can freeze the baked and cooled cobbler. Wrap the entire dish (or portions) tightly in plastic wrap and then foil. It will keep for up to 3 months. Thaw overnight in the refrigerator before reheating.
- Make-Ahead: You can prep components ahead. Mix the dry ingredients for the biscuit topping and store in a bag at room temperature. Prepare the apple filling and store it, covered, in the refrigerator for up to 24 hours. When ready to bake, assemble with the cold butter and buttermilk and proceed.
Frequently Asked Questions
Q: Can I use pre-sliced or canned apples?
A: I don’t recommend pre-sliced apples from the grocery store, as they’re often treated to prevent browning and can have a strange texture. Canned pie filling will work in a pinch, but the flavor and texture will be much softer and sweeter than with fresh apples.
Q: What’s the best substitute for buttermilk?
A: An easy homemade buttermilk substitute is to place 2 teaspoons of white vinegar or lemon juice in a measuring cup, then add enough regular milk to reach the 2/3 cup line. Stir and let it sit for 5-10 minutes until it curdles slightly before using.
Q: My topping is browning too fast. What should I do?
A: If the biscuit topping is getting too dark before the filling is bubbling, simply tent the dish loosely with a piece of aluminum foil for the remainder of the baking time. This will slow down the browning without affecting the cooking.
Q: Can I make this cobbler in a cast iron skillet?
A: Absolutely! A 10- or 12-inch oven-safe skillet is perfect. You can even cook the apple filling on the stovetop for a few minutes to jumpstart the process, then add the topping and transfer to the oven.
Q: How do I know when the cobbler is done baking?
A: Look for three signs: 1) The topping is golden brown and firm to a light touch. 2) Thick, syrupy bubbles are breaking through the topping around the edges and center. 3) A toothpick inserted into the center of a biscuit mound comes out clean (no wet dough).
Q: Can I reduce the sugar to make it less sweet?
A: Yes, you can reduce the sugar in the apple filling by 1-2 tablespoons. I don’t recommend reducing the sugar in the biscuit topping, as it affects both browning and texture. Using tarter apples like Granny Smith will also help balance sweetness.
Q: Why did my biscuit topping turn out dense or gummy?
A: This is almost always due to overmixing the dough or using butter or buttermilk that wasn’t cold enough. Remember, a shaggy dough is the goal. Also, ensure your baking powder and soda are fresh for proper lift.
Final Thoughts
This apple cobbler recipe is a testament to the power of simple, quality ingredients combined with a few key techniques. It’s the kind of dessert that feels like a hug—warm, sweet, and deeply satisfying. Whether you’re a seasoned baker or trying your hand at a from-scratch dessert for the first time, this recipe is designed to build your confidence and deliver spectacular results.
The process of slicing the apples, making the dough, and watching it transform in the oven is one of the great joys of home cooking.
I encourage you to make this recipe your own. Try a different apple blend, add a handful of berries, or experiment with a spice like ginger or allspice. Then, come back and let me know how it turned out!
Your feedback and recipe ratings help me create even better content for you. If you share your creation on social media, please tag me—I love seeing your kitchen triumphs. Now, go preheat that oven and get ready to fill your home with the unforgettable aroma of baking apples and cinnamon.
Enjoy every delicious bite

Classic Apple Cobbler
- Author: Amelia
- Prep Time: 20 minutes
- Cook Time: 45 minutes
- Total Time: 1 hour 5 minutes
- Yield: 8 servings
- Category: Dessert
- Cuisine: American
Description
A simple, foolproof apple cobbler with a tender, sweet apple filling and a fluffy, golden-brown biscuit topping. This classic dessert is the epitome of comfort and comes together with basic pantry staples.
Ingredients
Instructions
-
Preheat your oven to 375°F (190°C). Grease a 9x13 inch baking dish or a similar 3-quart oven-safe dish. In a large bowl, combine the sliced apples, 1/3 cup of the granulated sugar, 2 tablespoons of flour, cinnamon, nutmeg, vanilla, and lemon juice. Toss until the apples are evenly coated. Pour this mixture into your prepared baking dish, spreading it into an even layer. This creates the flavorful base of your cobbler.
-
In a separate medium bowl, whisk together the remaining 1 cup of flour, 1/4 cup of sugar, baking powder, baking soda, and salt. This is your dry mix for the biscuit topping. Using a pastry cutter, two forks, or your fingertips, work the cold butter pieces into the dry ingredients until the mixture resembles coarse crumbs with some pea-sized butter bits remaining. This step is crucial for a flaky, tender topping.
-
Make a well in the center of your flour-butter mixture and pour in the cold buttermilk. Using a fork or a spatula, gently stir just until a shaggy, sticky dough forms. Be careful not to overmix; a few dry streaks are perfectly fine. Overworking the dough will lead to a tough topping.
-
Using a large spoon or a cookie scoop, drop 8-10 rough mounds of the biscuit dough evenly over the top of the apple filling. Don't try to smooth it out—the rustic, craggy look is part of the charm and creates wonderful texture. If using, sprinkle the top generously with coarse sugar for a beautiful, sparkling finish and extra crunch.
-
Place the baking dish on a rimmed baking sheet (to catch any potential bubble-overs) and bake for 40-45 minutes. The cobbler is done when the apple filling is bubbling vigorously around the edges and the biscuit topping is puffed and deeply golden brown. Let it cool on a wire rack for at least 20-25 minutes before serving. This rest time allows the filling to thicken slightly, making it easier to serve.
Notes
- Chef's Tips:
- For the best flavor and texture, use a mix of apple varieties like Granny Smith (for tartness) and Honeycrisp or Fuji (for sweetness).
- The most common mistake is overmixing the biscuit dough. Stir just until combined.
- Serve warm with a scoop of high-quality vanilla ice cream for the classic, perfect pairing.
- Food Safety:
- Allow cobbler to cool to a safe temperature before serving, especially if children are involved.
- Refrigerate leftovers within 2 hours of baking.


